Struggling with how to safely remove stud earrings, especially after a long day? You’re not alone. Many jewellery enthusiasts face this seemingly simple, yet often tricky task. Mishandling can lead to infections or pain, turning your style statement into an uncomfortable experience. This comprehensive guide will walk you through the entire process, ensuring you know exactly how to remove any type of stud earring easily and safely. From preparation to post-removal care, you’ll find all the steps you need to maintain both your comfort and the health of your ears. Let’s get started!
Step-by-Step Guide on How to Remove Stud Earrings
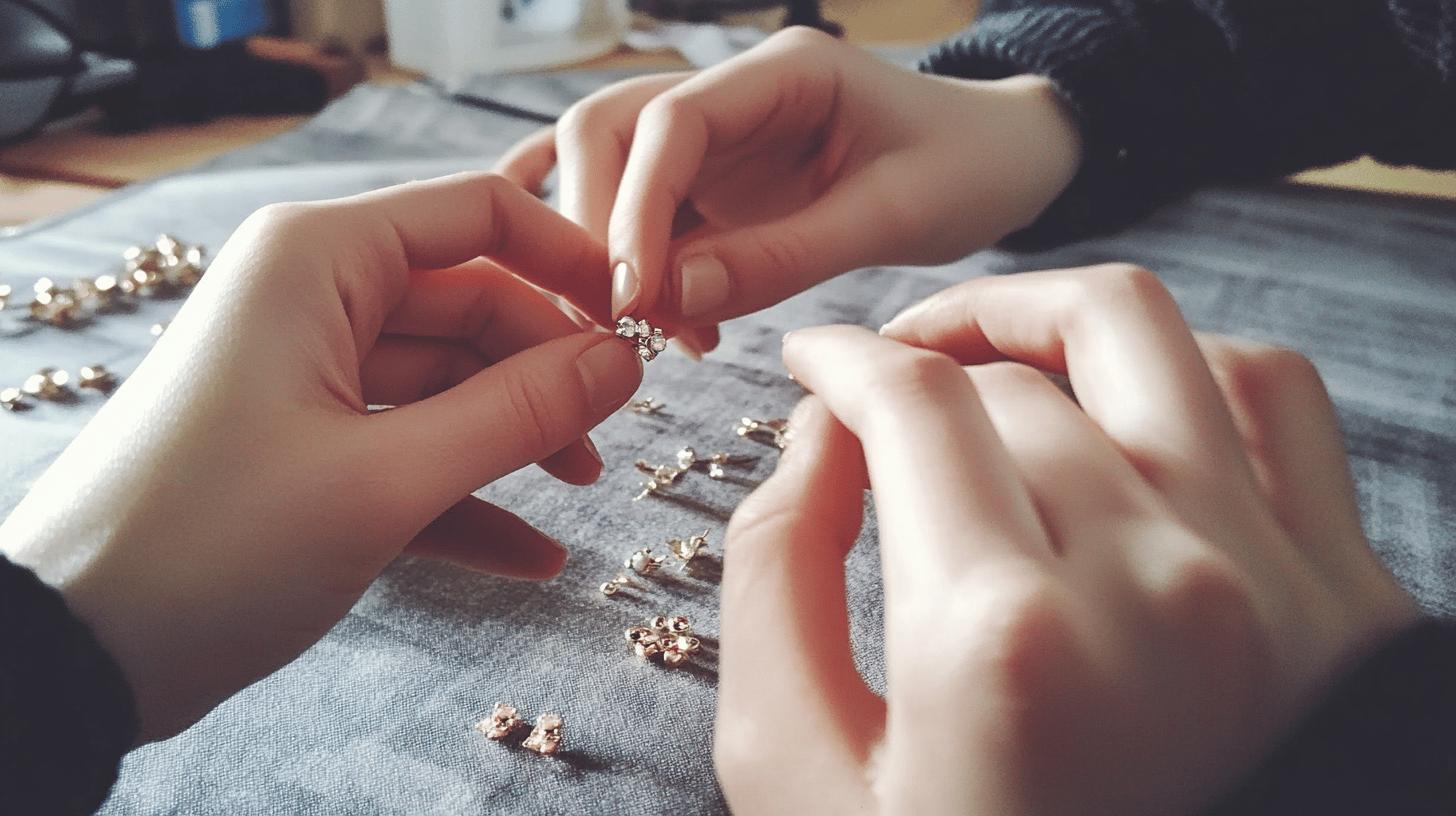
Maintaining proper hygiene is critical when removing stud earrings to avoid infections. Begin the process by thoroughly washing your hands with soap and water. This step is essential to eliminate any bacteria that might transfer to the earring or the earlobe, potentially causing an infection.
Preparation is key to making the removal process smooth and painless. Start by cleaning the area around your earrings using a cotton ball soaked in rubbing alcohol or a saline solution. This helps to disinfect the area and loosen any debris that may have accumulated. Next, identify the type of earring back you are dealing with: butterfly backs, screw-on backs, or flat backs. Knowing the type will guide you in the appropriate removal technique.
- Butterfly Backs: Hold the front of the earring steady and gently pull the back away from the earlobe.
- Screw-On Backs: Hold the front of the earring steady and twist the back counterclockwise to unscrew it.
- Flat Backs: Push the post of the earring forward while holding the back and gently pull the back away from the earlobe.
- Difficult Removal: Apply a small amount of petroleum jelly around the earring back to ease the removal process.
- Cleaning After Removal: After taking out the earrings, clean both the earlobes and the earrings again with rubbing alcohol or a saline solution.
- Regular Checks: Regularly check for any signs of infection or irritation around the piercing area.
After successfully removing the earrings, focus on aftercare to maintain ear health. Clean the earlobes and the earrings once more using rubbing alcohol or a saline solution. This ensures that any residual bacteria are eliminated, preventing infections. Make sure to keep the area clean and avoid touching it unnecessarily until it is fully healed.
Removing Different Types of Stud Earrings: Butterfly, Screw-On, and Flat Backs
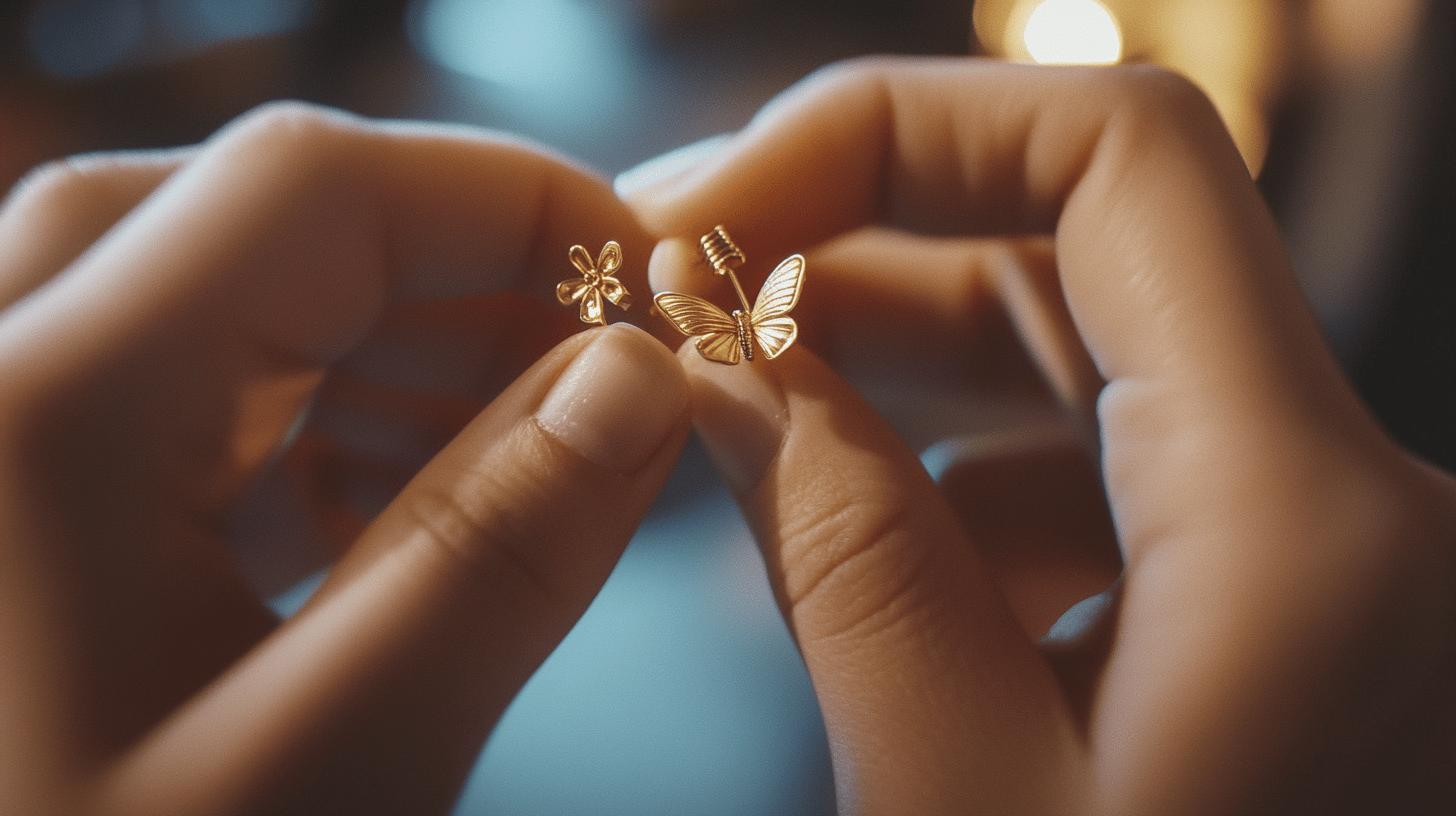
Understanding the different types of earring backs is essential for safe and easy removal. The most common types are butterfly backs, screw-on backs, and flat backs. Each type requires a specific technique to ensure minimal discomfort and prevent any damage to the earlobe or the earring.
For butterfly backs, start by holding the front of the earring steady. Gently wiggle the back while pulling it away from the earlobe. This movement helps to release the grip of the butterfly back on the post. If the back is difficult to remove, applying a small amount of petroleum jelly can ease the process. Make sure to clean the area with a saline solution once the earring is removed.
Screw-on backs require a different approach. Hold the front of the earring securely and twist the back counterclockwise. This unscrewing motion will gradually loosen the back, allowing it to come off. If the back is tightly screwed, applying a lubricant like coconut oil can help. After removal, clean the earring and earlobe to prevent any infection.
- Butterfly Backs: Hold the front steady, wiggle, and pull the back away.
- Screw-On Backs: Hold the front steady, twist the back counterclockwise.
- Flat Backs: Push the post forward, gently pull the back away.
If an earring is stuck or painful to remove, do not force it. Apply a lubricant around the back and try again after a few minutes. If it remains stuck or causes pain, seek professional help to avoid damaging the earlobe or the earring.
Tips for Minimising Pain and Preventing Infections When Removing Stud Earrings
Preparation is crucial to minimise pain when removing stud earrings. Start by thoroughly washing your hands with soap and water to eliminate any bacteria. Clean the earlobe area with a cotton ball soaked in rubbing alcohol or saline solution. This step ensures that the area is disinfected, reducing the risk of infection. Using a lubricant like coconut oil or petroleum jelly can also ease the removal process. If the earring is stuck, gently twist or wiggle it while applying the lubricant to help loosen it.
Infection prevention is vital for maintaining healthy ear piercings. After removing the earring, clean the area again with saline solution or rubbing alcohol. This helps to eliminate any residual bacteria that might cause an infection. Applying a cold compress can reduce swelling and soothe the earlobe if it is inflamed. Regular cleaning and avoiding unnecessary touching of the piercing area can prevent infections from developing.
- Redness: Persistent redness around the piercing.
- Swelling: Noticeable swelling that does not subside.
- Pain: Continuous pain or discomfort.
- Pus Discharge: Presence of yellow or green pus.
- Medical Consultation: Seek professional help if any of these symptoms appear.
Using hypoallergenic earrings is essential to avoid allergic reactions and further complications. Opt for earrings made from materials like surgical steel or titanium, which are less likely to cause irritation. Hypoallergenic earrings are particularly beneficial for individuals with sensitive skin, ensuring a comfortable and safe wearing experience.
Suggested Read: Why Do My Ears Hurt Wearing Earrings?
Special Considerations for Sensitive Ears and Newly Pierced Ears
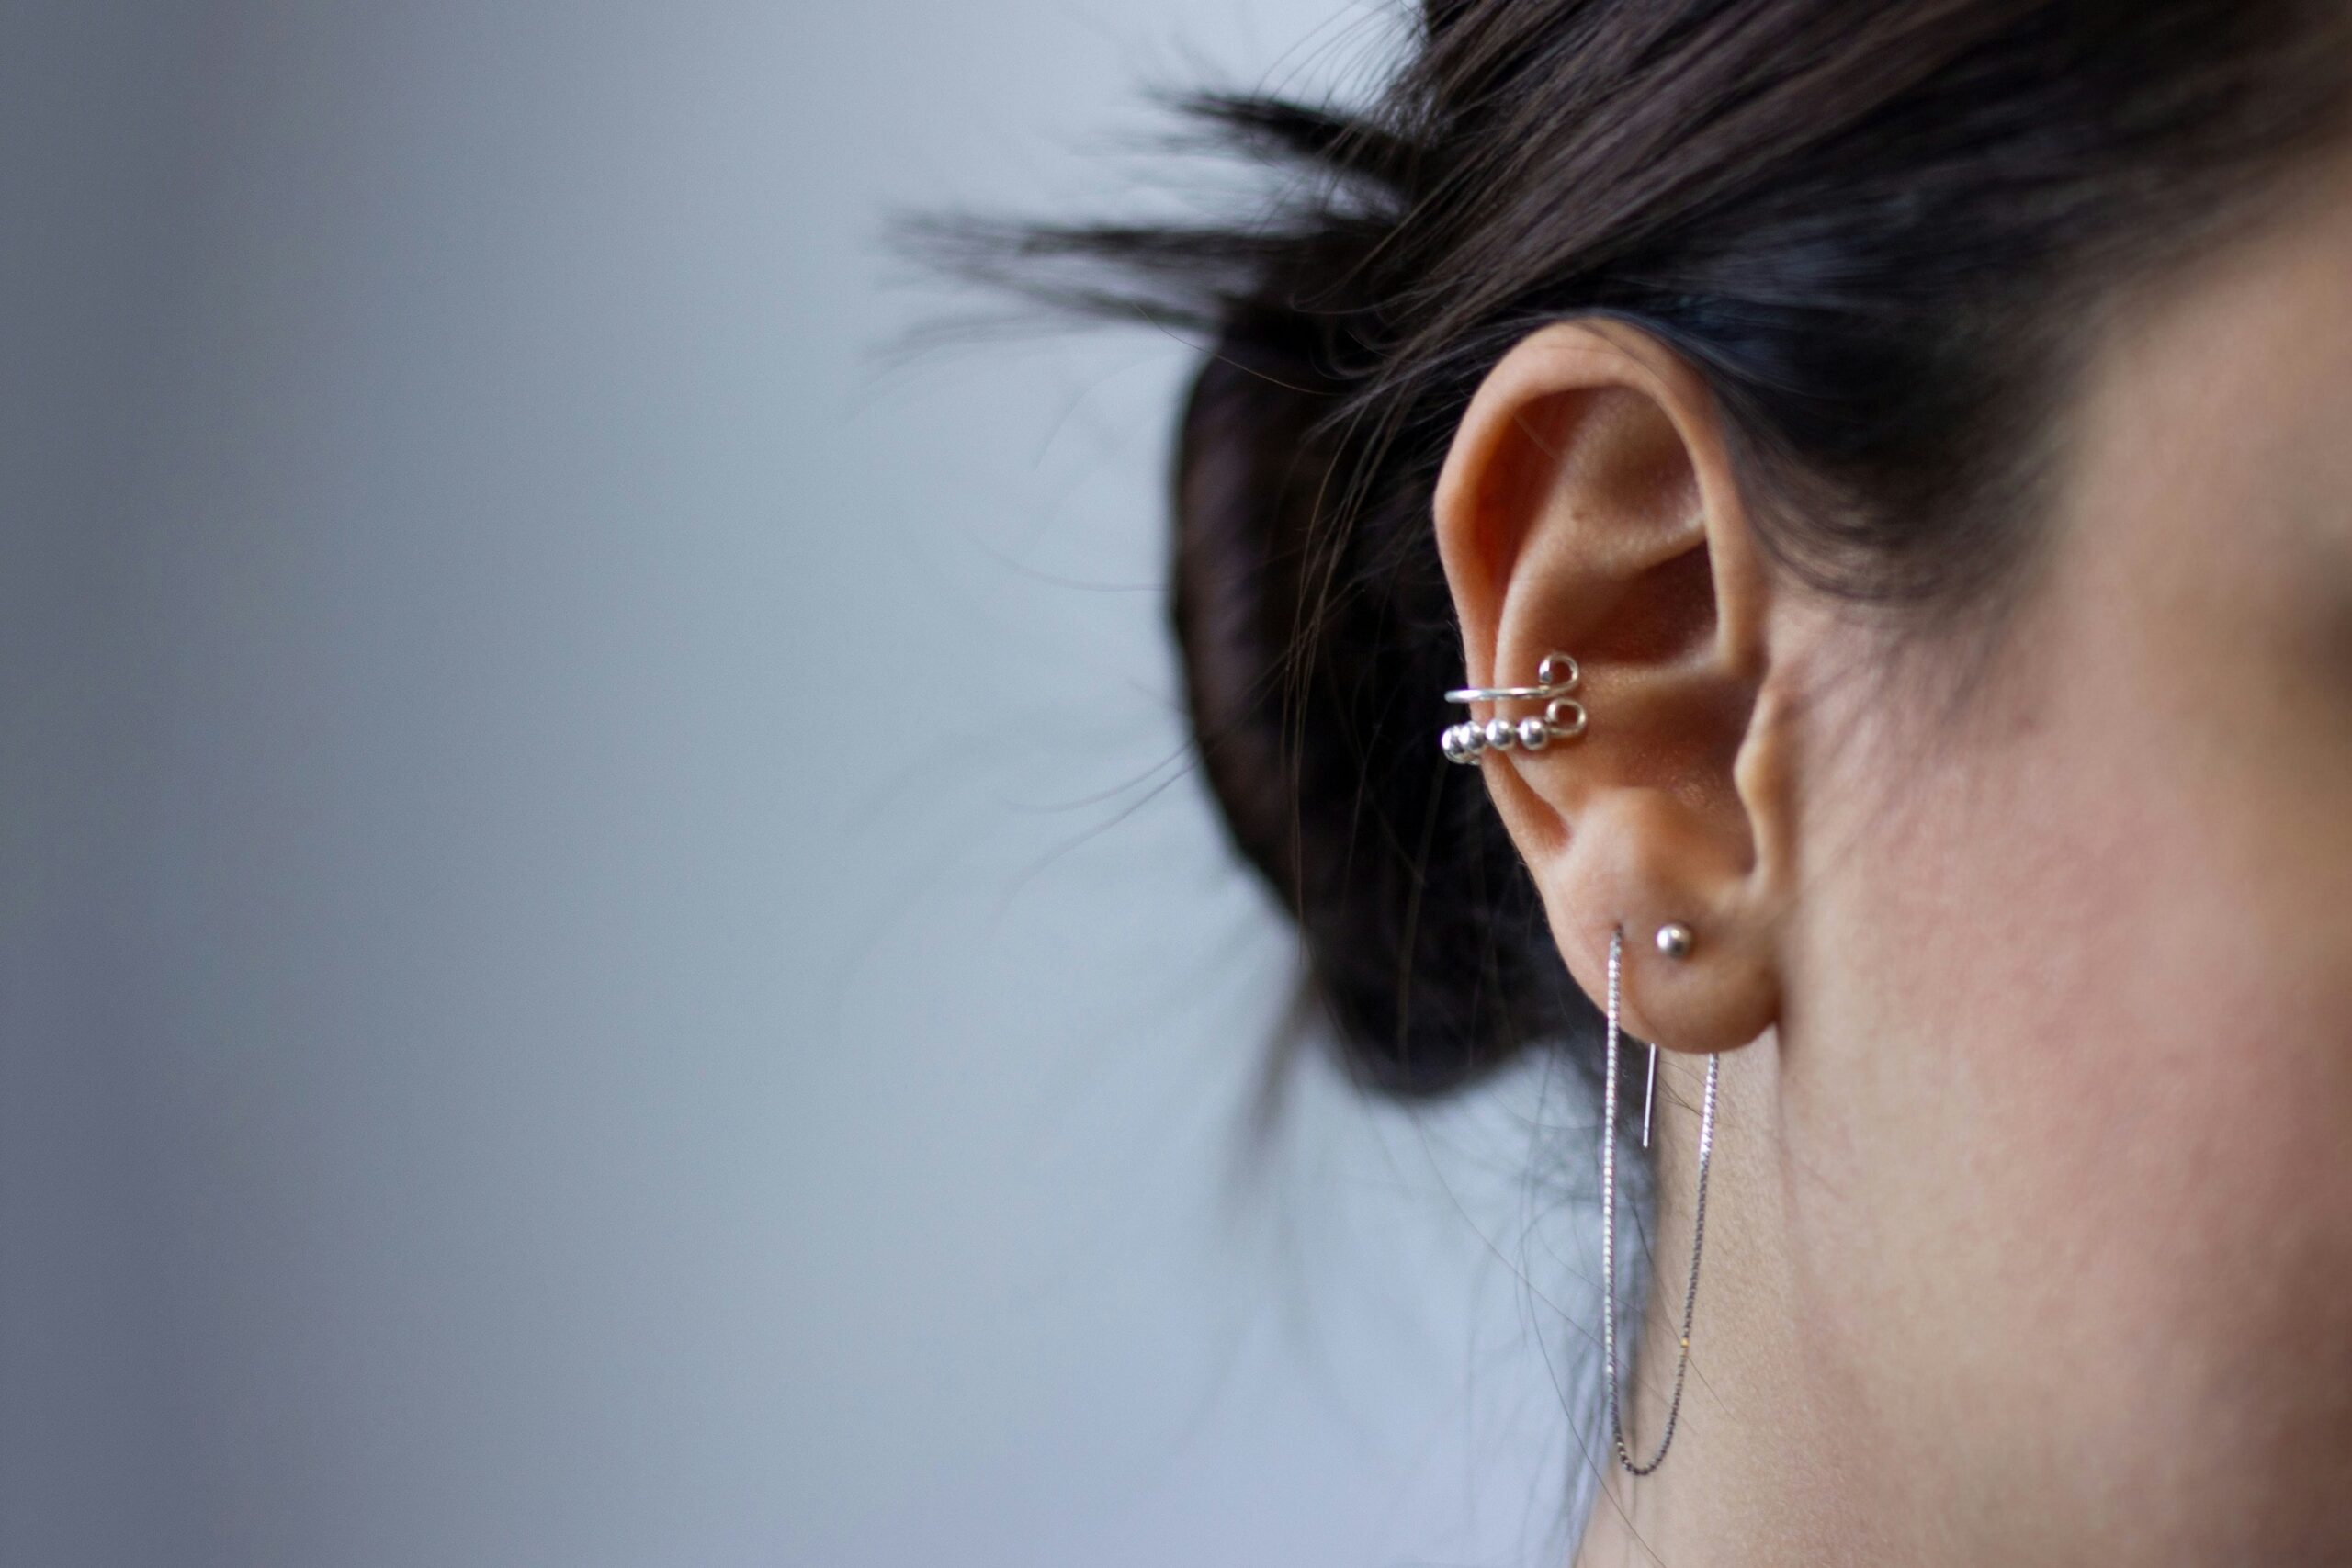
For newly pierced ears, it’s crucial to wait at least 6-8 weeks before attempting to remove starter earrings. This waiting period allows the piercing to heal sufficiently, reducing the risk of irritation or infection. Starter earrings, such as those provided by Claire’s, are often designed with easy-to-remove backs to make the transition smoother. Patience during this initial healing phase is essential for maintaining healthy piercings.
Daily care is vital to prevent infections and ensure the health of sensitive ears. Clean the earrings and earlobes daily using a saline solution. Avoid alcohol-based solutions, as they can dry out the skin and cause additional irritation. If swelling or redness occurs, apply a cold compress to the affected area and avoid unnecessary touching of the earrings. Should the earring become stuck or if there are signs of infection, seek professional assistance promptly to avoid complications.
- Hypoallergenic earrings made from surgical steel
- Titanium earrings
- Daily saline solution for cleaning
- Cold compress for swelling
- Professional help if signs of infection appear
If swelling or redness occurs, apply a cold compress and avoid touching the earring unnecessarily. Persistent symptoms may indicate an infection, in which case it’s important to consult a healthcare professional. Seeking professional help ensures that any complications are addressed promptly, safeguarding the health of your ears.
How to Handle Difficult Situations: Stuck Earrings and Infection Management
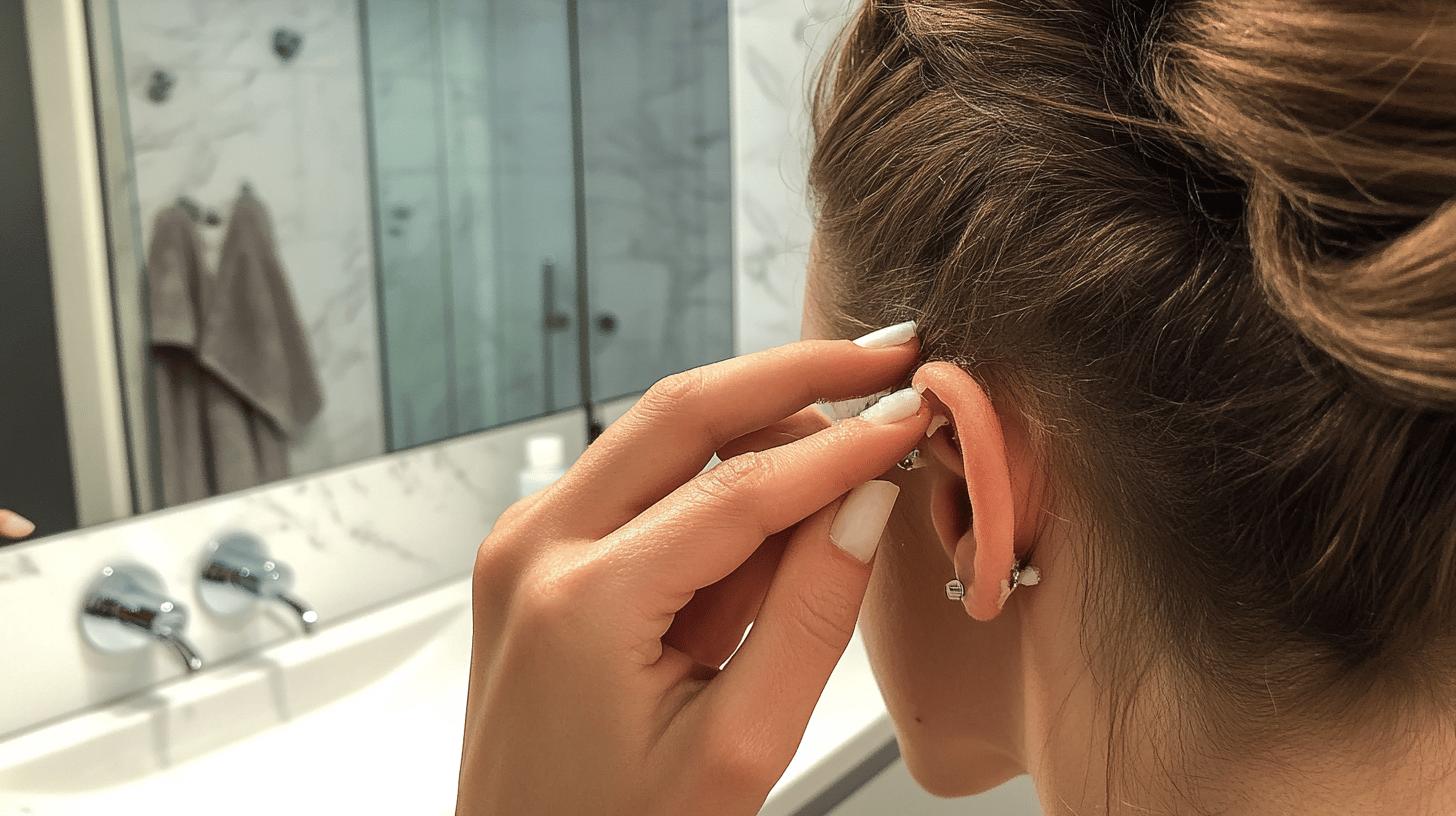
When dealing with stuck earrings, start by applying a lubricant like coconut oil or baby oil around the earring back. This helps to reduce friction and makes it easier to remove the earring. Gently twist and wiggle the earring to loosen it. If the earring remains stuck, do not force it, as this could cause damage to the earlobe. Instead, try applying more lubricant and waiting a few minutes before attempting removal again. In cases where the earring is still immovable, seek assistance from a professional piercer to avoid injury.
Safety backs that won’t come off can be particularly challenging. If you encounter this issue, use a pair of pliers to gently twist the back off while holding the front of the earring steady. Be cautious to avoid applying too much pressure, which could damage the earring or hurt the earlobe. If the safety back remains stuck, it is advisable to visit a professional piercer who can remove it safely without causing harm.
- Redness: Persistent redness around the piercing.
- Swelling: Noticeable swelling that does not subside.
- Pain: Continuous pain or discomfort.
- Pus Discharge: Presence of yellow or green pus.
If you detect any signs of infection, such as redness, swelling, pain, or pus discharge, take immediate action. Clean the infected area with saline solution and avoid touching it unnecessarily to prevent further contamination. Apply an antibiotic cream like Neosporin to the infected area to help fight the infection. If the condition does not improve within a few days, or if it worsens, seek medical help promptly to prevent more serious complications.
Recommended Tools and Products for Easy Earring Removal
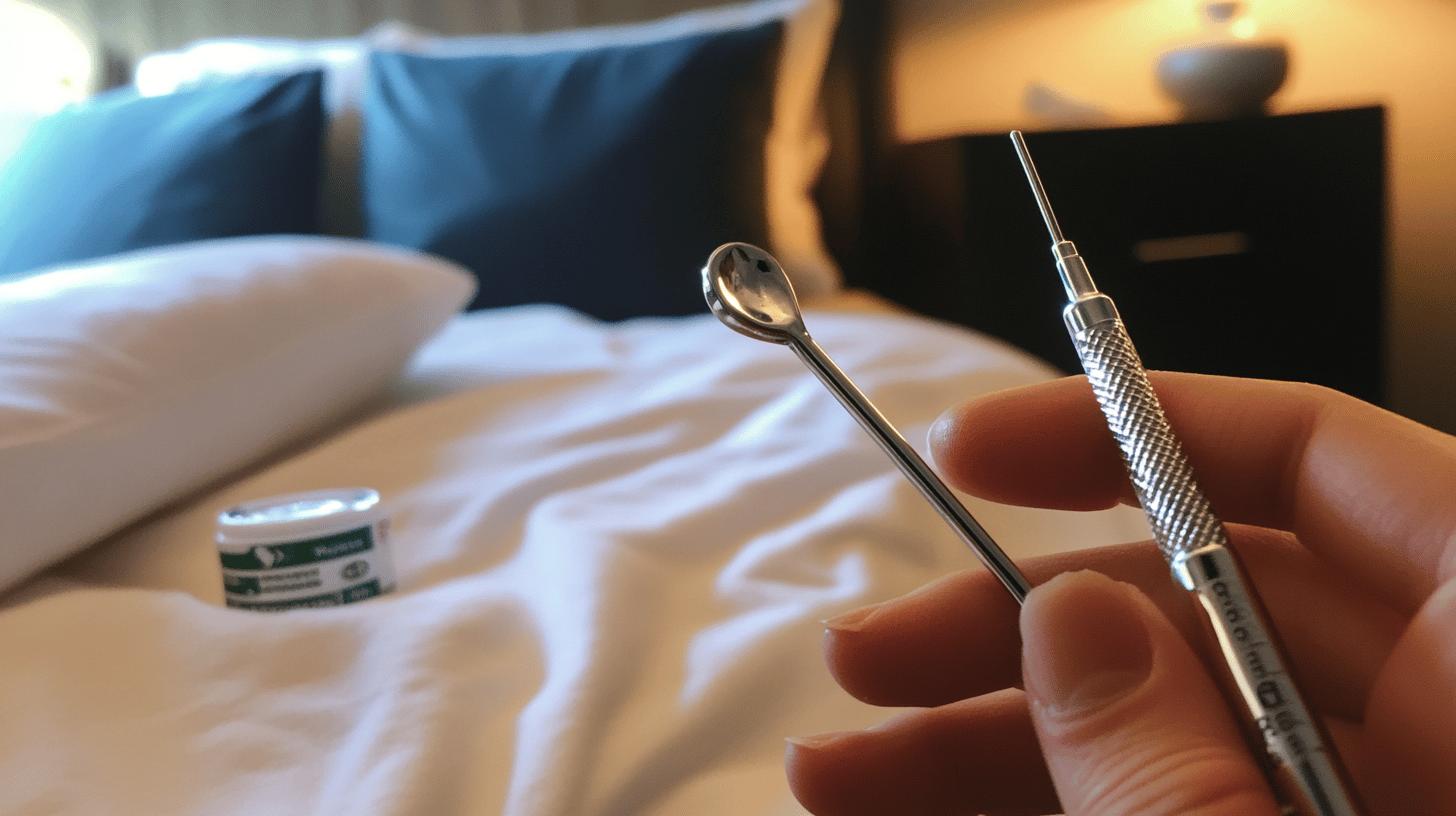
Using the right tools is crucial for safely and easily removing stud earrings. Flat back earring removal tools, available online and in jewellery stores, are specifically designed to grip and remove flat back earrings with minimal discomfort. These tools are particularly useful for individuals who find it difficult to remove earrings manually. Investing in a high-quality removal tool can make the process smoother and prevent potential injuries to the earlobe.
Antibiotic creams such as Neosporin are essential for preventing and treating infections that might occur after earring removal. Applying a small amount of antibiotic cream to the piercing area can help to reduce the risk of bacterial infections. For those with sensitive skin, hypoallergenic earrings made from surgical steel or titanium are recommended. These materials are less likely to cause allergic reactions and are gentler on the skin, ensuring a comfortable wearing experience.
- Flat Back Earring Removal Tool: Helps grip and remove flat back earrings easily.
- Antibiotic Creams: Prevents and treats infections; Neosporin is a popular choice.
- Hypoallergenic Earrings: Made from surgical steel or titanium to reduce allergic reactions.
- Cleaning Solutions: Saline or rubbing alcohol for maintaining hygiene.
Amore Jewellery offers a range of high-quality tools and hypoallergenic earrings suitable for sensitive ears. Their products are designed to ensure safety and comfort, making the earring removal process easier and more efficient. By choosing reliable tools and products, you can maintain healthy piercings and avoid complications.
Final Words
Removing stud earrings starts with hygiene and proper preparation. Follow the step-by-step guide to ensure a safe process, whether dealing with butterfly, screw-on, or flat-back earrings.
Different techniques for each type of earring back help simplify removal. Tips for reducing pain and preventing infections are crucial, especially for sensitive or newly pierced ears. Handling stuck earrings and managing infections require patience and the right tools.
Learning how to remove stud earrings safely boosts confidence in earring care, making the experience positive and hassle-free.
FAQ
How to remove stud earrings that are stuck
If an earring is stuck, apply a lubricant like coconut oil or baby oil around the back. Gently twist and wiggle the earring to loosen it. Seek professional help if pain or resistance persists.
How to remove stud earrings with flat backs
Push the post of the earring forward while holding the back and gently pull the back away. Apply a small amount of petroleum jelly if the earring is difficult to remove.
How to remove starter earrings
For starter earrings, wait at least 6-8 weeks before attempting removal. Twist the earring gently while holding the back steady. Clean the area with saline solution after removal.
How to remove stud earrings for the first time
Wash hands and clean the earlobe area with saline solution. Identify the earring back type and follow the removal steps: butterfly backs, screw-on backs, or flat backs.
How to take off earrings with safety back
Use a pair of pliers to gently twist the safety back if it won’t come off. Apply a lubricant like coconut oil to assist. Seek professional help if the back remains stuck.
How to remove earrings that are stuck
Apply a lubricant around the earring back and gently twist and wiggle the earring to loosen it. If pain persists or the earring remains stuck, seek professional help.
How to take out ear piercing with ball
Hold the front of the earring and twist the ball counterclockwise. Ensure hands are clean and the area around the piercing is disinfected with a saline solution.
How to remove push pin earrings
Push the post of the earring forward while holding the back steady. Apply a small amount of lubricant if necessary to ease the removal process.
How do you unscrew earring studs?
Hold the front of the earring steady and twist the back counterclockwise. Ensure hands are clean and the area around the piercing is disinfected with a saline solution.
How do you remove lock stud earrings?
Hold the earring front steady and wiggle the lock back slightly until it loosens. Clean the area with a saline solution after removal.
How to take off starter earrings with butterfly backs?
Hold the front of the earring steady and gently pull the butterfly back away from the earlobe. Clean the area with saline solution after removal.
How to remove earring stuck in earlobe?
If an earring is stuck in the earlobe, apply a lubricant like baby oil around the back. Gently twist and wiggle the earring to loosen it. Seek professional help if pain persists.


