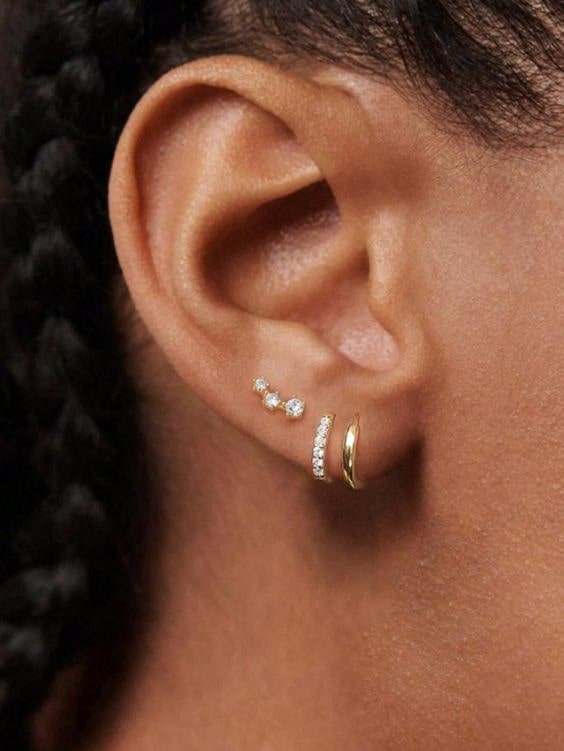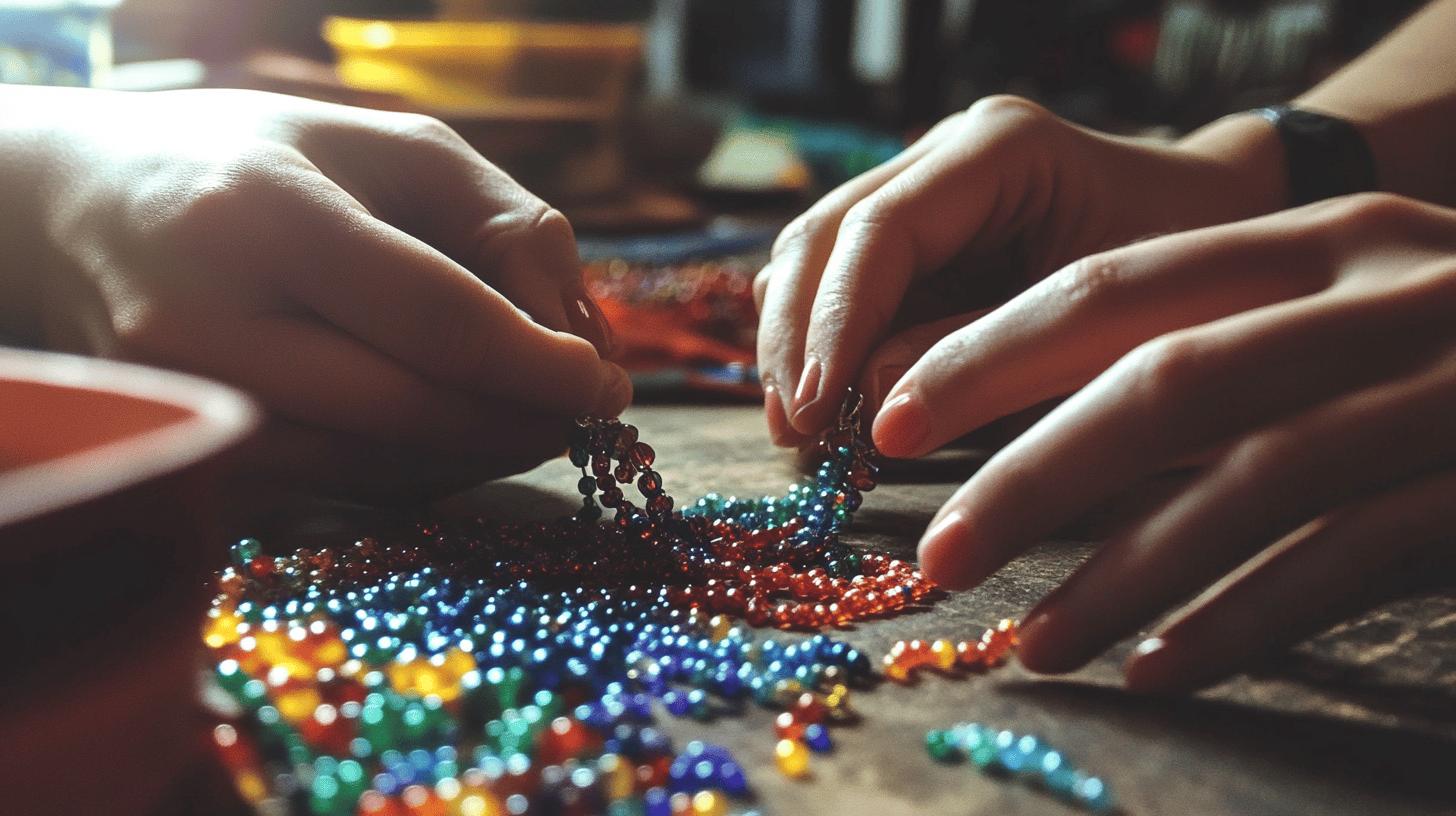
Ever wondered how to create stunning earrings with beads in just a few simple steps? Crafting your own jewellery can be a rewarding and surprisingly quick hobby. Not only does it empower you with a unique style, but it also allows you to surprise loved ones with personalised, handmade gifts. In this guide, you’ll discover essential materials and tools, step-by-step instructions, and tips for advanced techniques. By the end, you’ll be ready to make your own beautiful beaded earrings. Let’s get started!
Essential Materials and Tools for Making Beaded Earrings
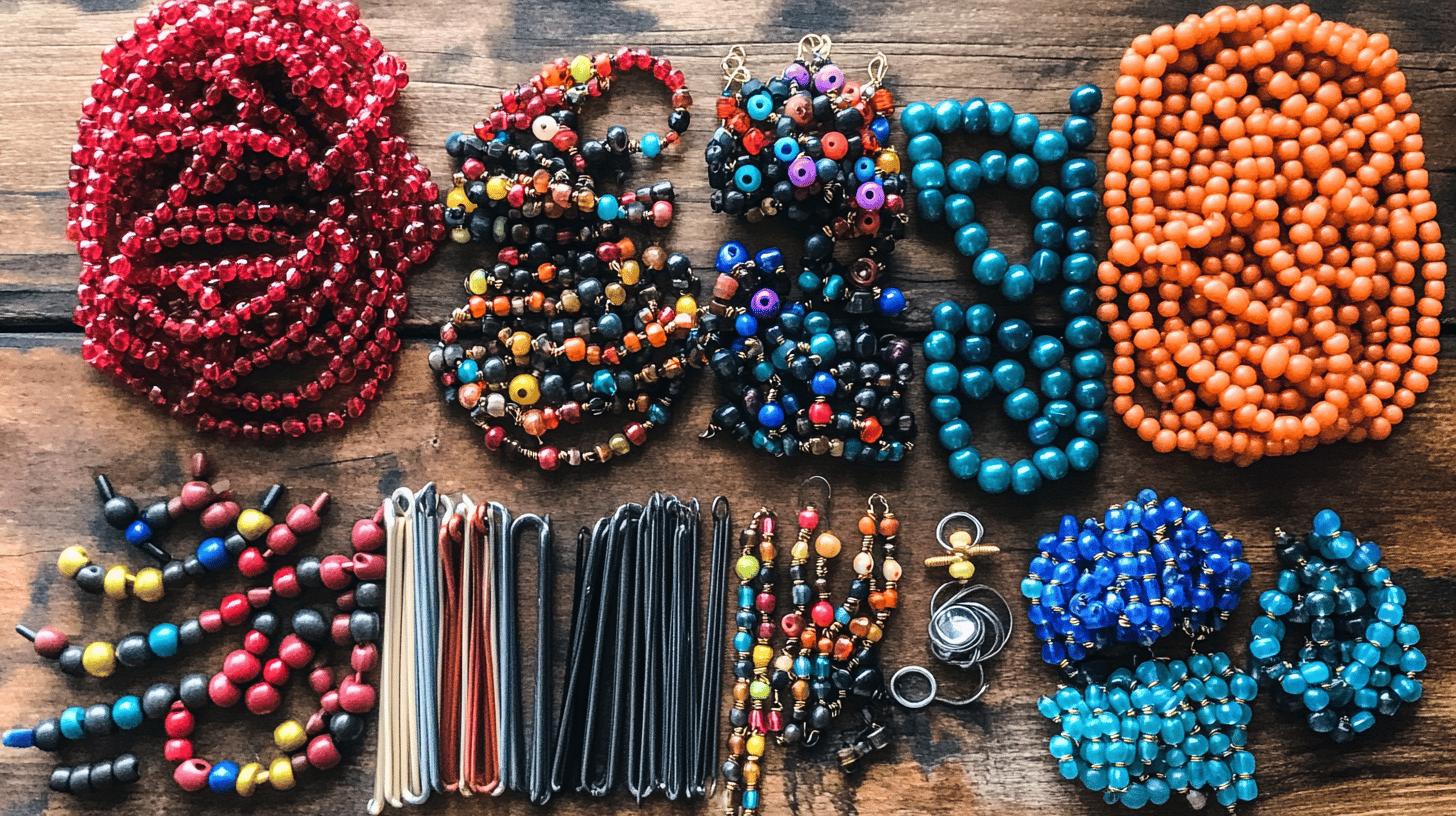
Having the right materials and tools is crucial for creating durable and aesthetically pleasing beaded earrings. Quality materials ensure that your earrings will last and look professional, while the right tools make the crafting process smoother and more enjoyable. Investing in high-quality supplies can significantly improve the outcome of your jewellery projects.
- Beads of your choice: Select beads that match your design vision, whether they’re glass, crystal, or semi-precious stones.
- Head pins (2 to 3 inches long): Ideal for wire wrapping and creating closed loops.
- Earring findings: Essential components like earring hooks or studs to complete your earrings.
- Chain nose pliers: Useful for gripping and bending wire.
- Round nose pliers: Perfect for forming loops in your wire.
- Flush cutter: Needed for cutting wire cleanly.
- Metal spacers: These can be used to add a cohesive look to your earrings, matching the head pins.
Sourcing high-quality materials is essential for achieving the best results in your earring-making endeavours. Reputable suppliers, such as Amore Jewellery, offer a wide range of beads and findings that can elevate your designs. By choosing quality materials, you can create beautiful, long-lasting jewellery pieces that stand out.
Step-by-Step Guide: How to Make Simple Beaded Earrings
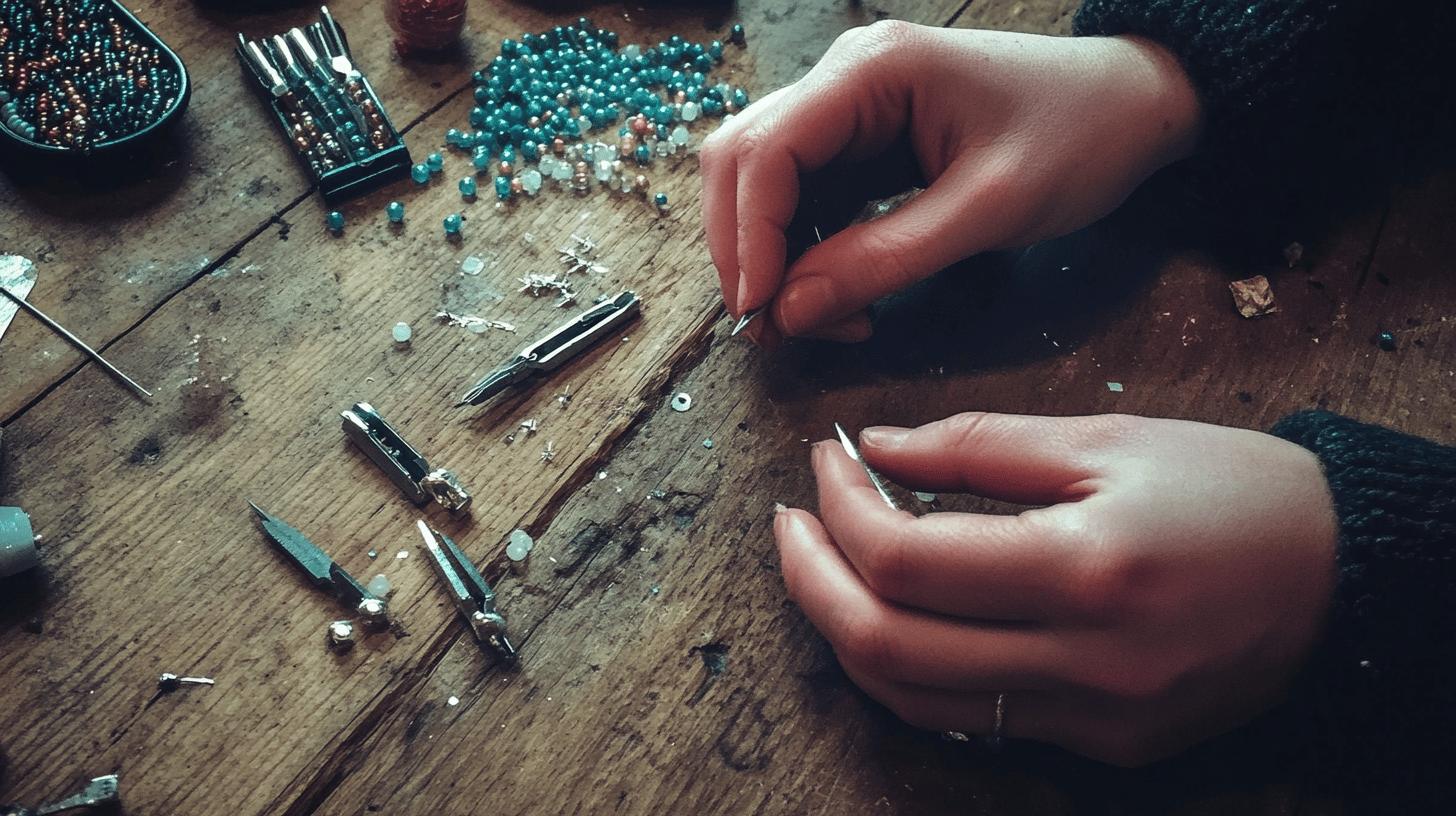
Creating simple beaded earrings is a rewarding and enjoyable process that can be mastered by anyone, from beginners to experienced crafters. These earrings offer endless possibilities for personalisation, allowing you to mix and match different beads to suit your style. The simplicity of the process, combined with the beauty of the final product, makes beaded earrings a popular choice for handmade jewellery. Best of all, the entire process typically takes less than 10 minutes, making it perfect for quick crafting sessions.
- Arrange beads on a head pin.
- Leave space at the end of the pin for forming a loop.
- Use round nose pliers to form a loop.
- Attach the loop to the earring hook.
- Secure the loop with chain nose pliers.
The ease and speed of making these earrings make them ideal for last-minute gifts or impromptu accessory updates. With just a few basic tools and materials, you can create a variety of designs to match any outfit or occasion. By following these simple steps, you can quickly produce beautiful, custom-made earrings that reflect your unique taste and creativity.
Advanced Techniques: Wire Wrapping and Variations
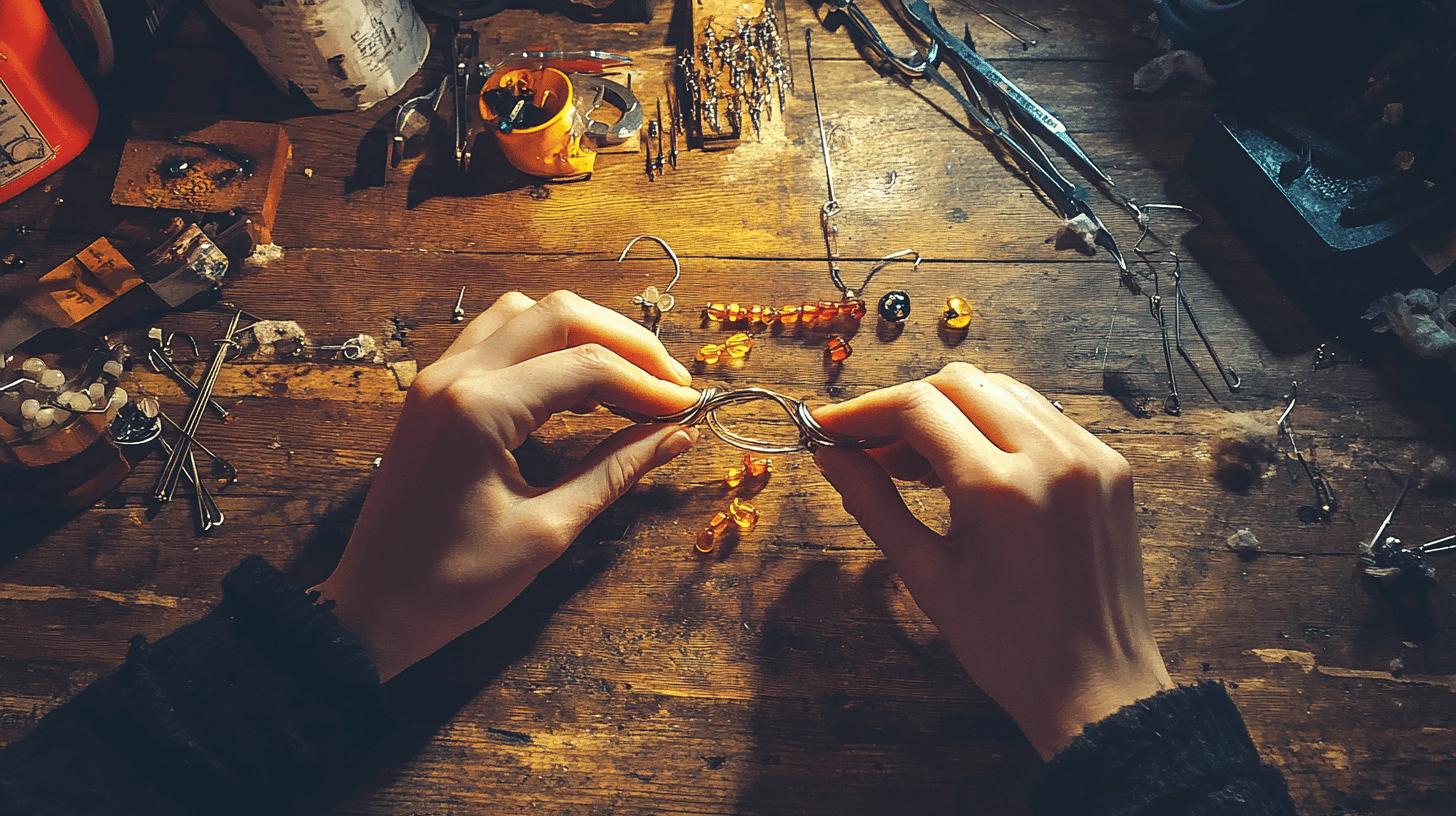
Wire wrapping is a popular technique in earring making that offers a more durable and professional finish compared to open loops. This method involves creating a secure wrapped loop that ensures beads stay in place and adds an intricate touch to your jewellery. Wire wrapping is especially beneficial for heavier beads or more complex designs, providing both strength and aesthetic appeal. Mastering this advanced technique can elevate your beaded earrings, making them stand out as premium handmade pieces.
- Bend wire at a 90-degree angle above beads.
- Form a loop with round nose pliers.
- Wrap wire around the base of the loop.
- Trim excess wire with a flush cutter.
- Secure loop with chain nose pliers.
Exploring variations in wire wrapping can lead to unique and creative designs. Using different wire gauges can change the look and feel of your earrings; finer wire offers a delicate appearance, while thicker wire provides a bold statement.
Additionally, experimenting with various bead combinations, such as mixing gemstones with seed beads or incorporating metal spacers, can add depth and character to your creations. By practising these advanced techniques and exploring different materials, you can craft distinctive and personalised beaded earrings that showcase your artistry and creativity.
Creating Specific Styles: Beaded Hoop Earrings
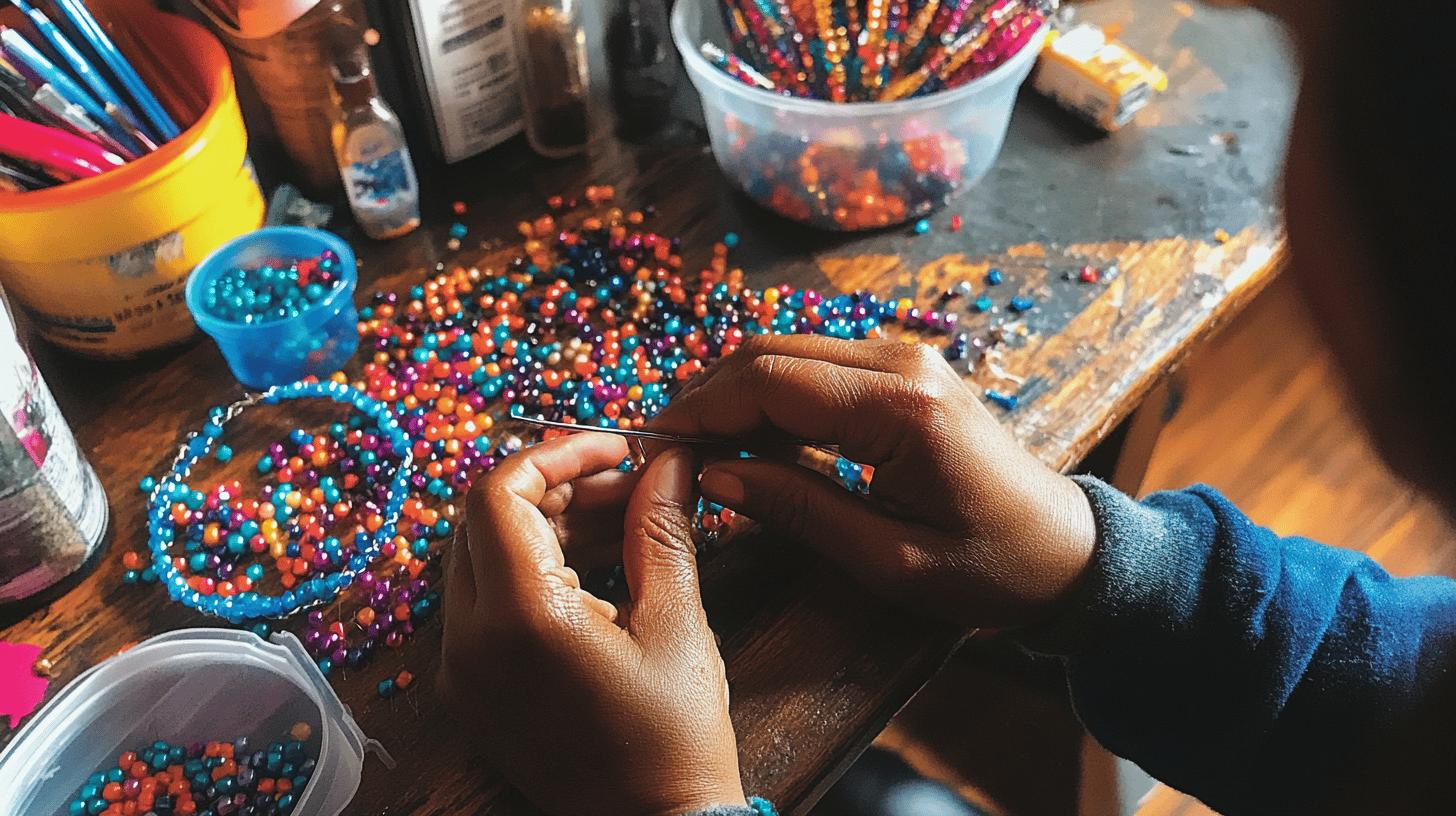
Beaded hoop earrings are a popular choice for their stylish and versatile design. They can be customised to suit any personal taste or occasion by simply changing the type and colour of beads used. The process is straightforward, making it accessible for both beginners and experienced jewellery makers.
- Choose memory wire or pre-made hoops.
- Thread beads onto the hoop.
- Create a balanced design.
- Secure ends with loops or crimp beads.
- Ensure all beads are tightly secured.
The versatility of beaded hoop earrings allows for endless customisation options. Whether you prefer a simple, minimalist look or a bold, colourful statement, you can tailor the design by selecting different beads and arranging them in unique patterns. This adaptability makes beaded hoop earrings a timeless accessory that can be easily updated to match current fashion trends.
Designing Beaded Dangle Earrings
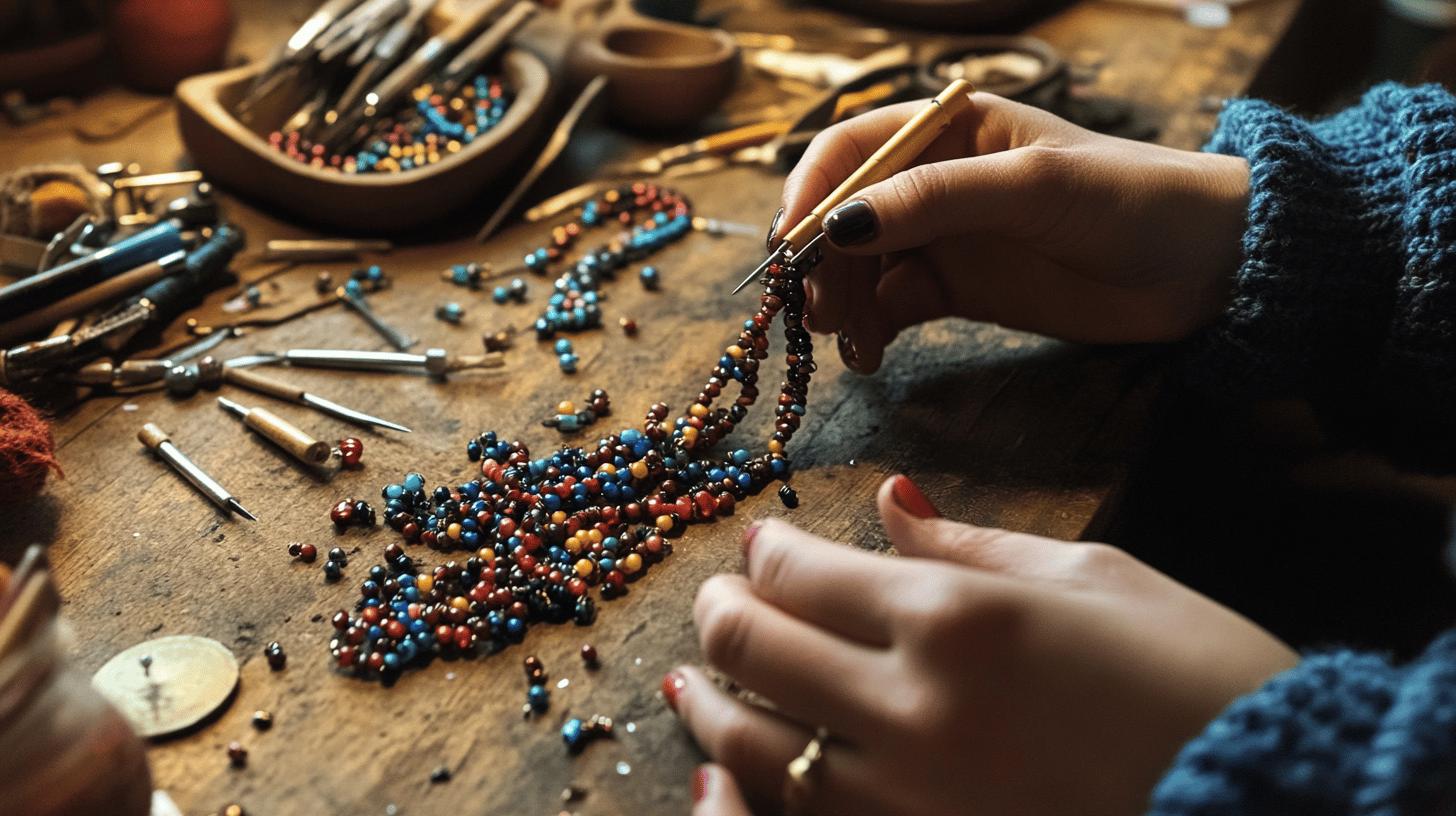
Beaded dangle earrings are a timeless accessory that adds movement and elegance to any outfit. Their appeal lies in their versatility; you can create anything from simple, understated designs to elaborate, eye-catching pieces. These earrings are perfect for both casual wear and special occasions, making them a must-have addition to any jewellery collection. One of the main advantages of beaded dangle earrings is the ability to personalise them by choosing different bead types, sizes, and colours.
- Choose beads and head pins.
- Create multiple drops by threading beads onto head pins.
- Form loops on each head pin with round nose pliers.
- Attach drops to a central connector or directly to the earring hook.
- Secure all connections with chain nose pliers.
To make your beaded dangle earrings stand out, consider varying the sizes and colours of the beads. Mixing different shapes, such as round beads with teardrop beads, can add visual interest. Additionally, using a central connector allows you to add more drops, creating a fuller and more intricate design. Experimenting with different materials, such as glass, crystal, or metal beads, can also give your earrings a unique look. By following these tips and allowing your creativity to flow, you can design stunning beaded dangle earrings that reflect your personal style.
Making Beaded Earrings with Seed Beads
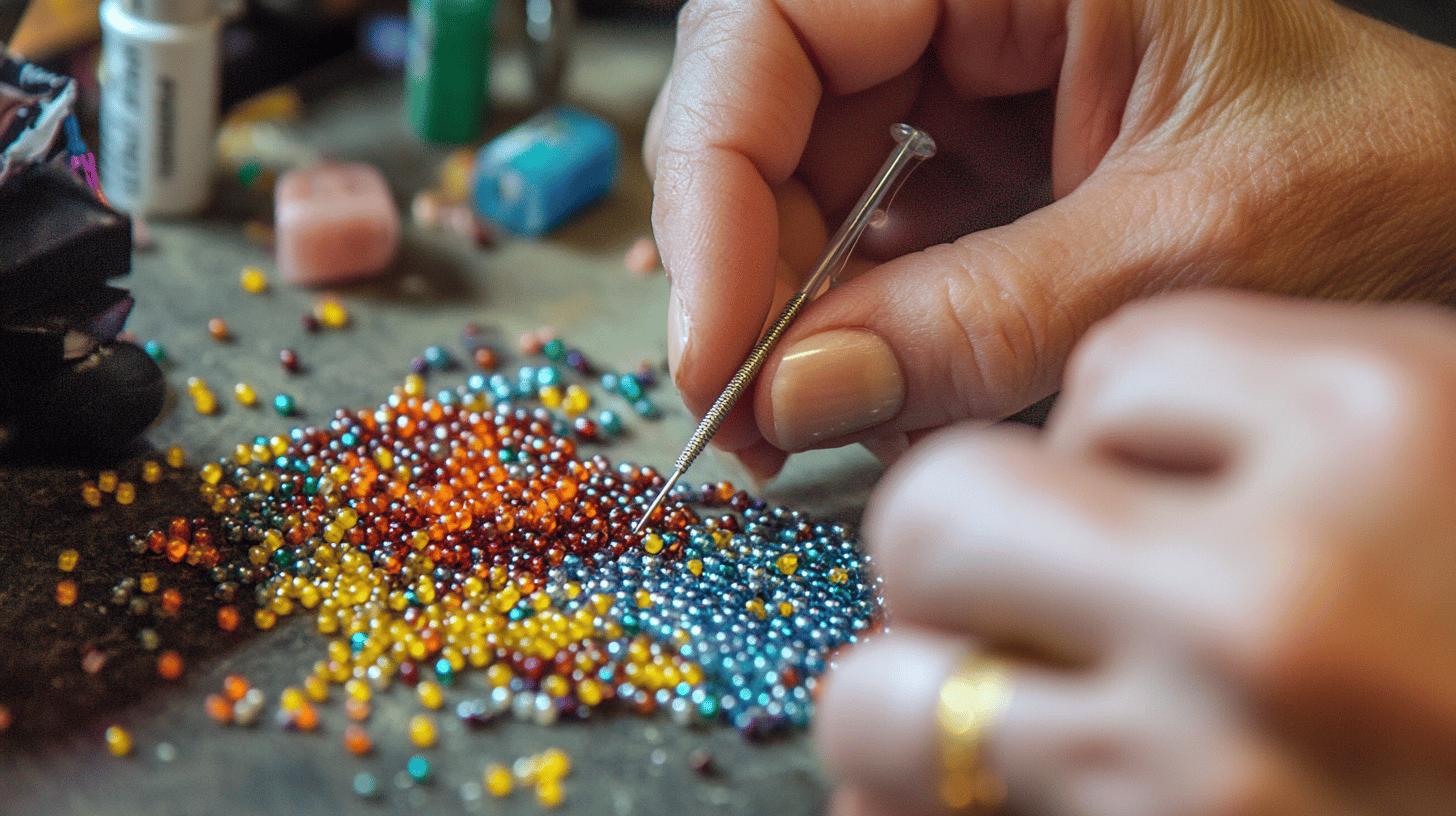
Seed bead earrings are a fantastic way to create intricate and vibrant designs. Using Miyuki round seed beads (11/0), a collapsible eye needle, and Nymo nylon thread, you can craft stunning earrings that are lightweight and versatile. The process involves creating a ladder stitch, followed by a brick stitch, allowing for endless design possibilities. These detailed techniques not only enhance the durability of your earrings but also add a professional touch to your handmade jewellery.
- Use Miyuki round seed beads and Nymo nylon thread.
- Start with 5 feet of thread on your needle.
- Create a ladder stitch with three beads at a time.
- Transition to a brick stitch, adding beads in a specific colour sequence.
- Secure the thread at the end to prevent unraveling.
- Add an earring hook by slipping it under the thread between the centre beads.
- Repeat for the second earring.
For beginners, it is essential to use a bead mat to prevent beads from rolling away and to organise your workspace. Practising basic stitches, such as the ladder and brick stitches, will help you gain confidence in your technique. Additionally, choosing a simple colour scheme can make the initial learning process more manageable. As you become more comfortable, you can experiment with more complex patterns and colour combinations, making each pair of earrings a unique piece of art.
Custom Beaded Earrings: Personalisation and Creativity
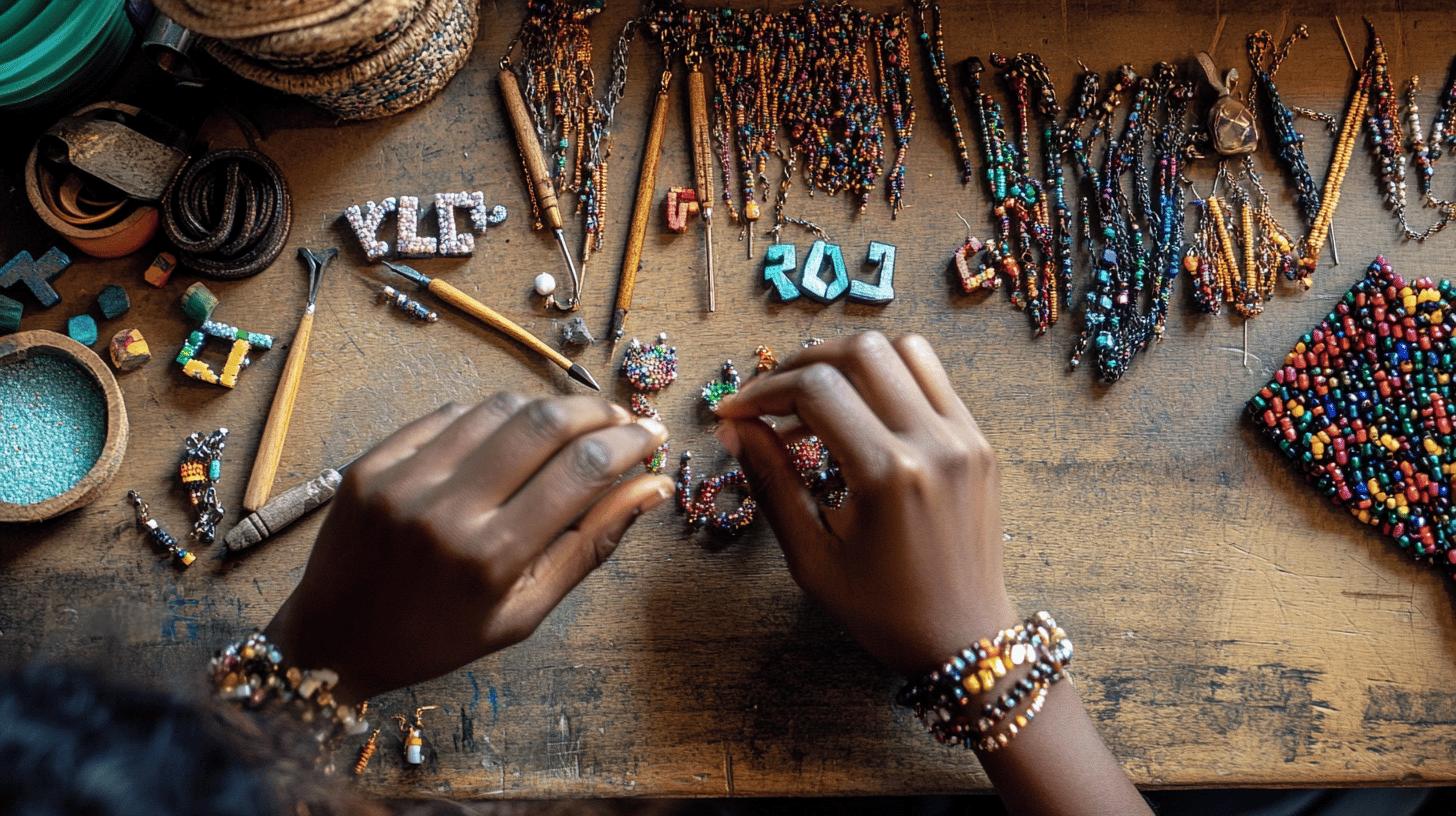
Personalising beaded earrings offers numerous benefits, such as creating unique gifts that carry sentimental value. By incorporating elements like letter beads, you can spell out names or special messages, making each pair of earrings truly one-of-a-kind. Custom designs also allow you to reflect personal style or commemorate special occasions, ensuring that your jewellery holds significant meaning.
- Use letter beads to spell out names or messages.
- Incorporate charms that reflect personal interests.
- Experiment with unique colour combinations.
- Mix different bead sizes and shapes.
- Create designs for special occasions or themes.
The importance of creativity in customising beaded earrings cannot be overstated. Experimenting with various bead sizes, shapes, and colours can lead to truly unique designs that stand out. By allowing your creativity to flourish, you not only enhance your jewellery-making skills but also produce pieces that are a true reflection of your individuality.
Troubleshooting Common Issues in Beaded Earring Making
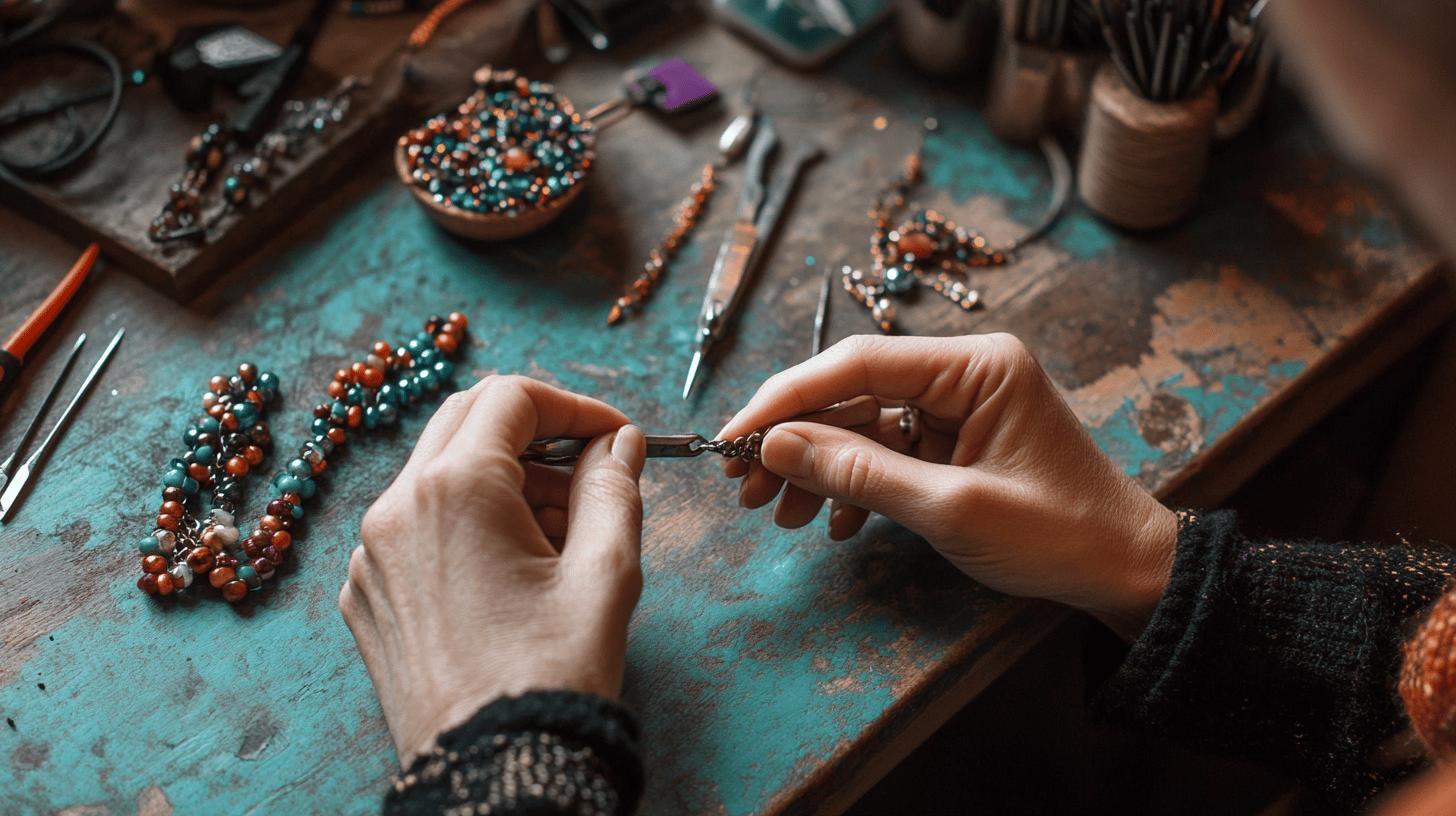
Beginners often face common issues when making beaded earrings, such as loose beads, uneven loops, and difficulty securing findings. These problems can be frustrating but are easily addressable with the right techniques and tools. Using proper tools like chain nose pliers can ensure tight connections, while practising advanced techniques like wire wrapping can significantly improve the durability of your earrings.
- Ensure beads are tightly secured by using proper tools.
- Practise wire wrapping to create durable loops.
- Use metal spacers to keep beads in place.
- Check connections regularly to prevent beads from falling off.
- Seek guidance from tutorials and experienced jewellery makers.
Practising and refining your techniques is key to overcoming these common challenges. Beginners should remain patient and persistent, as improved skills come with time and experience. By focusing on mastering the basics and gradually incorporating advanced techniques, you can create beautiful and durable beaded earrings that showcase your craftsmanship.
Showcasing Your Beaded Earrings: Photography and Presentation
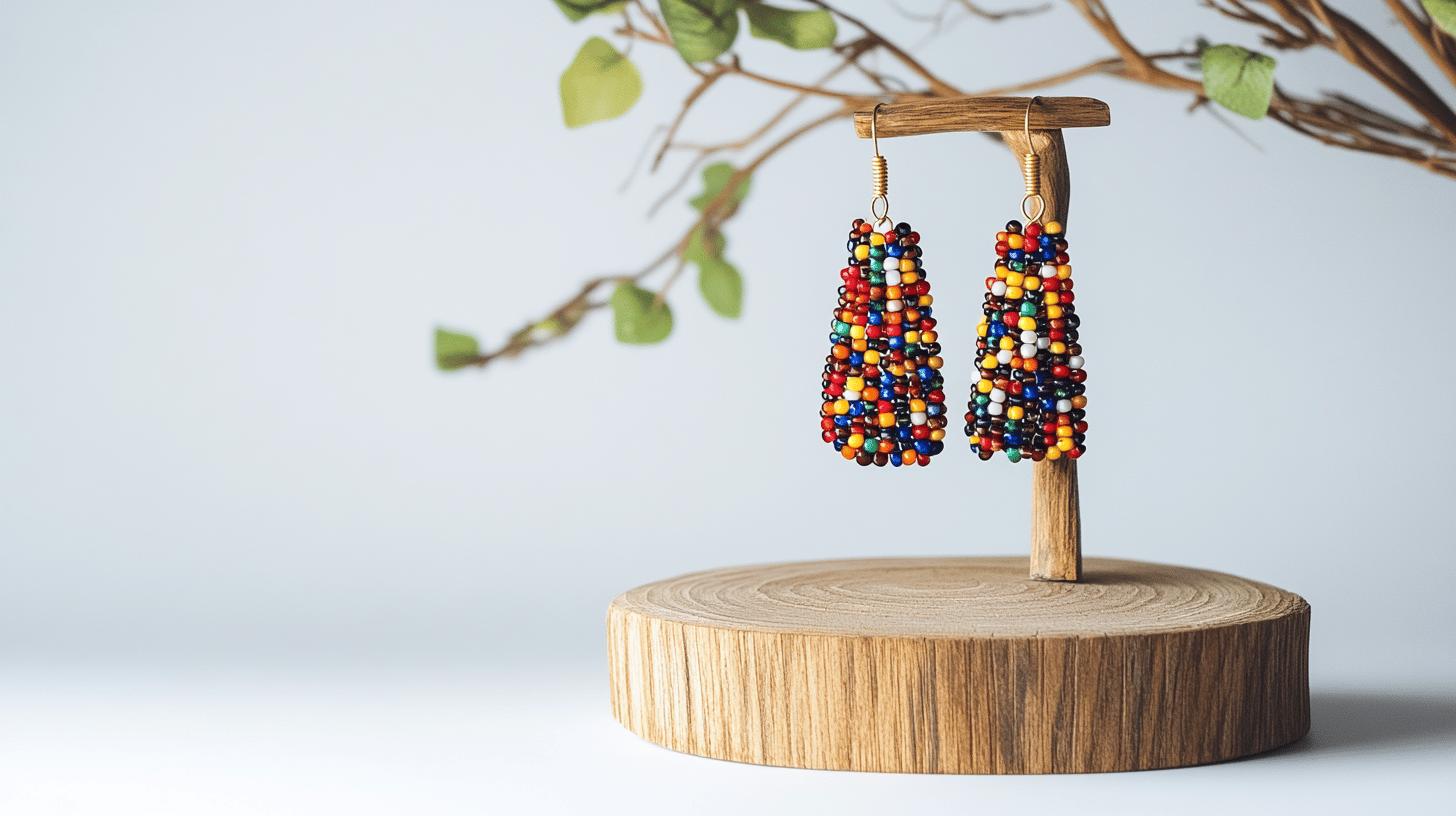
Good presentation is crucial for showcasing handmade earrings. High-quality photos can highlight the details and craftsmanship of your work, making it more appealing to potential buyers or gift recipients. Using natural lighting and a clean background can significantly enhance the visual appeal of your earrings, helping them stand out in any setting.
- Use natural lighting for clear and bright photos.
- Choose a clean and uncluttered background.
- Display earrings on earring cards or stands.
- Highlight details and craftsmanship in close-up shots.
- Edit photos to enhance clarity and colour.
High-quality presentation has a significant impact on sales and gifting. Clear and well-composed photos can attract more attention, increasing the likelihood of making a sale. Additionally, presenting your earrings beautifully can elevate their perceived value, making them more desirable as gifts. Investing time in photographing and presenting your beaded earrings can pay off by showcasing your skills and attracting a wider audience.
Final Words
In the action: learned about essential materials and tools, explored a step-by-step guide, delved into advanced wire wrapping, and created specific styles like hoop and dangle earrings. The focus on personalisation and creativity enhances the uniqueness of each piece.
Making beaded earrings can be both simple and complex, depending on your chosen techniques. Armed with the right supplies and knowledge, anyone can create beautiful, personalised jewellery.
Enjoy your journey into beaded earring making and unleash your creativity.
FAQ
How to Make Beaded Earrings at Home?
To make beaded earrings at home, you need beads, head pins, and earring findings. Use pliers to create loops and attach the beads to the earring findings.
What Do I Need to Start Beading Earrings?
You need beads, head pins, earring findings, chain nose pliers, round nose pliers, and a flush cutter. Safety glasses are recommended for wire cutting.
How to Make Earrings with Beads Step by Step?
To make earrings step by step:
- Arrange beads on a head pin.
- Leave space for forming a loop.
- Use pliers to form a loop.
- Attach the loop to the earring hook.
- Secure the loop using chain nose pliers.
How to Make Earrings with Beads and String?
Thread beads onto a strong string and secure with knots or crimps. Attach to earring hooks using loops or knots.
How to Make Earrings with Clay Beads?
Form clay beads, bake them according to instructions, and cool. Use head pins to string the beads, create loops, and attach to earring hooks.
How to Make Drop Earrings with Beads?
To make drop earrings:
- Thread beads onto a head pin.
- Create a loop at the end.
- Attach to the earring hook directly or via connectors.
How to Make Hoop Earrings with Beads?
Thread beads onto memory wire or pre-made hoops. Secure ends with loops or crimp beads. Ensure beads are tightly secured.
How to Make Beaded Earrings on Felt?
Sew beads onto felt using a needle and thread, forming patterns. Cut the felt to shape and attach earring findings.
How to Make Earrings for Beginners?
Beginners can start by threading beads onto head pins, forming loops, and attaching to earring hooks. Practise basic techniques to improve skills.
How to Attach a Bead to an Earring?
Thread the bead onto a head pin. Create a loop at the end and attach to the earring hook. Secure with pliers for a tight connection.
How to Make Beaded Earrings on YouTube?
Search for beginner tutorials on YouTube. Follow step-by-step guides to learn techniques and get inspired by designs.

