So, have you ever admired a stunning pair of earrings and thought, “I could make that”? With the right tools and materials, creating your own earrings at home is not only possible but also incredibly rewarding.
This guide breaks down the essentials and steps needed to kickstart your earring-making journey, helping you craft unique pieces that reflect your personal style. From basic bead earrings to bold statement pieces, learn how to handcraft accessories that will elevate your jewellery collection and make perfect, personalised gifts. Ready to unleash your creativity? Let’s get started!
Essential Tools and Materials for Making Earrings at Home
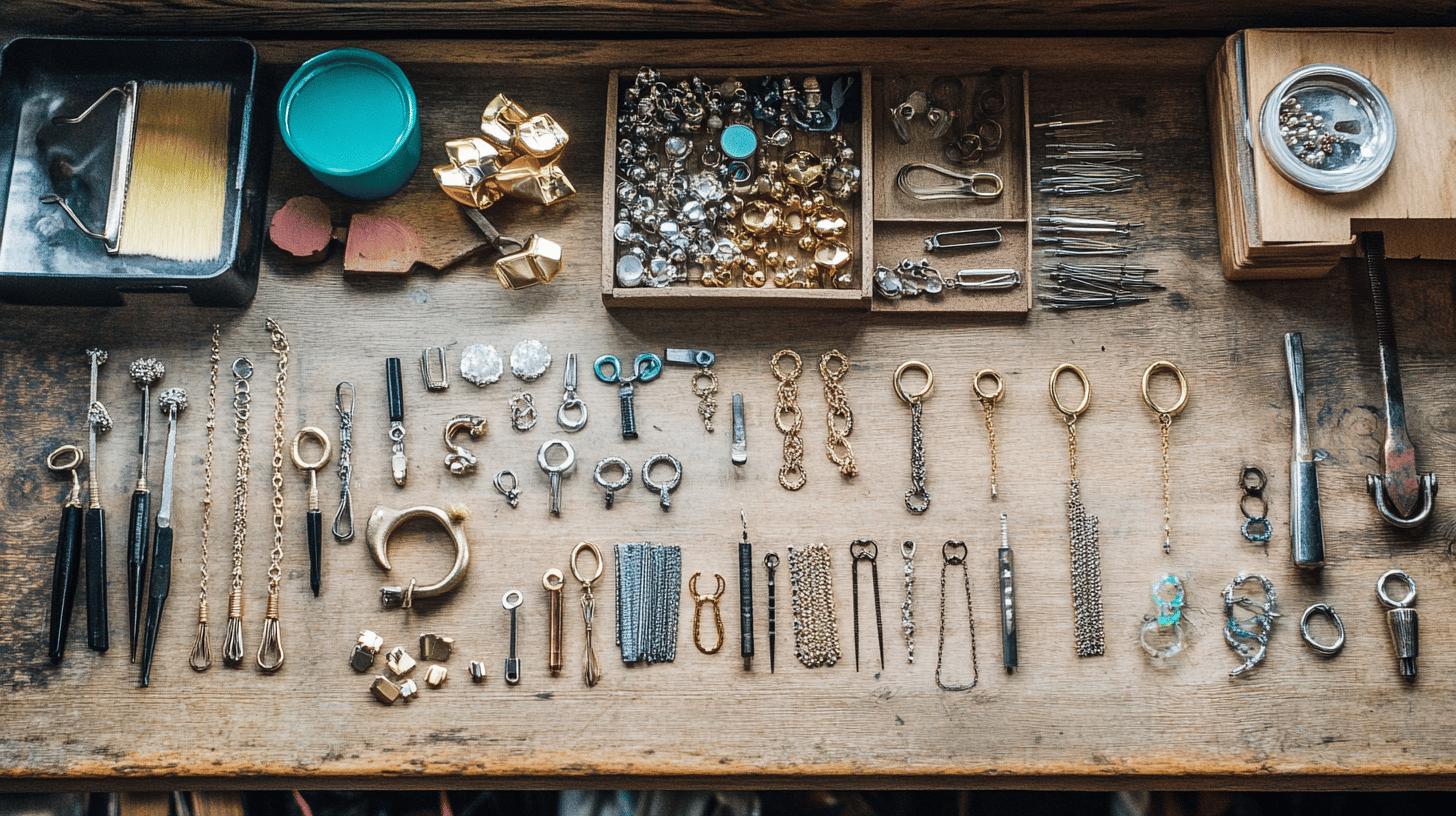
Wire cutters, round nose pliers, and flat nose pliers are crucial tools for creating earrings at home. Wire cutters allow precise trimming of wires, ensuring clean edges and reducing the risk of injury. Round nose pliers are perfect for forming loops and curves, while flat nose pliers help in holding and bending wires with precision.
Quality materials are equally important for a successful earring-making project. Using high-quality beads and wires not only enhances the aesthetic appeal but also ensures durability. Beads come in various sizes, shapes, and materials, allowing endless design possibilities. Wire quality affects the strength and flexibility of the earring, making it vital to choose the right type.
Essential Tools and Materials:
- Wire Cutters: For trimming excess wire neatly.
- Round Nose Pliers: Essential for creating loops and curves.
- Flat Nose Pliers: Used for holding and bending wires.
- Earring Hooks: To attach the designed piece to the ear.
- Flat Head Pins: For securing beads and other decorative elements.
Investing in these tools and materials is the first step towards creating beautiful homemade earrings. With the right equipment, even beginners can achieve professional-looking results. Start with basic designs and gradually experiment with more intricate patterns and materials.
Step-by-Step Guide to Making Simple Bead Earrings at Home
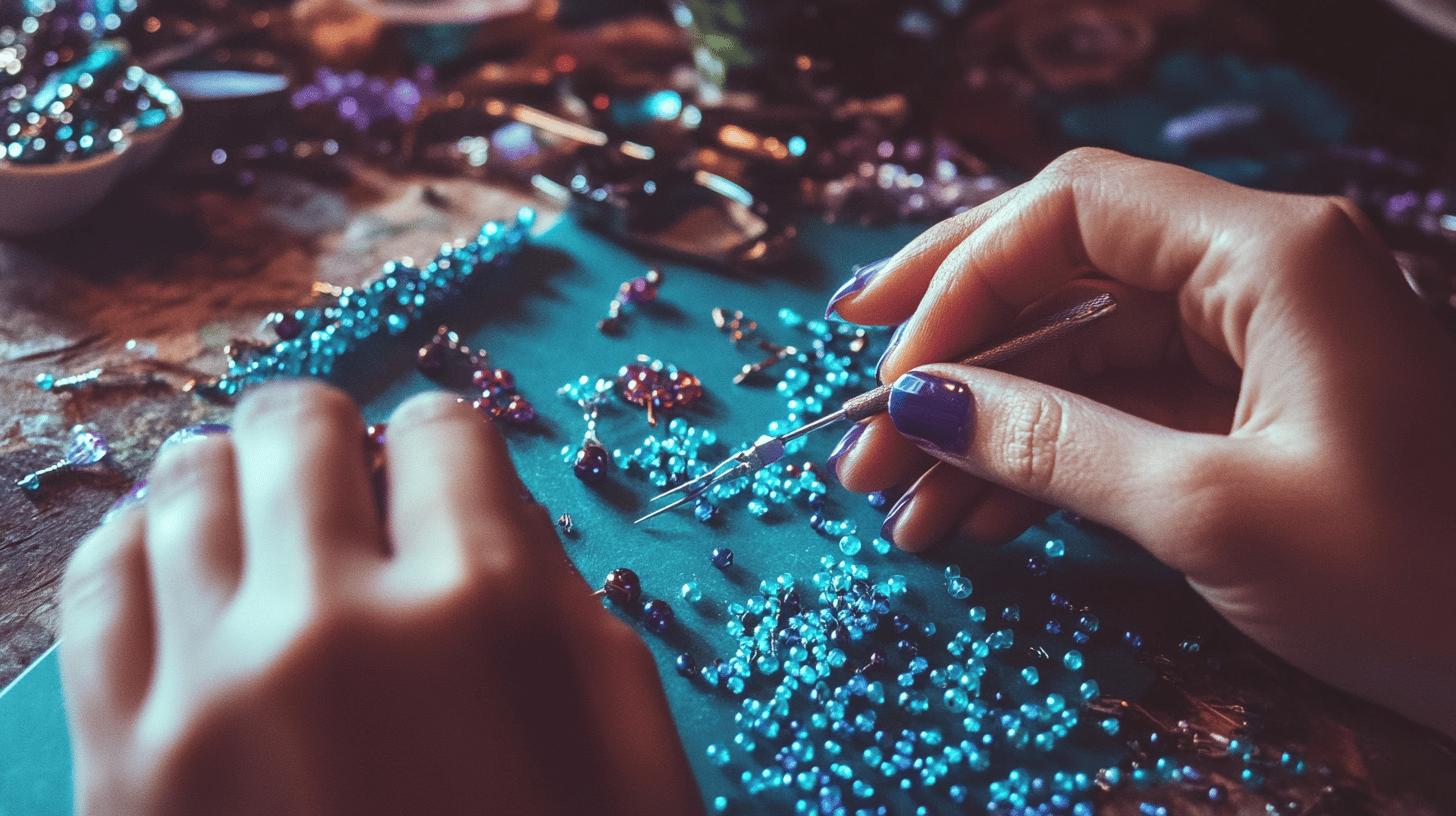
Creating bead earrings is an excellent starting point for beginners. The simplicity of the process, combined with the versatility of design options, makes it a popular choice for those new to earring making.
By threading beads onto a flat head pin and using pliers to create loops, you can craft beautiful and unique earrings in no time. Bead earrings can be customised with various colours, shapes, and sizes, allowing for endless creativity and personalisation.
Steps to Make Simple Bead Earrings:
- Gather Materials: Collect beads, flat head pins, earring hooks, wire cutters, round nose pliers, and flat nose pliers.
- Thread Beads: Slide your chosen beads onto a flat head pin. You can use one or multiple beads, depending on your desired design.
- Trim Excess Pin: Use wire cutters to trim the flat head pin, leaving about 1 cm of pin above the beads.
- Create a Loop: Use round nose pliers to bend the excess pin into a loop. This loop will secure the beads in place.
- Attach to Hook: Open the loop slightly with flat nose pliers and hook it onto the earring hook. Close the loop securely with the pliers.
- Repeat for Second Earring: Follow the same steps to create the second earring, ensuring both earrings match in design and length.
These steps provide a straightforward method for creating simple bead earrings. Experimenting with different bead colours and sizes can yield a variety of designs, making each pair unique. With practice, you can refine your technique and explore more intricate patterns, enhancing your earring-making skills.
Crafting Statement Earrings at Home
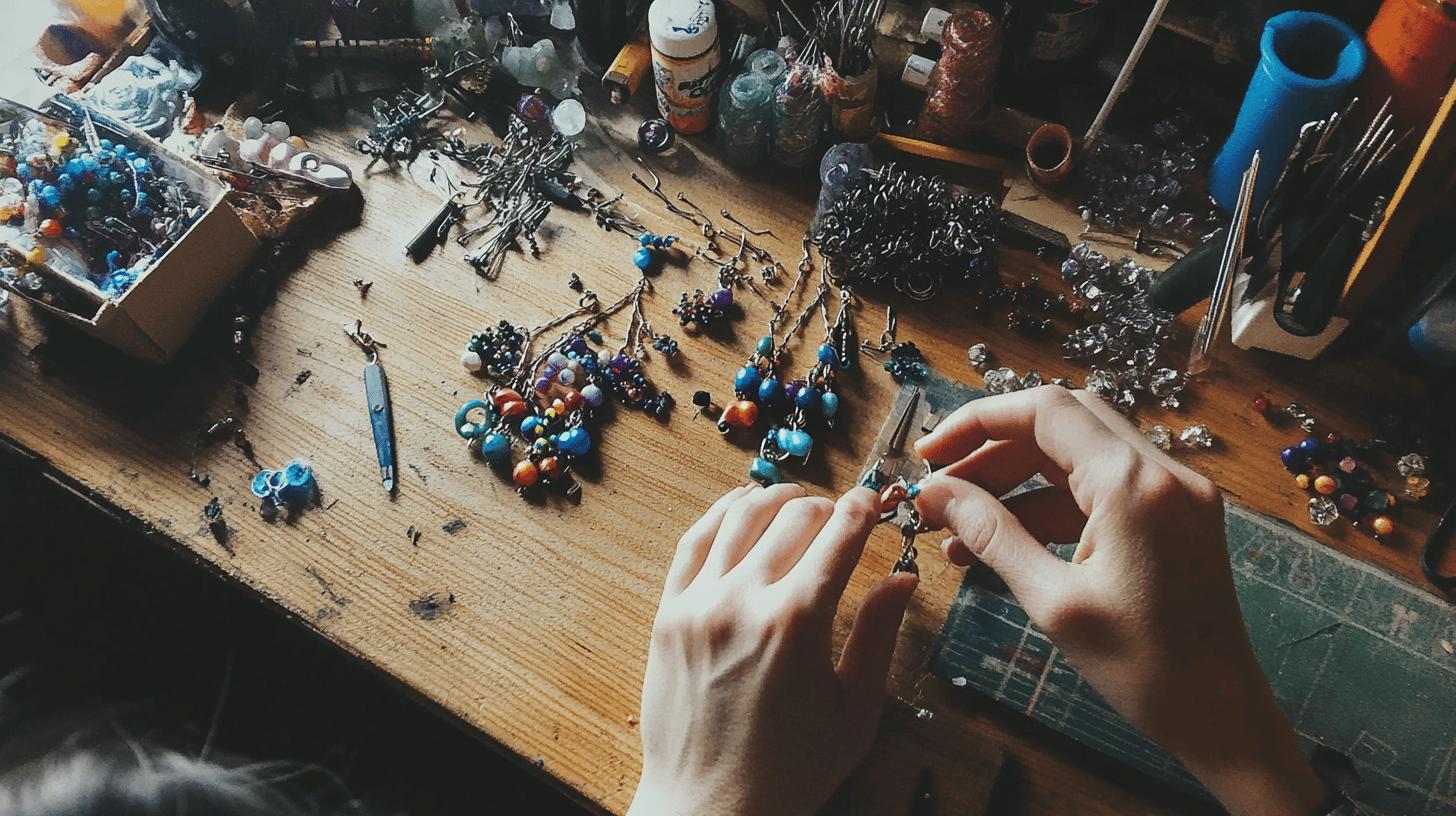
Statement earrings are designed to stand out with their bold designs and larger sizes. These eye-catching pieces can transform any outfit, adding a touch of drama and style. Materials for statement earrings can vary widely, including beads, wire, fabric, and more. The key to creating stunning statement earrings lies in combining creativity with attention to detail.
Tips for Creating Statement Earrings:
- Choose Lightweight Materials: Use materials like resin, acrylic, and lightweight metals to ensure comfort.
- Balance Design and Size: While larger sizes make a statement, balance the design to avoid overwhelming the ear.
- Mix and Match Textures: Combine different textures like smooth beads and rough fabrics for a unique look.
- Incorporate Colour: Bold colours can enhance the visual impact of your earrings.
- Use High-Quality Findings: Ensure the hooks and clasps are sturdy to support the weight of the earrings.
- Experiment with Shapes: Try unconventional shapes like geometric patterns or abstract forms.
- Layer Elements: Add depth by layering different materials and components.
Balancing weight and comfort is crucial when making statement earrings. Using lightweight materials helps prevent the earrings from feeling too heavy on the ears, ensuring they can be worn comfortably for extended periods. Pay attention to the earring’s structure to distribute the weight evenly. This balance allows you to enjoy the striking impact of statement earrings without compromising on comfort.
DIY Magnetic Earrings: A Step-by-Step Guide

Magnetic earrings offer a fantastic alternative for those who wish to avoid piercings. They are not only easy to make but also versatile and customisable. The primary benefit of magnetic earrings is the ability to change styles effortlessly without any commitment. Additionally, they are suitable for all ages, making them a great DIY project for both kids and adults alike.
Steps to Make Magnetic Earrings:
- Gather Materials: Collect small magnets, decorative elements (such as beads, charms, or fabric), strong adhesive (like E6000 glue), and tweezers.
- Prepare the Decorative Elements: Choose your preferred decorative elements and arrange them in your desired design. Ensure they are small and lightweight enough to be comfortably worn as earrings.
- Apply Adhesive: Use tweezers to hold the small magnet. Apply a small amount of strong adhesive to one side of the magnet.
- Attach Decorative Elements: Press the prepared decorative element onto the adhesive-covered side of the magnet. Hold it in place for a few seconds to ensure a strong bond.
- Allow to Dry: Let the adhesive dry completely, usually for 24 hours, to ensure the decorative elements are securely attached to the magnets.
Creating your own magnetic earrings allows for endless creativity and customisation. Experiment with different materials, such as fabric, beads, or even small trinkets, to develop unique and personalised designs. This DIY project is a fun and accessible way to expand your jewellery collection without the need for piercings.
Creating Polymer Clay Earrings at Home
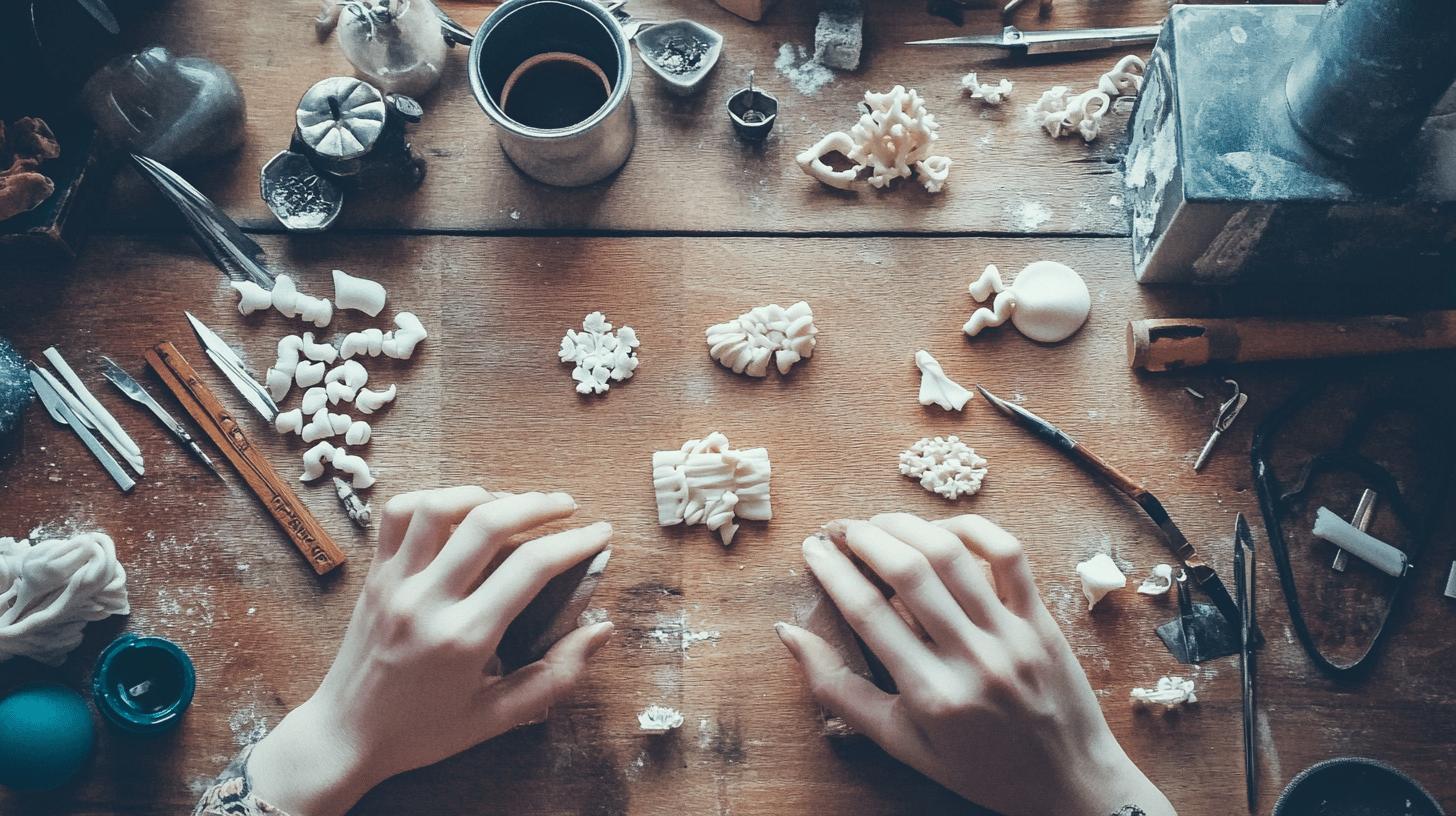
Polymer clay earrings are a popular choice for DIY jewellery enthusiasts due to their versatility and ease of use. This medium allows for a wide range of custom designs, making it perfect for both beginners and experienced crafters. Basic materials needed include polymer clay, an acrylic rolling pin, and various tools for shaping and cutting. With these supplies, you can create unique and stylish earrings that reflect your personal style.
Read More: How to Make Clay Earrings: Easy Steps
Rainbow Arch Shaped Earrings
To create rainbow arch shaped earrings, start by conditioning the polymer clay until it is soft and pliable. Roll out the clay using an acrylic rolling pin to an even thickness. Cut out arch shapes using a craft knife or a specialised cutter. Bake the clay according to the manufacturer’s instructions, allow it to cool, and then attach earring hooks or studs to complete the piece.
Floral Patterned Slab Earrings
Begin by rolling out a slab of polymer clay to an even thickness. Use small cutters or tools to create floral patterns on the slab. You can mix different colours of clay to add more detail to the flowers. Once you are satisfied with the design, cut out the desired earring shapes from the patterned slab. Bake the clay pieces, allow them to cool, and attach the earring findings.
Terrazzo Pattern Earrings
For terrazzo pattern earrings, start by rolling out a base layer of polymer clay. Create small, irregular pieces of different coloured clay and press them into the base layer. Roll over the entire piece with the acrylic rolling pin to flatten the surface and integrate the pieces. Cut out the earring shapes, bake according to the instructions, and attach the findings once cooled.
Easy Textured Earrings
Roll out the polymer clay to an even thickness. Use textured stamps, tools, or even household items like lace or leaves to press patterns into the clay. Cut out the desired shapes and bake them. After cooling, attach the earring hooks or studs. This technique adds a simple yet effective texture to your earrings.
Read More: What Are Stud Earrings? Discover Their Charm
Abstract Landscape Earrings
Combine different colours of polymer clay to create a landscape scene. Roll each colour into thin layers and stack them. Blend the edges where the colours meet to create a seamless transition. Cut out the earring shapes and bake. Once cooled, attach the findings to complete your abstract landscape earrings.
Marbled Clay Earrings
To create marbled clay earrings, use scrap pieces of different coloured polymer clay. Roll each piece into a thin rope and twist them together. Roll the twisted rope into a ball and flatten it with the acrylic rolling pin. Cut out the earring shapes, bake, and allow them to cool before attaching the findings.
Creating polymer clay earrings opens a world of design possibilities. Experiment with different techniques and colours to discover your unique style. The process is not only enjoyable but also results in beautiful, custom-made jewellery pieces.
Handmade Pearl Earrings: A DIY Guide

Pearl earrings are a timeless and elegant addition to any jewellery collection. Known for their classic beauty, pearls can elevate any look with their lustrous sheen and sophisticated charm. The versatility of pearl earrings makes them suitable for various occasions, from casual outings to formal events. Creating your own handmade pearl earrings allows you to personalise your jewellery and explore different designs that suit your style.
Steps to Make Pearl Earrings:
- Gather Materials: Collect pearls, jewellery wire, earring hooks, flat head pins, wire cutters, and round nose pliers.
- Thread Pearls: Slide a pearl onto a flat head pin. Ensure the pearl sits snugly against the pin head.
- Trim Excess Pin: Use wire cutters to trim the pin, leaving about 1 cm above the pearl.
- Create a Loop: Use round nose pliers to bend the excess pin into a loop, securing the pearl in place.
- Attach to Hook: Open the loop slightly with the pliers, hook it onto the earring hook, and close the loop securely.
Experimenting with different pearl sizes and colours can add a unique touch to your handmade earrings. Try combining various shades of pearls or mixing them with other beads to create distinctive designs. This DIY project not only results in beautiful jewellery but also provides a creative outlet to express your style.
How to Make Unique Earrings with Waste Materials
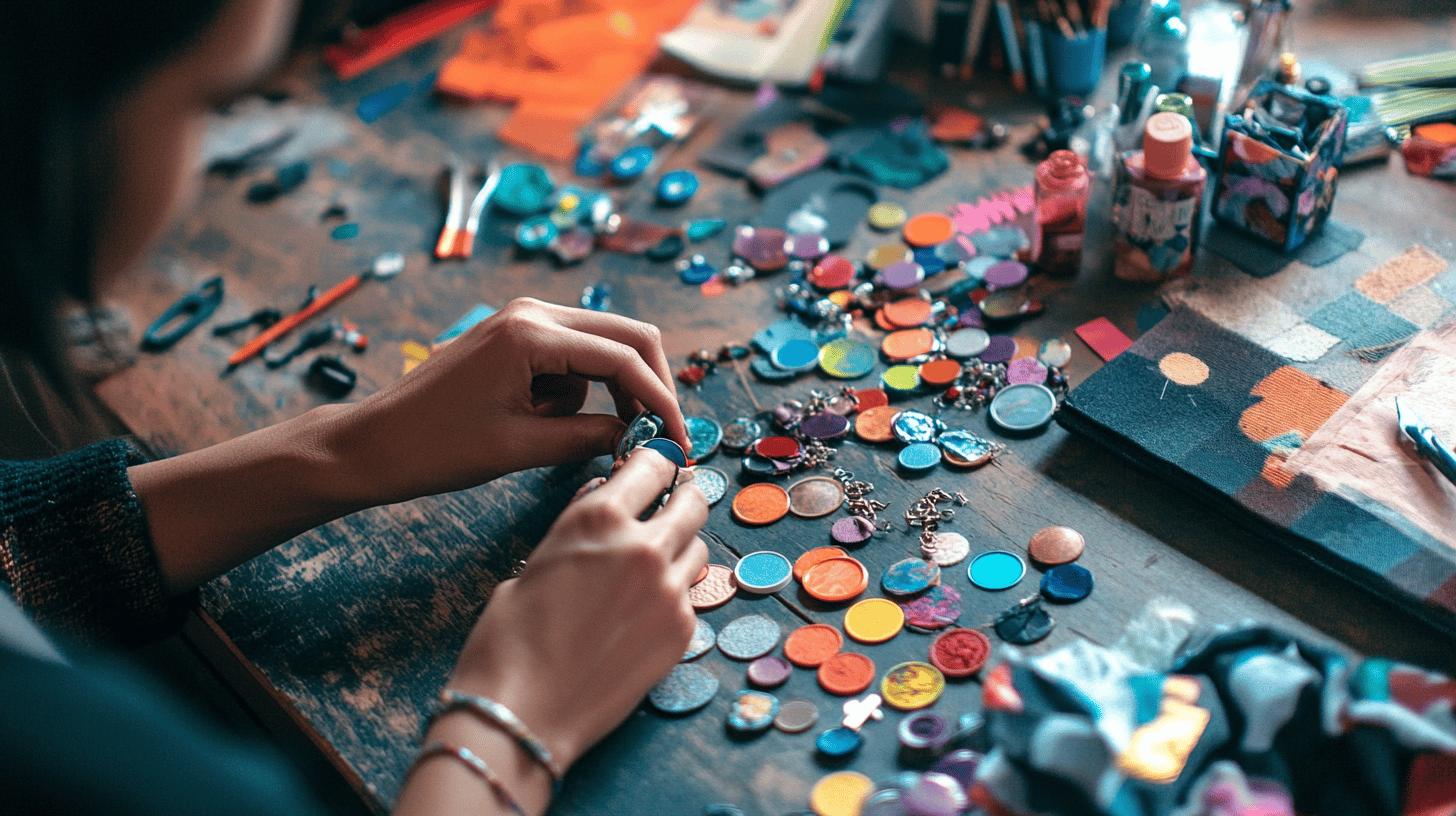
Creating earrings from waste materials offers numerous benefits. It’s an eco-friendly approach that reduces waste while allowing for creative expression. Transforming everyday items into beautiful accessories not only helps the environment but also results in one-of-a-kind jewellery pieces.
Common materials that can be repurposed into earrings include fabric scraps, bottle caps, and paper. Fabric scraps can be cut into various shapes and layered for a textured look. Bottle caps can be painted or decorated with beads and charms, turning them into quirky statement pieces. Paper can be folded, cut, or even quilled to create intricate designs. These materials are often readily available at home, making the process accessible and budget-friendly.
Using waste materials for jewellery making has a positive environmental impact. It reduces the amount of trash that ends up in landfills and encourages recycling. By repurposing items, you contribute to a more sustainable lifestyle, promoting the idea of reusing and upcycling.
For beginners, start with simple designs and gradually experiment with more complex patterns as you gain confidence. Ensure you have basic tools like scissors, glue, and earring hooks on hand. Explore tutorials and gather inspiration from everyday objects around you. The key is to let your creativity flow and enjoy the process of turning waste into wearable art.
Professional Earring Making Kits: A Comprehensive Guide
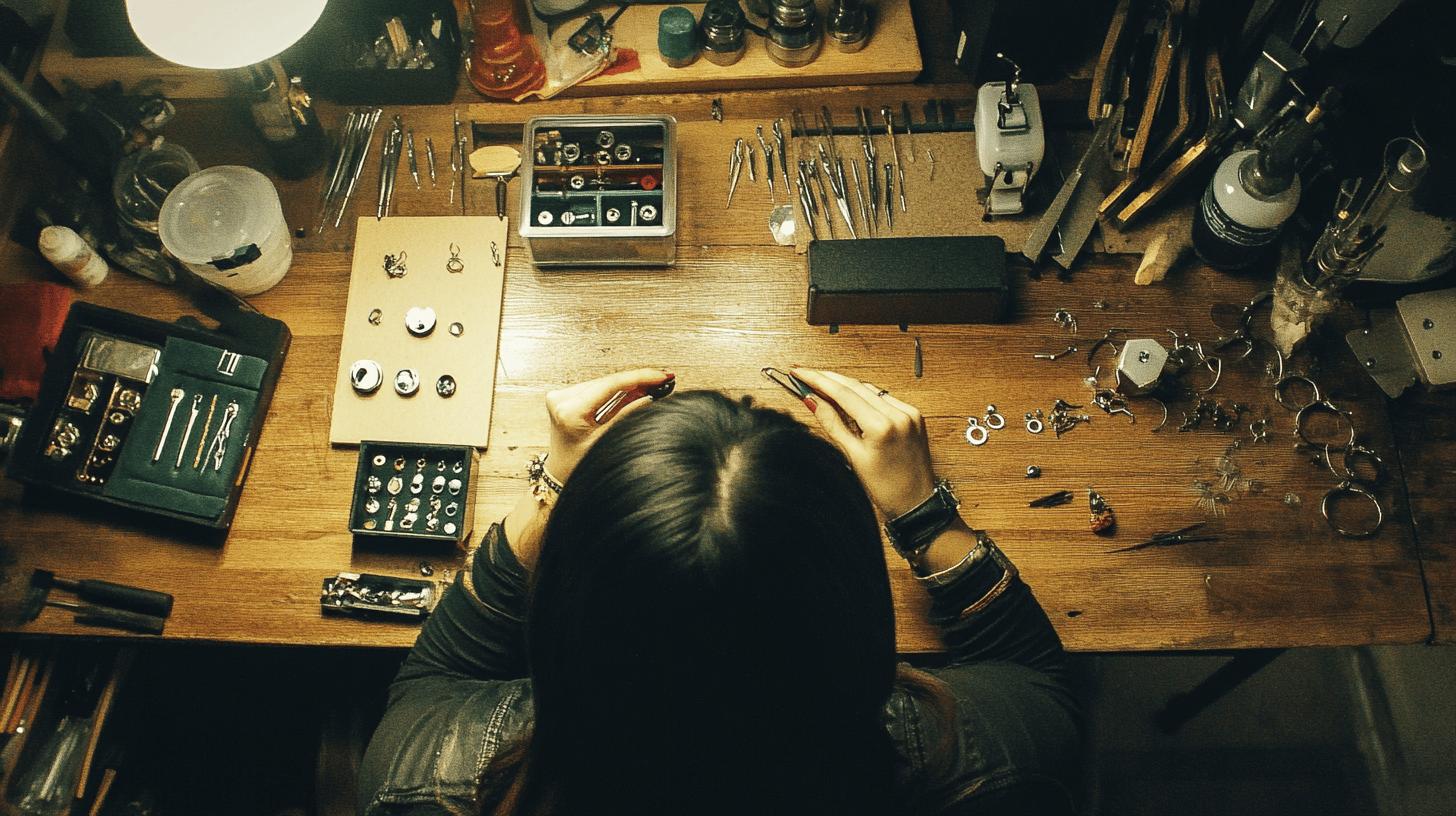
Professional earring making kits offer a comprehensive solution for enthusiasts looking to elevate their jewellery crafting skills. These kits come equipped with a variety of tools and materials, making them suitable for advanced crafters. One of the primary benefits is the inclusion of detailed instructions, which guide users through complex designs and techniques. This ensures that even intricate earring designs can be achieved with precision and ease. Additionally, these kits often feature high-quality tools and materials, resulting in professional-grade earrings that are both durable and aesthetically pleasing.
| Kit Name | Tools Included | Materials Included | Price |
|---|---|---|---|
| Ultimate Jewellery Kit | Wire cutters, round nose pliers, flat nose pliers | Assorted beads, wires, earring hooks | £45 |
| Deluxe Earring Set | Beading needles, thread snips, pliers | Gemstones, pearls, findings | £60 |
| Pro Crafter Kit | Jewellery hammer, bench block, needle files | Metal sheets, jump rings, clasps | £80 |
| Artisan Earring Kit | Resin tools, moulds, mixing cups | Resin, pigments, earring posts | £70 |
When selecting the right professional earring making kit, consider factors such as the types of tools included and the quality of materials. High-quality tools not only enhance the crafting experience but also contribute to the longevity and finish of the earrings. Look for kits that offer a wide range of materials to allow for creative freedom and versatility in design. Additionally, ensure that the kit provides detailed instructions or tutorials, especially if you plan to explore advanced techniques. Investing in a well-rounded kit can significantly improve your craftsmanship and open up new possibilities in your earring making journey.
Final Words
In the action, understanding how to make earrings at home becomes an enjoyable and creative journey. Essential tools like wire cutters, pliers, and quality materials are the foundation of any earring-making project. The step-by-step guides offer a starting point for beginners while encouraging experimentation and personalisation in designs. Statement earrings, magnetic options, polymer clay creations, and pearl designs each present unique opportunities to craft stunning pieces.
Embrace the artistry of earring-making with professional kits, or explore eco-friendly options using waste materials. Enjoy the process and wear your creations with pride!
FAQ
How to make earrings at home with beads?
Making earrings with beads at home involves threading beads onto a flat head pin, creating loops with pliers, and attaching them to earring hooks.
Easy earrings to make and sell
Simple bead earrings, polymer clay designs, and earrings made from waste materials are easy to make and sell. They require basic tools and allow for creative designs.
How to make earrings at home for beginners?
Beginners should start with simple bead earrings. Use beads, flat head pins, and basic pliers. Thread beads onto the pin, create a loop, and attach it to the earring hook.
How to make earrings at home with waste material?
Use materials like fabric scraps, bottle caps, or paper. Clean and prepare materials, then attach them to earring hooks using glue or wire.
How to make handmade earrings at home?
Handmade earrings require basic tools (pliers, wire cutters) and materials (beads, wire). Create your design, thread materials onto wire, form loops, and attach to hooks.
How to make earrings at home without hooks?
Use magnetic clasps or clip-on findings instead of hooks. Attach your decorative elements to these clasps for secure earring designs.
Earring making ideas
Try bead earrings, polymer clay designs, recycled material earrings, statement pieces, and magnetic earrings. Mix materials and techniques for unique results.
What do you need to make homemade earrings?
Essential tools include wire cutters, round nose pliers, and flat nose pliers. Materials vary but typically include earring hooks, beads, wire, and flat head pins.
What supplies are needed to make earrings?
To make earrings, you’ll need:
- Wire cutters
- Round nose pliers
- Flat nose pliers
- Earring hooks
- Flat head pins
- Beads or other decorative elements
How to put together an earring?
Thread beads onto a head pin, use pliers to make a loop, and attach it to an earring hook. Secure the loop to ensure it doesn’t open.
How to make earrings with paper clips?
Straighten paper clips, then shape them into desired earring forms. Add beads or other decorations by threading them onto the wire before forming loops.
Earring Making Kit
An earring making kit typically includes essential tools like pliers, wire cutters, and various materials such as beads, hooks, and pins. These kits are ideal for beginners and advanced crafters.

