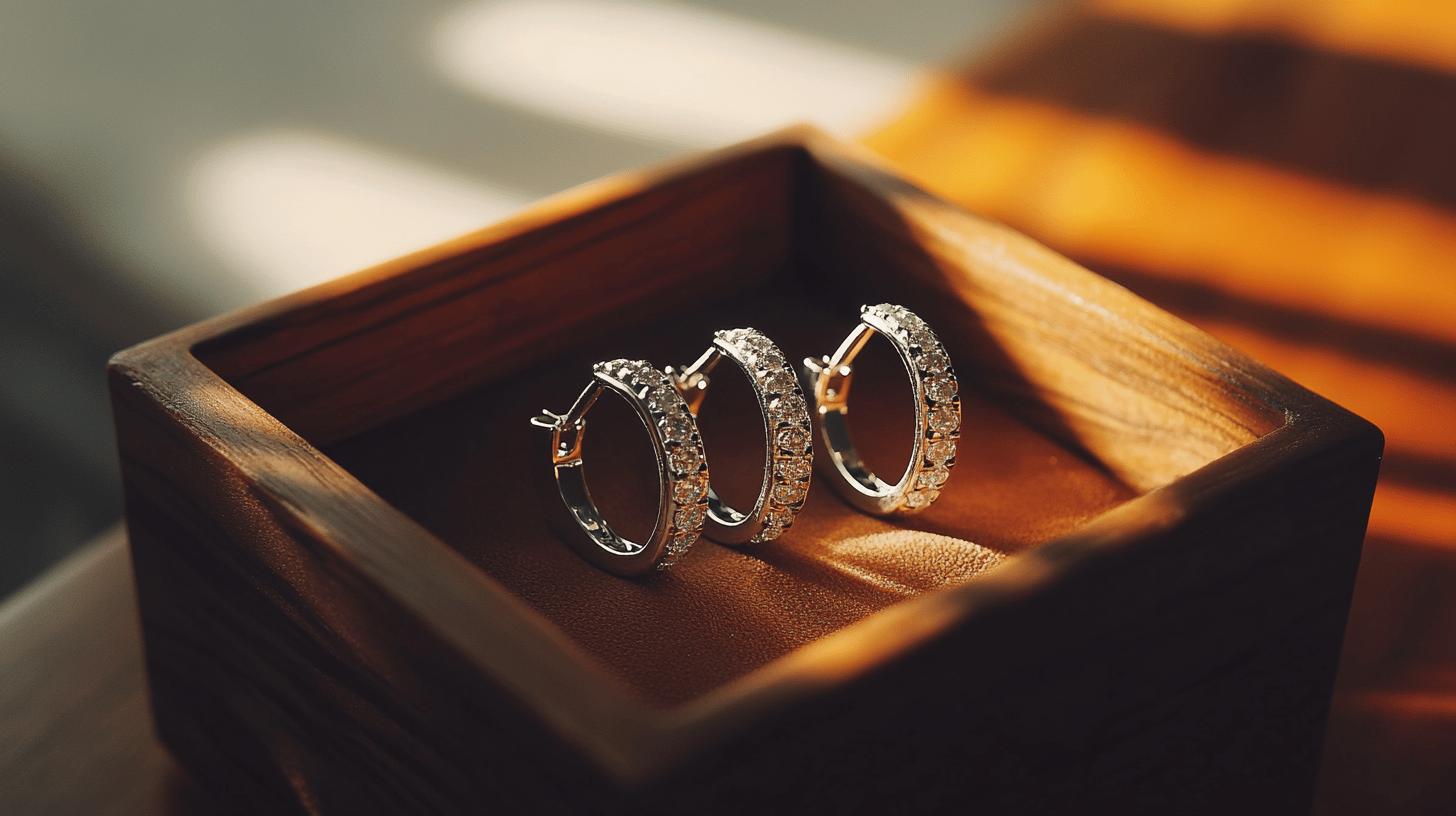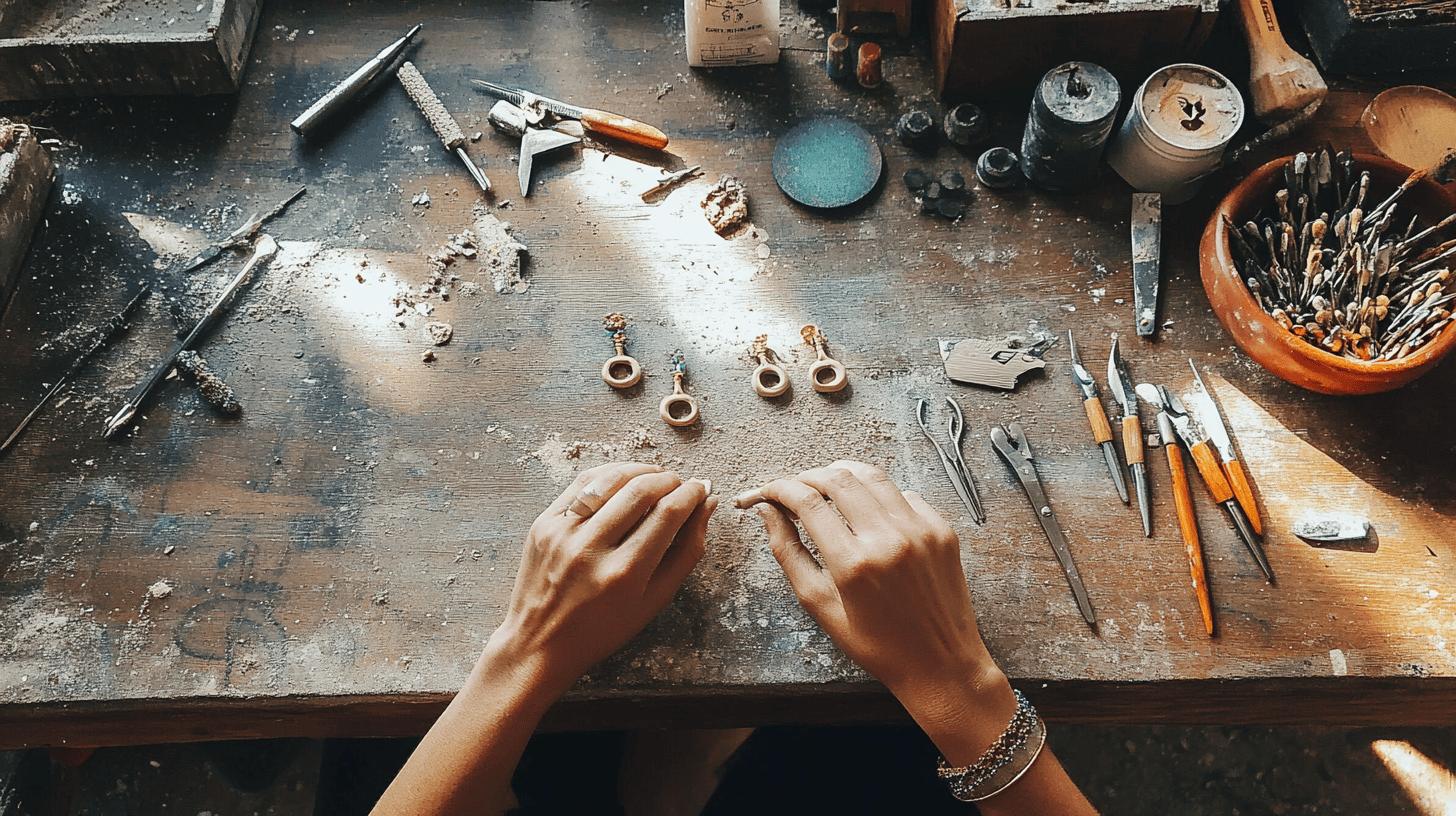
Ever wondered how those stylish clay earrings you see on Instagram are made? What if you could create your own bespoke pieces with just a few simple steps? Making clay earrings at home is not only a fun and creative endeavour but also a wonderful way to own unique accessories that you’re proud to wear or gift. In this guide, Amore Jewellery breaks down the easy steps, must-have materials, and expert tips to help you craft beautiful clay earrings from start to finish. Dive in and discover how accessible and rewarding this creative process can be.
Essential Materials and Tools for Making Clay Earrings
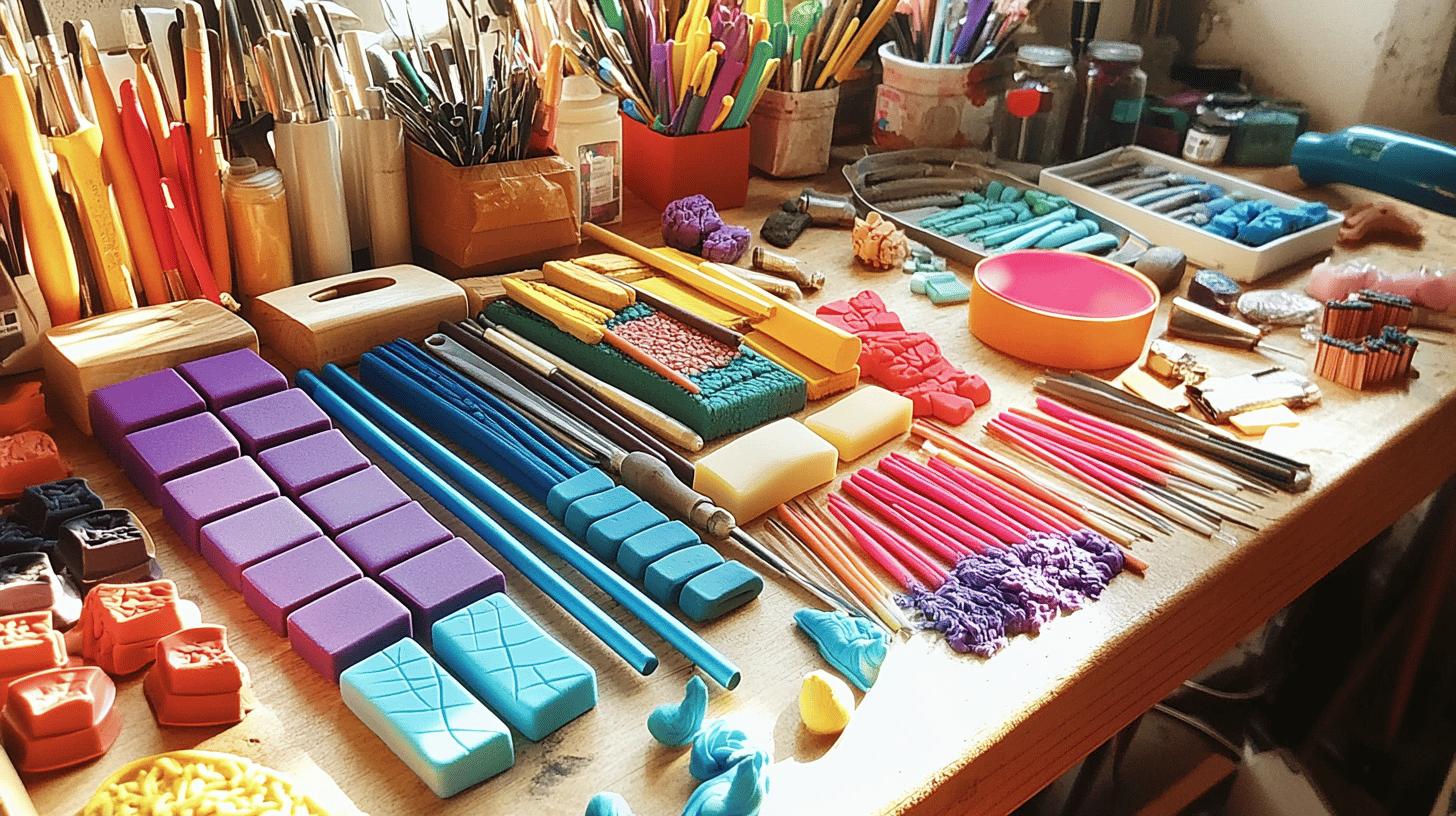
High-quality polymer clay is vital for crafting durable and detailed earrings. Brands like Sculpey Premo and Sculpey Souffle are recommended due to their excellent workability and ability to retain intricate details. These clays come in various colours, allowing for endless design possibilities. Using top-quality clay ensures the earrings are less likely to break and more likely to have a professional finish.
Equally important are the tools used in the crafting process. An acrylic rolling pin, for instance, is preferred over wooden rolling pins used for food, as it ensures a smooth, non-stick surface. Precision tools like a needle tool and pliers are essential for shaping and assembling the earrings. Additionally, a baking sheet lined with parchment paper is necessary to bake the clay pieces without them sticking to the surface. These tools help in achieving accuracy and ease in the crafting process.
- Polymer clay in various colours
- Acrylic rolling pin
- Clay cutters
- Needle tool
- Pliers
- Baking sheet
- Parchment paper
- High-quality polymer clay brands like Sculpey Premo and Sculpey Souffle
Step-by-Step Guide on How to Make Clay Earrings
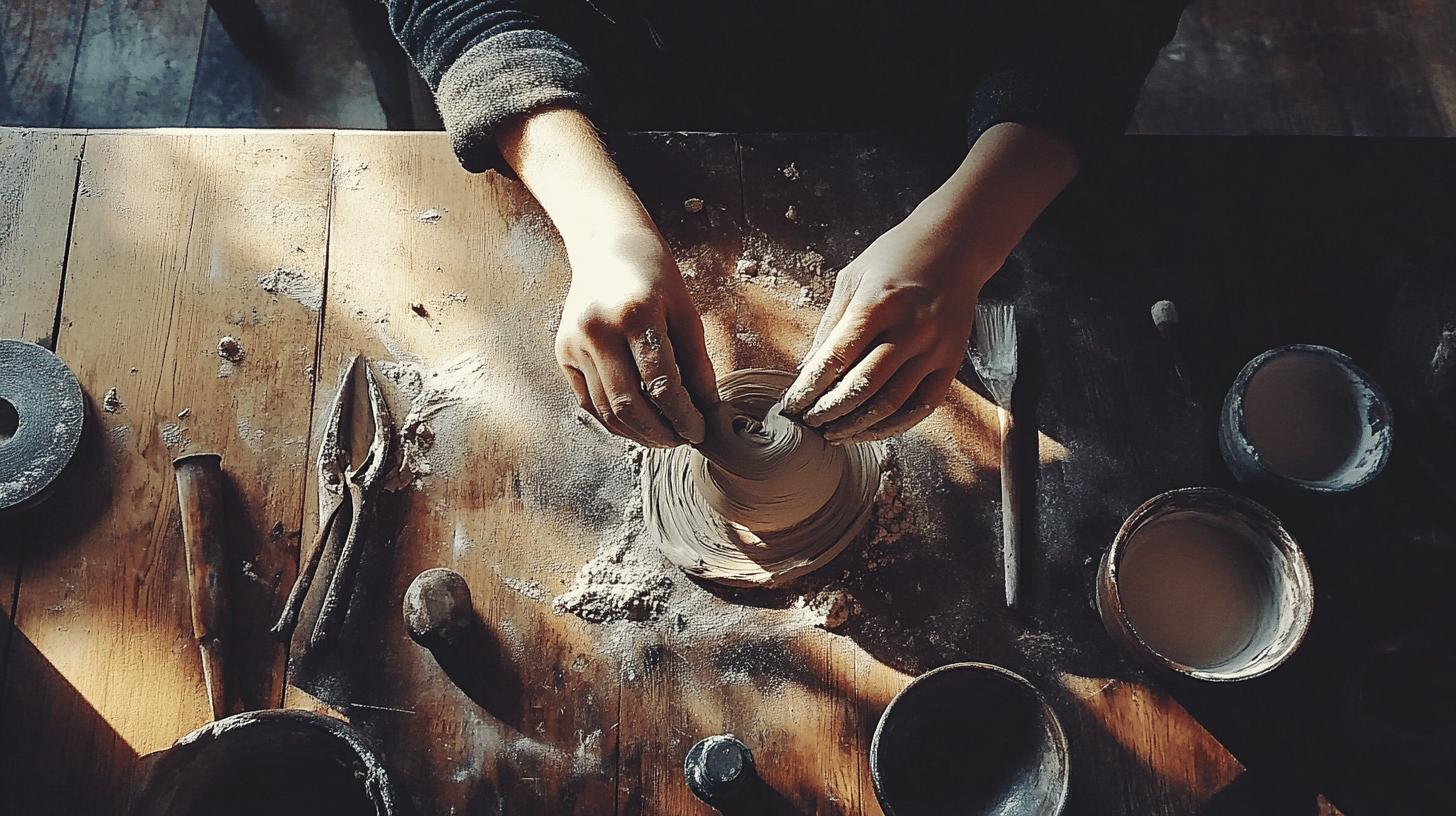
Creating clay earrings is a straightforward process that begins with conditioning the clay. Knead the polymer clay until it becomes soft and pliable. This step is crucial because it ensures that the clay is easy to work with and will not crack during the shaping or baking process. Once conditioned, roll out the clay to a thickness of approximately 1/8 inch using an acrylic rolling pin. This thickness is ideal for earrings, providing durability without being too heavy.
After rolling out the clay, the next step involves shaping and preparing it for baking. Use clay cutters or a sharp knife to cut out your desired shapes. If you want to make clay bead earrings, shape the clay into small, even-sized beads. For other designs, such as geometric or floral patterns, use appropriate cutters or household items like bottle caps. Ensure you make holes for earring hooks using a needle tool before baking. This step is essential to attach the hardware later.
The final steps include baking and assembling your earrings. Preheat your oven to 275°F (135°C) and bake the clay pieces for 15-30 minutes, depending on their thickness. Allow the pieces to cool completely before handling them. Once cooled, attach earring hooks and jump rings using pliers. Optionally, you can sand the edges for a smoother finish and apply a glaze for added shine and protection.
- Condition the clay.
- Roll out the clay.
- Cut out shapes.
- Make holes for hooks.
- Bake the clay pieces.
- Allow pieces to cool.
- Attach earring hooks.
- Optional: Sand edges and apply glaze.
Tips for Shaping and Cutting Clay
Using clay cutters ensures uniform shapes, but household items like bottle caps or cookie cutters can also be effective. To maintain even thickness, roll out the clay on a flat, non-stick surface, and consider using guide sticks on either side of the clay to achieve a consistent thickness.
Baking Polymer Clay Earrings: Tips and Techniques
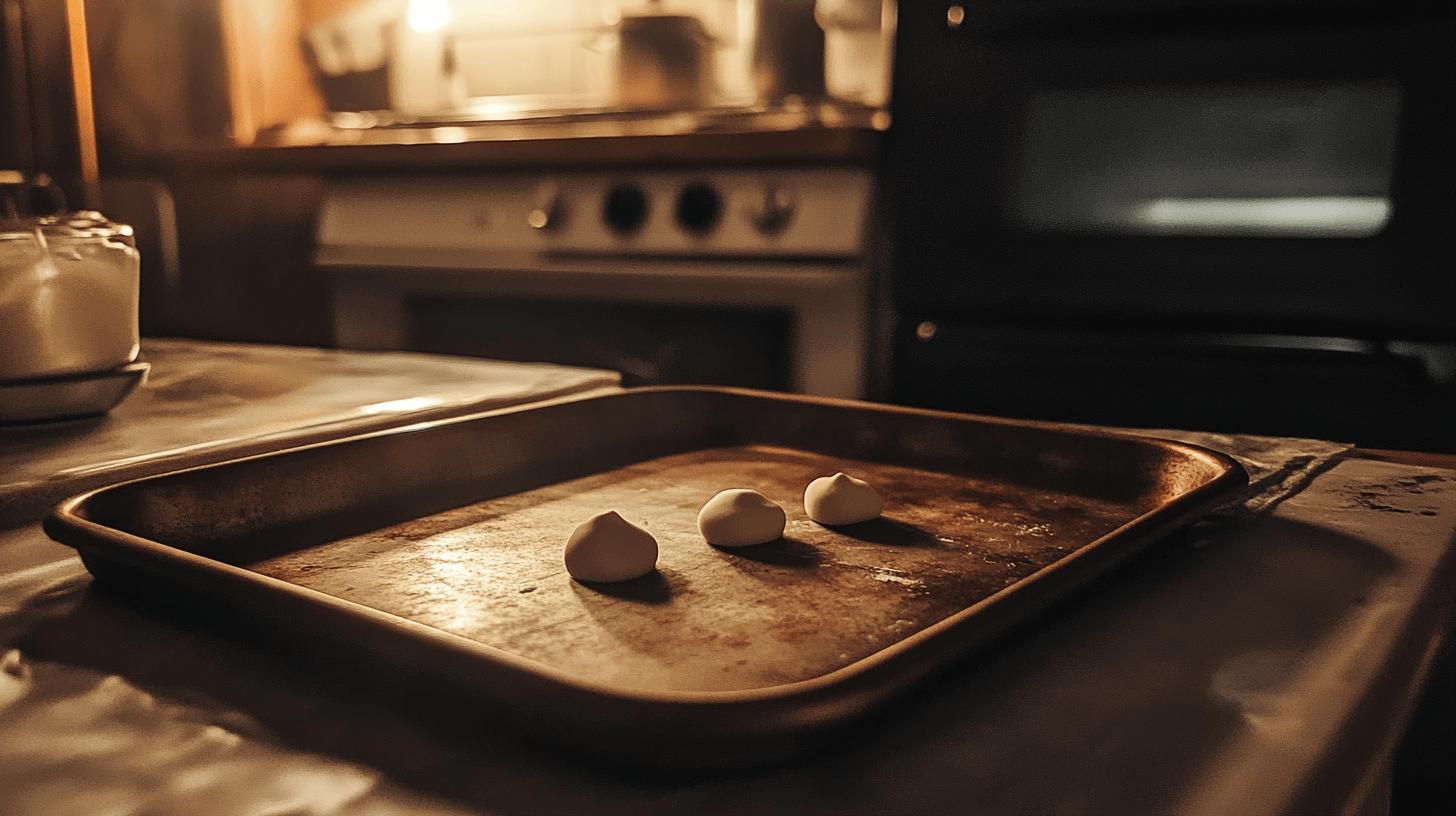
Using the correct oven and temperature is crucial for baking polymer clay earrings. Always use a regular home oven or a toaster oven with a consistent temperature. Do not use a microwave, as it can cause the clay to burn or become unevenly cooked. Preheat your oven to 275°F (135°C) and maintain this temperature throughout the baking process. Consistent heat ensures that the clay cures properly, making it durable and less prone to breakage.
To avoid common baking mistakes, consider these tips. Cover your clay pieces with a foil tent if you notice them browning too quickly; this prevents burning while allowing the pieces to bake thoroughly. Ensure that your oven’s temperature is accurate by using an oven thermometer. Underbaking can result in brittle earrings that break easily, so always bake for the correct amount of time based on the thickness of your clay pieces.
| Thickness (inch) | Baking Time (minutes) |
|---|---|
| 1/16 | 15 |
| 1/8 | 20 |
| 1/4 | 30 |
Designing and Customising Your Clay Earrings
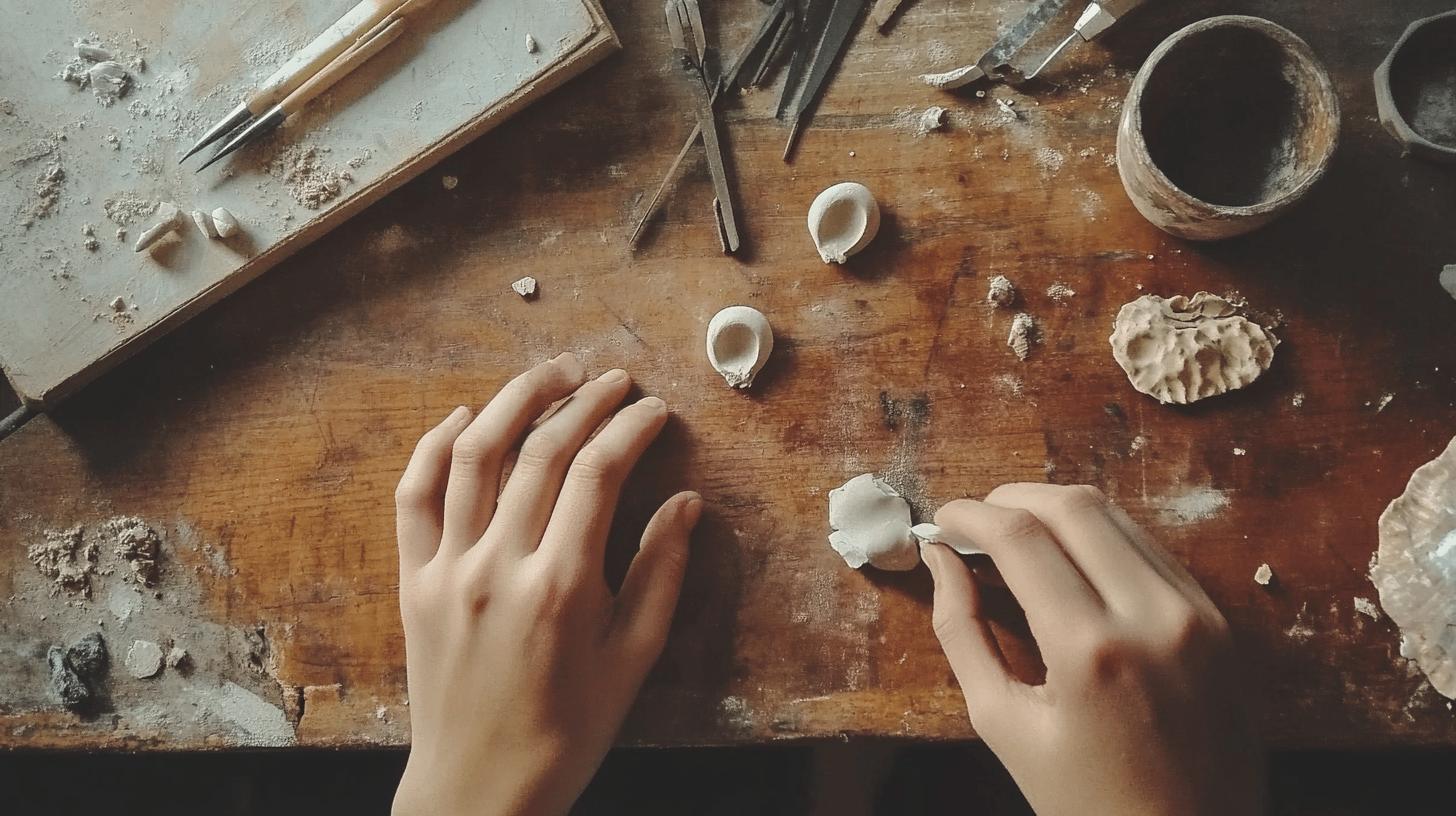
Marbling and colour blocking are popular techniques for creating stunning clay earrings. To achieve a marbled effect, roll small balls of different coloured clay together and twist them to create a marbled pattern. Flatten the clay using an acrylic rolling pin and cut out your desired shapes. For colour blocking, layer different coloured clays on top of each other, then roll and cut the clay into your chosen shapes. Both techniques add vibrant, dynamic designs to your earrings.
Creating custom colours and adding texture to your clay earrings can further personalise your design. Mix different clay colours until you achieve the desired shade. Texturing can be accomplished using household items such as lace, fabric, or even leaves. Press these items onto the clay before cutting out your shapes to imprint unique patterns. This method enhances the visual appeal and tactile experience of your earrings.
Intricate designs can be achieved using tools like silk screens. Lay the silk screen over the rolled-out clay and apply a thin layer of acrylic paint. Carefully remove the screen to reveal detailed patterns. This technique allows for the creation of complex designs that would be difficult to achieve by hand. Experimenting with these methods can lead to truly unique and eye-catching clay earrings.
- Marbling
- Colour Blocking
- Custom Colours
- Texturing
- Silk Screening
Creating Floral and Patterned Designs
For floral patterns, start by rolling a flat slab of background clay. Create small flowers from different coloured clay and arrange them on the slab. Press the flowers gently into the background clay to secure them. For other intricate designs, use patterned stamps or texture sheets to imprint detailed patterns onto the clay before cutting out your earring shapes. This adds a professional and artistic touch to your finished pieces.
Finishing Touches: Glazing, Sanding, and Attaching Hardware
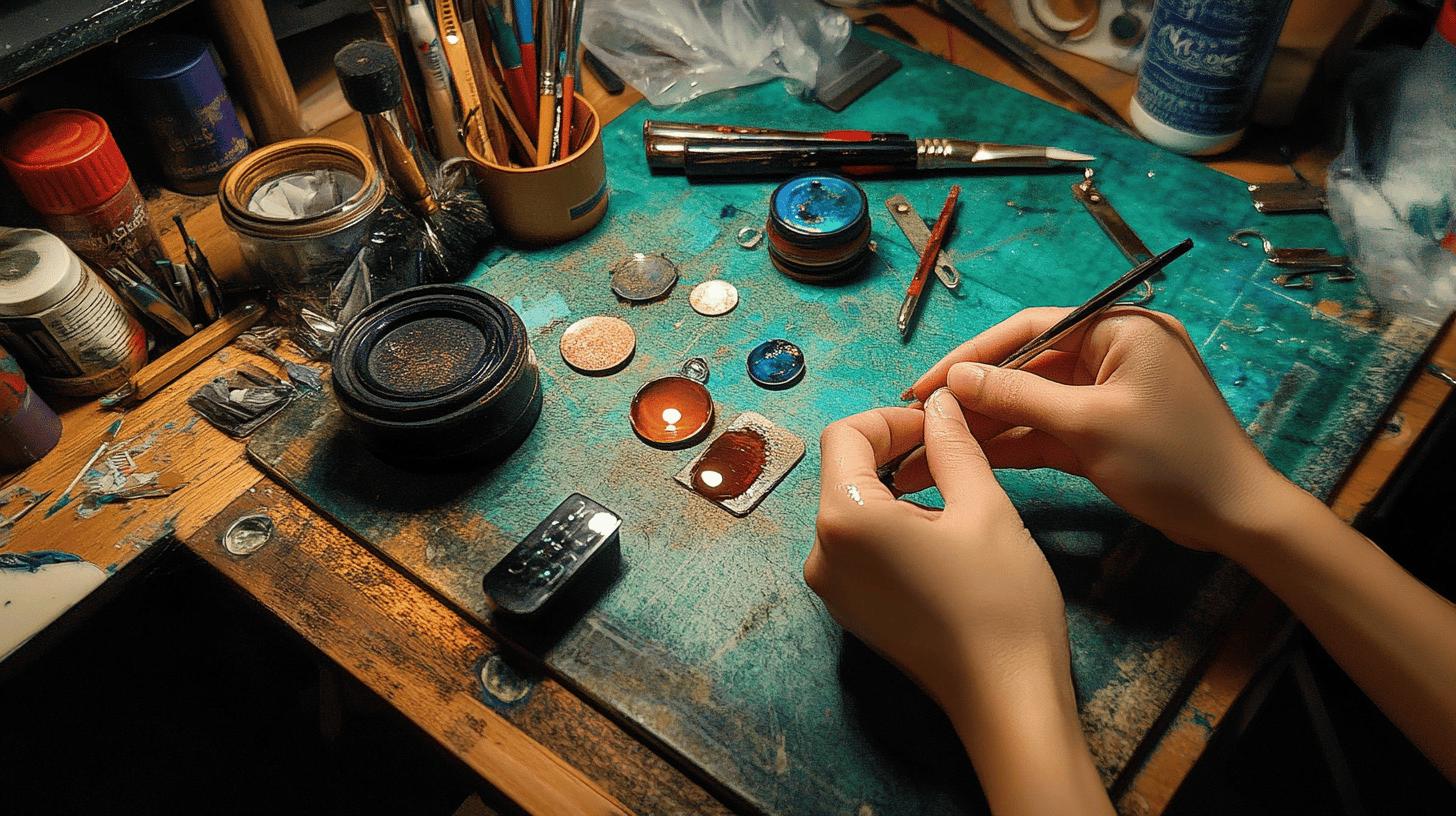
Sanding is crucial for achieving a smooth and professional finish on your clay earrings. Use fine-grit sandpaper to gently sand the edges and surfaces of the baked clay pieces. For more intricate designs or hard-to-reach areas, a Dremel tool can be highly effective. This step not only smooths out any rough spots but also prepares the surface for glazing, ensuring a better adhesion.
Various glazing options can be applied to give your clay earrings a glossy finish. UV resin is popular for its high shine and durability. Apply a thin layer of UV resin to the surface of the clay and cure it under a UV light. Alternatively, polycrylic can also be used to seal and add a subtle gloss. Brush a thin coat of polycrylic onto the clay pieces and allow them to dry thoroughly. Both methods protect the clay and enhance its appearance, making your earrings look polished and professional.
Attaching hardware securely is the final step in completing your clay earrings. Use pliers to attach earring hooks and jump rings to the pre-made holes in your clay pieces. For added security, use Sculpey Oven Bake Clay Adhesive or a flexible gel superglue to bond the metal hardware to the clay. This ensures that the hooks and jump rings stay firmly in place, providing durability and longevity to your earrings.
- Sand edges with fine-grit sandpaper.
- Use a Dremel tool for detailed sanding.
- Apply UV resin for a glossy finish.
- Use polycrylic for a durable seal.
- Attach hooks and jump rings with pliers.
- Use Sculpey adhesive for secure bonding.
Using Resin for a Professional Finish
Applying resin to your clay earrings can elevate their look to a professional level. Start by ensuring the clay surface is clean and free from dust. Apply a thin, even layer of UV resin using a small brush or applicator. Cure the resin under a UV light for the recommended time, usually a few minutes. This process not only adds a high-gloss finish but also provides a protective layer, making the earrings more durable and resistant to wear.
Troubleshooting Common Issues in Making Clay Earrings
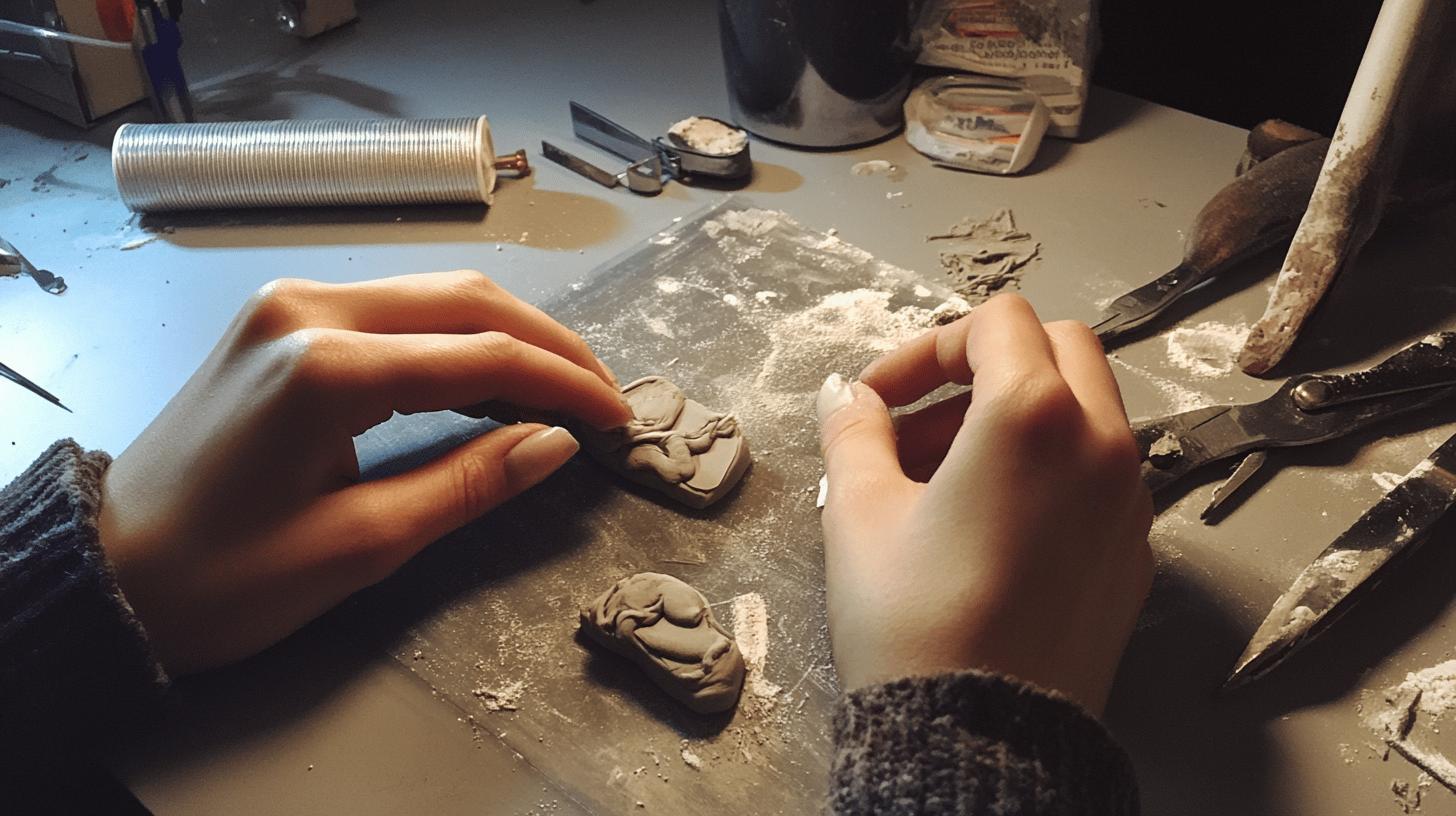
Brittle earrings are a common problem that often stems from poor conditioning, low-quality clay, or incorrect baking temperatures. Ensuring the clay is conditioned properly—kneaded until it is soft and pliable—can significantly improve its durability. Using high-quality polymer clay like Sculpey Premo or Sculpey Souffle can also make a difference. These brands are known for their workability and ability to retain fine details. Baking at the correct temperature is crucial; preheat your oven to 275°F (135°C) and bake for the recommended time based on the thickness of your pieces. Underbaking can leave the clay brittle, while overbaking can cause it to burn.
Maintaining a clean workspace is essential to avoid fingerprints and fuzz on your clay. Dust, lint, and oils from your hands can mar the surface of the clay, making the final product look unprofessional. Wash your hands thoroughly before working with the clay and keep your tools clean. Using baby wipes or rubbing alcohol can help remove any residues on the clay’s surface. If you notice your clay pieces are burning in the oven, try lowering the temperature or covering them with a foil tent to protect them from direct heat.
- Brittle Earrings: Improve conditioning and check clay quality.
- Fingerprints/Fuzz: Keep clay clean and free from dust.
- Burned Earrings: Adjust oven temperature or use a foil tent.
- Weak Bonding: Use appropriate adhesives.
- Uneven Thickness: Roll clay evenly.
Popular Design Ideas for Clay Earrings
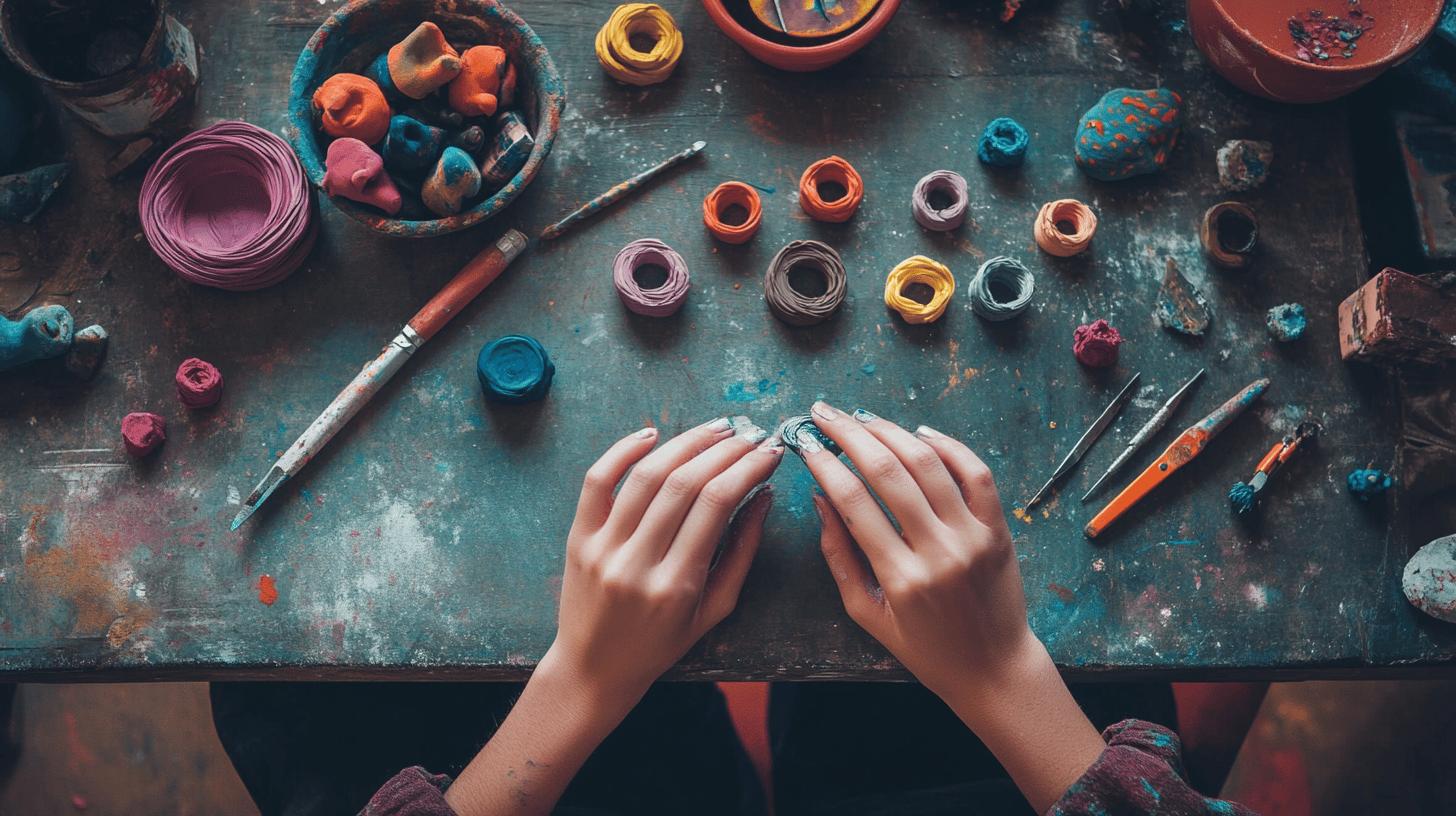
Marbling is a versatile technique that produces unique, eye-catching patterns. To create marbled clay earrings, start by selecting a few different colours of polymer clay. Roll each colour into a thin snake, then twist and fold them together. Continue twisting and folding until you achieve the desired marbling effect. Flatten the twisted clay with an acrylic rolling pin and cut out your earring shapes. This method results in a blend of colours that resemble marble, adding an artistic touch to your pieces.
The terrazzo look involves incorporating small pieces of coloured clay into a base colour to mimic the appearance of terrazzo flooring. Begin by rolling out a base colour of clay into a flat slab. Then, create tiny chips of different coloured clay and press them into the base. Roll the slab again to ensure the chips are embedded smoothly. This technique allows for a playful mix of colours and textures, creating a contemporary and stylish design.
Floral and geometric designs can be achieved through careful shaping and layering. For floral patterns, roll out a background slab and create small flowers from different colours of clay. Arrange the flowers on the slab and gently press them into place. For geometric shapes, use clay cutters or a sharp knife to cut precise shapes. Combining different shapes and colours can result in striking, modern designs that stand out.
- Marbled Earrings
- Terrazzo Earrings
- Floral Patterns
- Geometric Shapes
- Boho Rainbow Earrings
- Textured Arches
- Faux Stone Designs
Creating Boho Rainbow Earrings
To make Boho rainbow earrings, start by conditioning and rolling out five different colours of clay into thin snakes. Arrange the snakes in a rainbow pattern and gently press them together. Use a clay cutter to cut out arch shapes from the rainbow pattern. Bake the pieces according to the clay manufacturer’s instructions. Once baked and cooled, sand the edges for a smooth finish and attach earring hooks using pliers. This design is popular for its vibrant, cheerful appearance and can be customised with different colour combinations.
Selling Your Handmade Clay Earrings
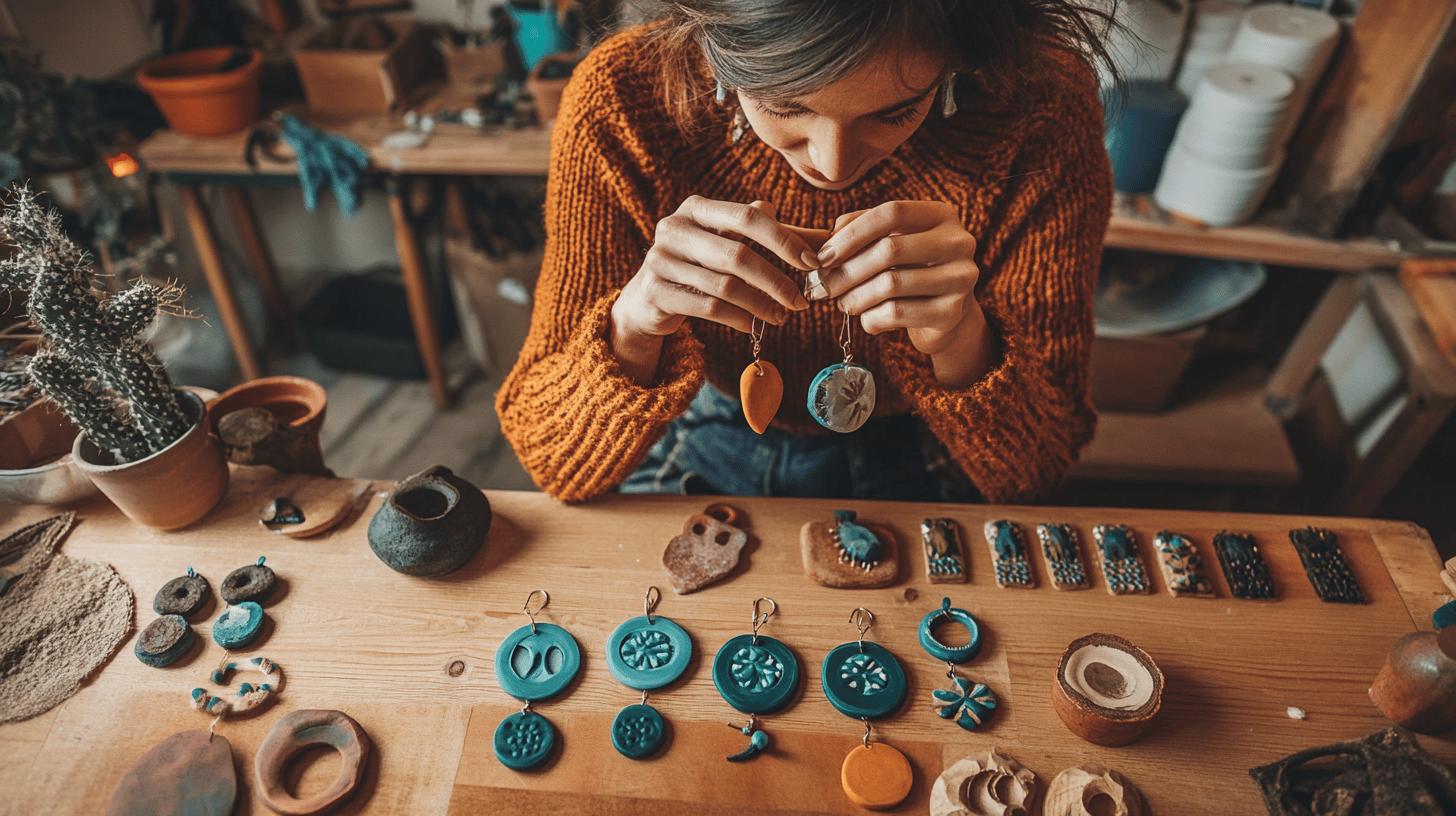
Online platforms and local opportunities provide excellent avenues for selling handmade clay earrings. Platforms like Etsy are popular for reaching a wide audience interested in unique, handcrafted items. Establishing a shop on Etsy allows sellers to showcase their products globally. Local craft fairs and markets offer another great opportunity to sell directly to customers. These events are ideal for building a local customer base and gaining immediate feedback on your products. Social media platforms, such as Instagram and Facebook, can also be powerful tools for marketing and selling your clay earrings. By creating engaging posts and stories, you can attract followers and potential customers.
Pricing, marketing, and presenting products effectively are crucial for successful sales. When pricing your earrings, consider the cost of materials, the time spent crafting, and any additional expenses such as packaging. Competitive pricing ensures your products are attractive to buyers while covering your costs. High-quality photos are essential for online sales; they should accurately represent the colours and details of your earrings. Detailed product descriptions help potential customers understand the materials, size, and unique features of your earrings. Promoting your products on social media can increase visibility and drive traffic to your online store or local events. Studying successful brands like Amore Jewellery can provide insights into effective marketing strategies and product presentation.
- Use high-quality photos.
- Write detailed product descriptions.
- Price competitively.
- Promote on social media.
- Participate in local craft fairs.
- Study successful brands like Amore Jewellery.
Final Words
Creating clay earrings involves selecting high-quality materials and tools, carefully following steps for shaping, baking, and finishing, and troubleshooting common issues. Embracing design techniques for unique and stylish pieces completes the process.
The article provides a thorough guide on how to make clay earrings, from material selection to final finishing touches. With these detailed instructions and tips, even beginners can craft beautiful earrings.
Embark on your crafting journey, and soon you’ll be designing stunning clay earrings that showcase your creativity. Enjoy the process and the unique pieces you create.
FAQ
How to make clay earrings to sell
Making clay earrings to sell involves choosing the right materials, perfecting crafting techniques, and presenting your products attractively. Use high-quality polymer clay, create unique designs, and employ effective marketing strategies.
How to make clay earrings for beginners
For beginners, start with simple designs and basic techniques. Condition the clay, roll it out, cut shapes, make holes for hooks, bake, and attach earring hooks. Practice and experiment to improve skills.
What all do I need to start making clay earrings?
To start making clay earrings, you will need:
- Polymer clay (various colours)
- Acrylic rolling pin
- Clay cutters
- Needle tool
- Pliers
- Baking sheet and parchment paper
- Earring hooks and jump rings
Is making clay earrings hard?
Making clay earrings is not hard but requires practice and attention to detail. Beginners should start with simple designs and gradually take on more complex projects as their skills improve.
Do you need a kiln to make clay earrings?
You do not need a kiln to make clay earrings. A regular home oven is suitable for baking polymer clay at the recommended temperatures and times.
How to make clay earrings glossy
To make clay earrings glossy, sand the edges smooth and apply a UV resin or polycrylic sealant. This will not only add shine but also protect the earrings from wear and tear.
How to make clay earrings without an oven
For making clay earrings without an oven, use air-dry clay. Shape the earrings as desired and leave them to dry completely. Note that air-dry clay may not be as durable as polymer clay.
Air dry clay earrings
Air-dry clay earrings are an alternative to polymer clay. Shape the clay, allow it to dry naturally, and then attach the earring hardware. They may require a coating to increase durability.
How to make polymer clay earrings for beginners
Beginners can make polymer clay earrings by following these steps:
- Condition the clay.
- Roll out the clay.
- Cut out shapes.
- Make holes for hooks.
- Bake at 275°F (135°C) for 15-30 minutes.
- Allow pieces to cool.
- Attach earring hooks.
- Optional: Sand edges and apply glaze.
How to make earrings at home with clay
To make earrings at home with clay, you’ll need basic materials and tools. Follow a step-by-step guide to shape, bake, and finish your clay earrings. Experiment with different designs to find your style.

