Struggling to remove flat back earrings without a hitch? You’re not alone. These stylish yet snug earrings can sometimes pose a challenge when it’s time for removal. Understanding the right techniques can save you from discomfort and potential ear damage. This guide provides simple, step-by-step instructions to make the process stress-free. From necessary preparations to the removal process, you’ll find everything you need to manage your jewellery with confidence. Read on to transform what used to be a dreaded task into a seamless routine.
Understanding Flat Back Earrings and Their Designs
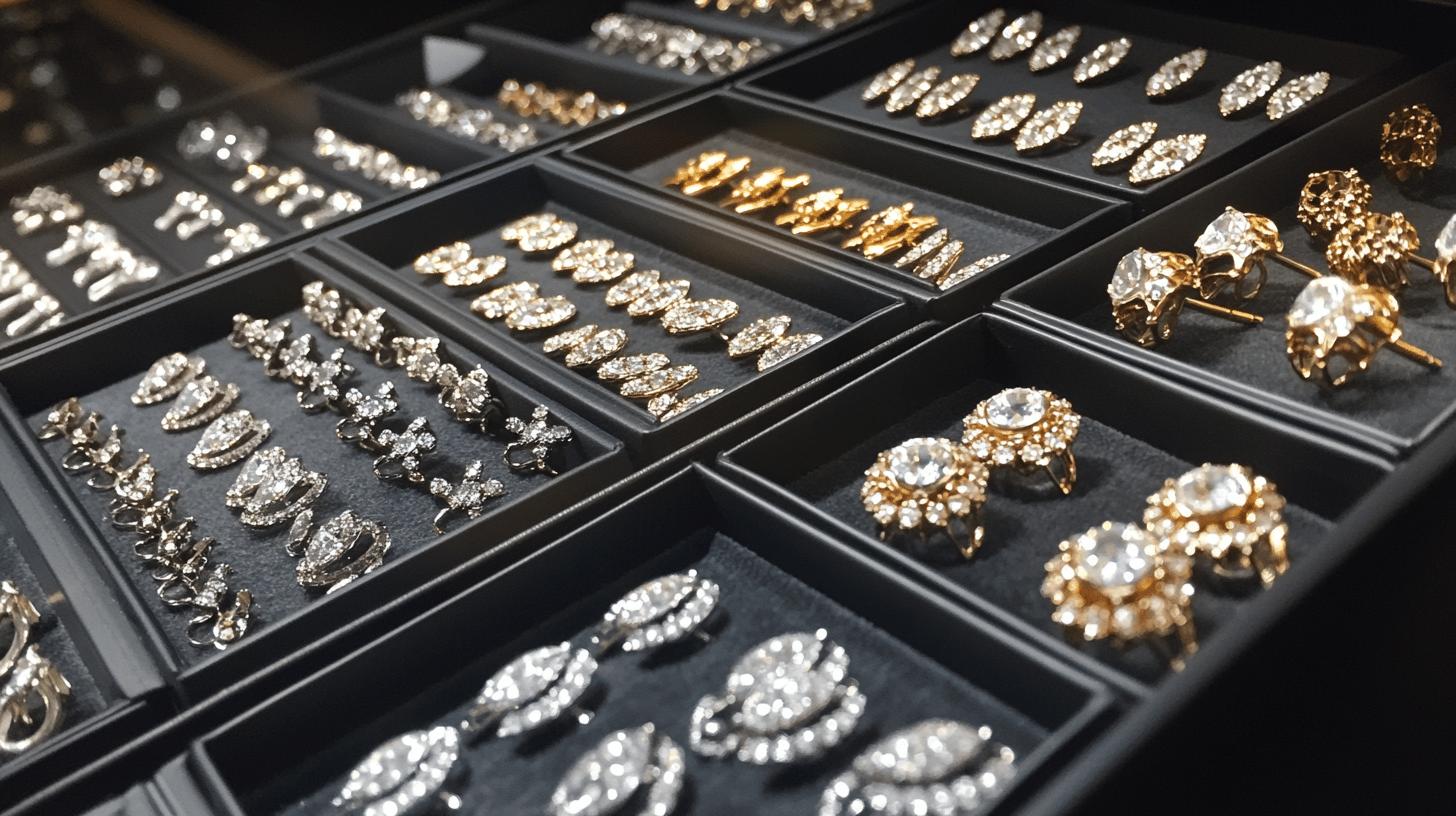
Flat back earrings are specially designed jewellery pieces known for their comfort and secure fit. Unlike traditional earrings, they feature a smooth, flat backing that rests comfortably against the ear, making them ideal for long-term wear. These earrings are inserted from the back of the ear to the front, which is the opposite of how conventional earrings are worn.
The materials and styles of flat back earrings vary widely, catering to different tastes and preferences. Commonly, the decorative front is made from 14k gold fill, rose gold fill, sterling silver, or solid 14k gold. The pin end, which secures the earring, is crafted from thin solid 14k gold wire, ensuring durability and a luxurious feel. The post backing measures 8 mm in length and is typically constructed from 18-gauge titanium, providing both strength and hypoallergenic properties.
- Labret earrings
- Push pin earrings
- Threadless earrings
- Push fit earrings
- Nap earrings
Flat back earrings are designed for semi-permanent use, meaning they can remain comfortably in place for extended periods without needing frequent removal. This makes them a popular choice for individuals looking for a convenient and stylish option to wear daily. Their unique structure not only enhances comfort but also adds a modern touch to any jewellery collection.
Preparing to Remove Flat Back Earrings Safely
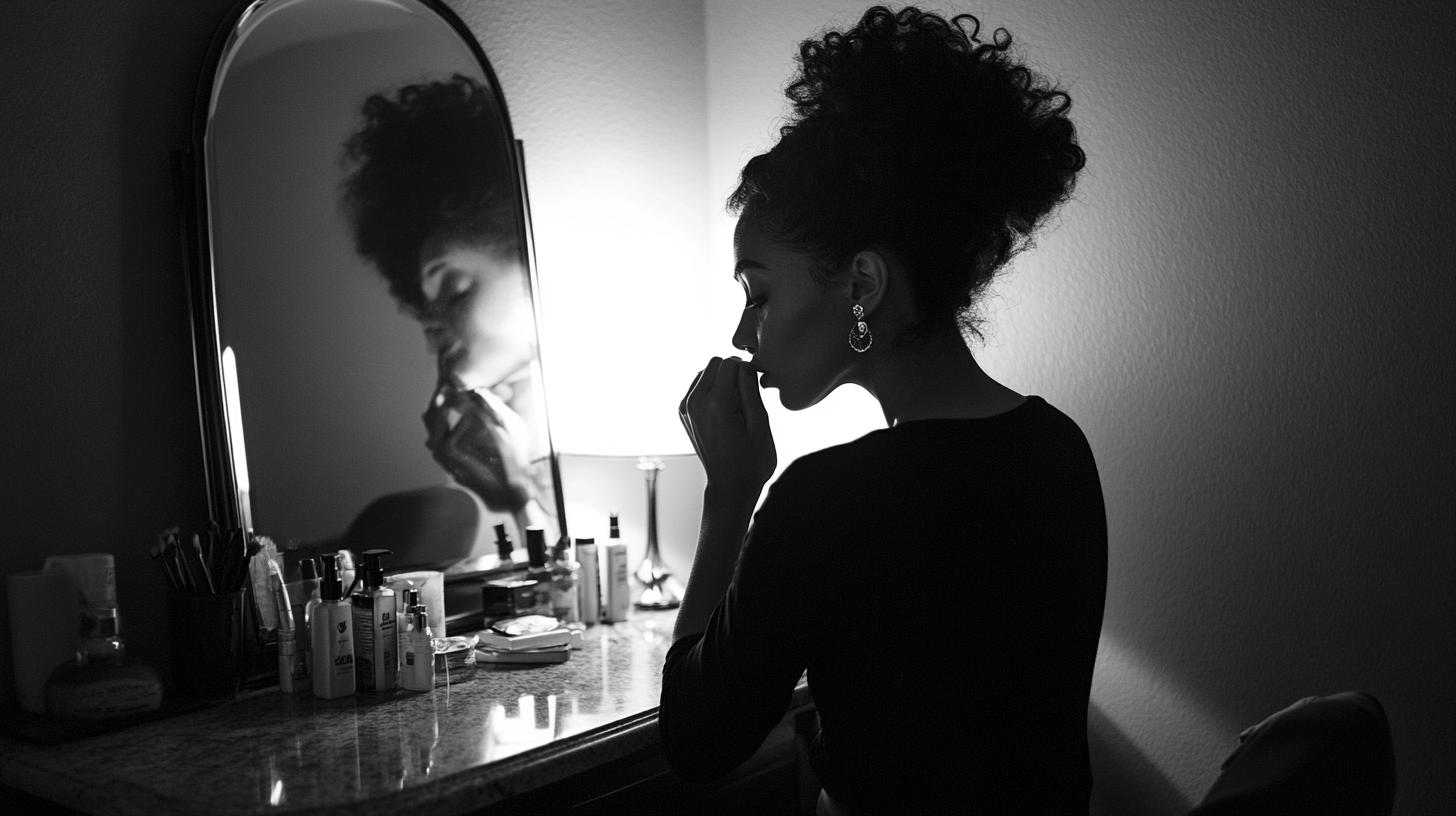
Proper preparation is essential when removing flat back earrings to prevent discomfort and ensure a smooth process. Before beginning, it’s crucial to set up an environment that minimises the risk of irritation or injury. Clean, dry hands are the first necessity; using rubbing alcohol to sanitise them can provide an extra layer of protection against infection. Ensuring that long hair is secured away from the face helps maintain focus and visibility during the removal. Sitting in a well-lit area with access to a mirror allows for clear visibility, reducing the chances of accidental pulling or twisting, which can damage the ear or the earring itself.
- Clean, dry hands (sanitise with rubbing alcohol)
- A well-lit area
- Mirror for clear visibility
- Secured long hair away from the face
These preparatory steps are vital for maintaining ear health and preventing damage during the removal process. By ensuring that the hands and environment are clean, the risk of introducing bacteria to the piercing site is significantly reduced. Adequate lighting and a mirror provide visibility, allowing for precise movements that prevent unnecessary tugging on the earlobe. Securing hair away from the face eliminates distractions and tangling with the earrings, making the process smoother and more comfortable. Taking these simple but effective steps can help avoid complications and maintain the integrity of both the piercing and the jewellery.
Step-by-Step Guide to Removing Flat Back Earrings
Removing flat back earrings requires a methodical approach to ensure safety and comfort. A step-by-step process not only simplifies the task but also minimises the risk of irritation or damage to the ear. Following these instructions can help achieve a smooth and gentle removal.
- Wash and Dry Hands: Begin by thoroughly washing your hands with soap to remove any dirt or bacteria. Dry them completely to ensure a firm grip on the earring.
- Prepare the Area: Sit in a well-lit space in front of a mirror. This setup allows you to clearly see the earring and its components, facilitating a precise removal.
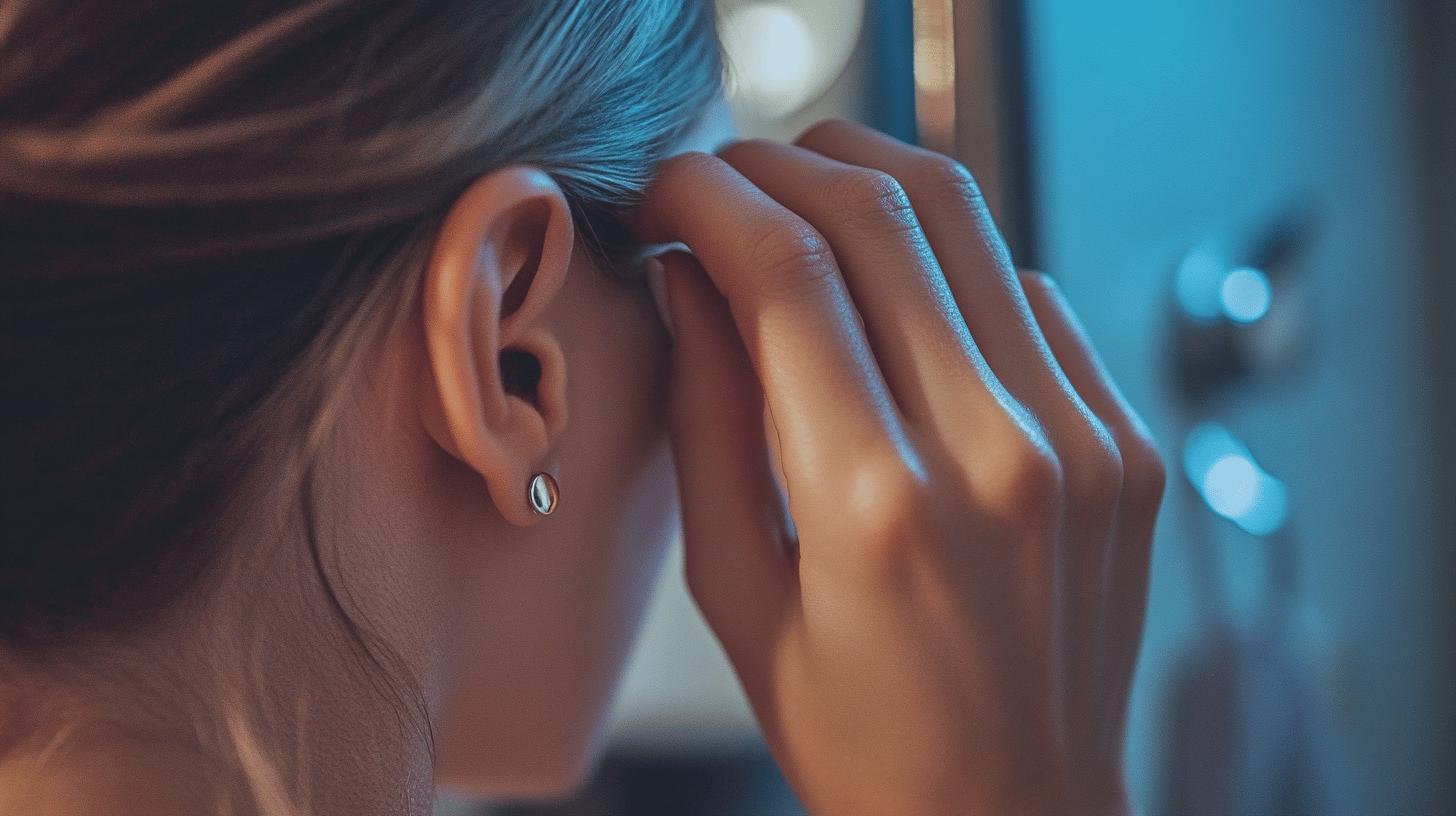
- Gently Hold the Disc: Use your thumb and forefinger to gently grip the flat disc of the earring. Ensure that the hold is secure but not too tight to avoid applying unnecessary pressure.
- Pull the Post Outward: With the disc held steady, carefully pull the post away from the earlobe in a straight motion. Avoid yanking or twisting, as these actions can cause discomfort or damage to both the earlobe and the earring.
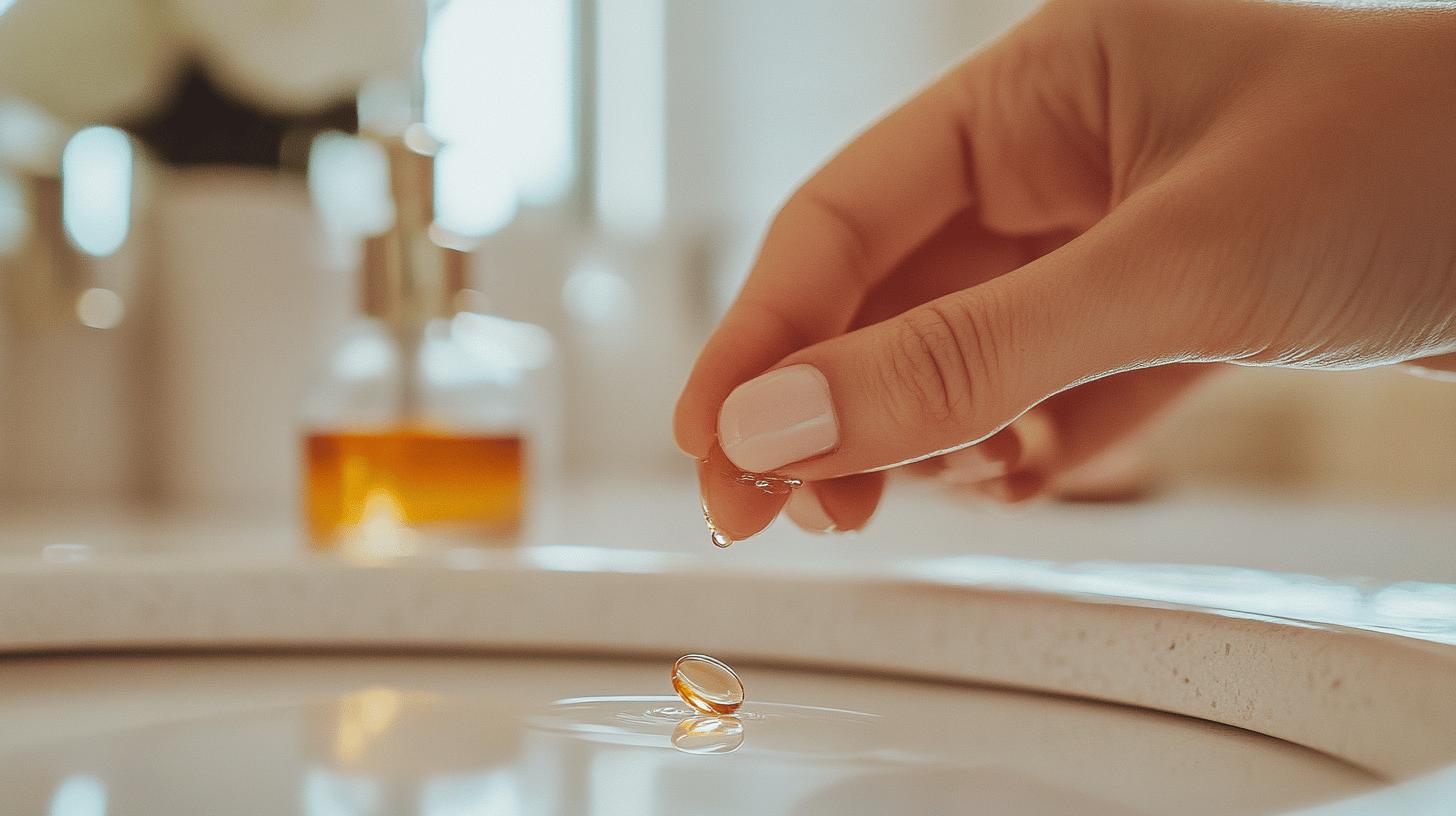
- Apply Lubricant if Needed: If resistance is felt, apply a small amount of oil or lotion around the earring post. This acts as a lubricant, making it easier to slide the earring out. Gently wiggle the earring while applying a steady outward pull.
- Utilise Earring Back Removers: If fingers alone are insufficient, consider using an earring back remover tool. This tool can provide additional grip and facilitate the removal process by pushing the post out gently.
- Ensure Safe Storage: Once removed, store the earrings in a clean, dry place to prevent damage and maintain their quality for future use.
Gentle handling throughout the process is crucial to avoid irritation or damage. By adhering to these steps, the removal of flat back earrings can be both efficient and painless, ensuring the health and comfort of the ear.
Overcoming Common Challenges with Flat Back Earrings
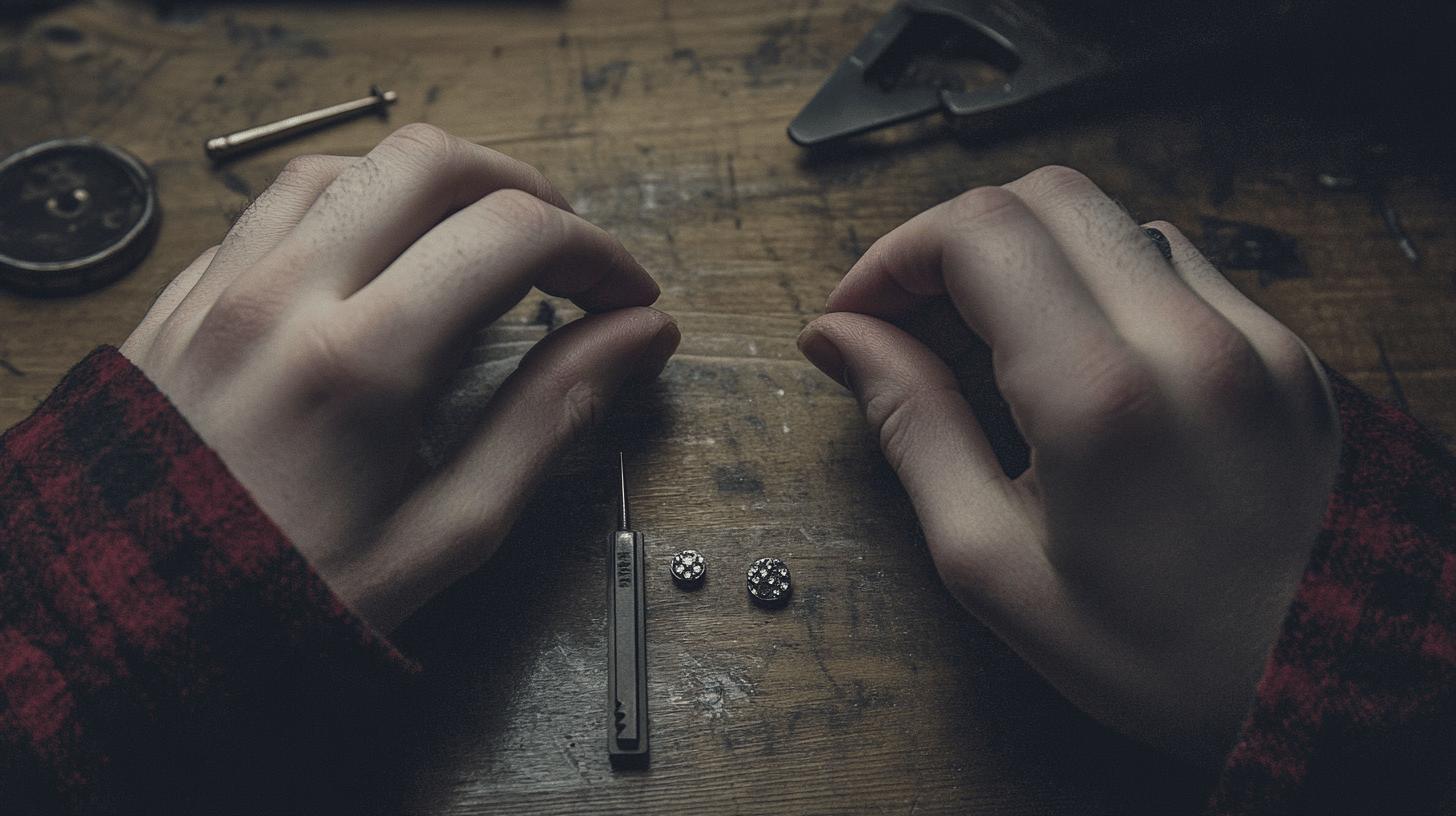
Removing flat back earrings can sometimes be challenging due to issues like tightness, discomfort, or stuck components. Many individuals encounter difficulties when earrings feel too tight, making removal uncomfortable or even painful. If not handled correctly, these challenges can lead to irritation or injury, especially when dealing with sensitive piercings such as helix piercings. The unique design of flat back earrings, while comfortable for long-term wear, can make removal tricky if the earring is not easily accessible or if the backing is particularly snug.
- Use a lubricant, such as baby oil or petroleum jelly, to gently ease the earring out. Apply a small amount around the post and move the earring slowly to avoid discomfort.
- Employ an earring back remover tool to provide additional grip and assist in gently pushing the post out, especially if fingers alone are insufficient.
- Seek professional assistance if experiencing significant pain, bleeding, or swelling, as these could indicate complications requiring expert care.
Professional help is advisable if initial removal efforts fail or result in discomfort. Persistent pain, swelling, or bleeding are clear signs that intervention might be necessary to prevent further complications. A professional can ensure safe removal without causing damage to the ear or the jewellery, preserving both health and the integrity of the earring. Taking such precautions not only addresses immediate concerns but also promotes long-term ear health.
Post-Removal Care for Ears and Earrings
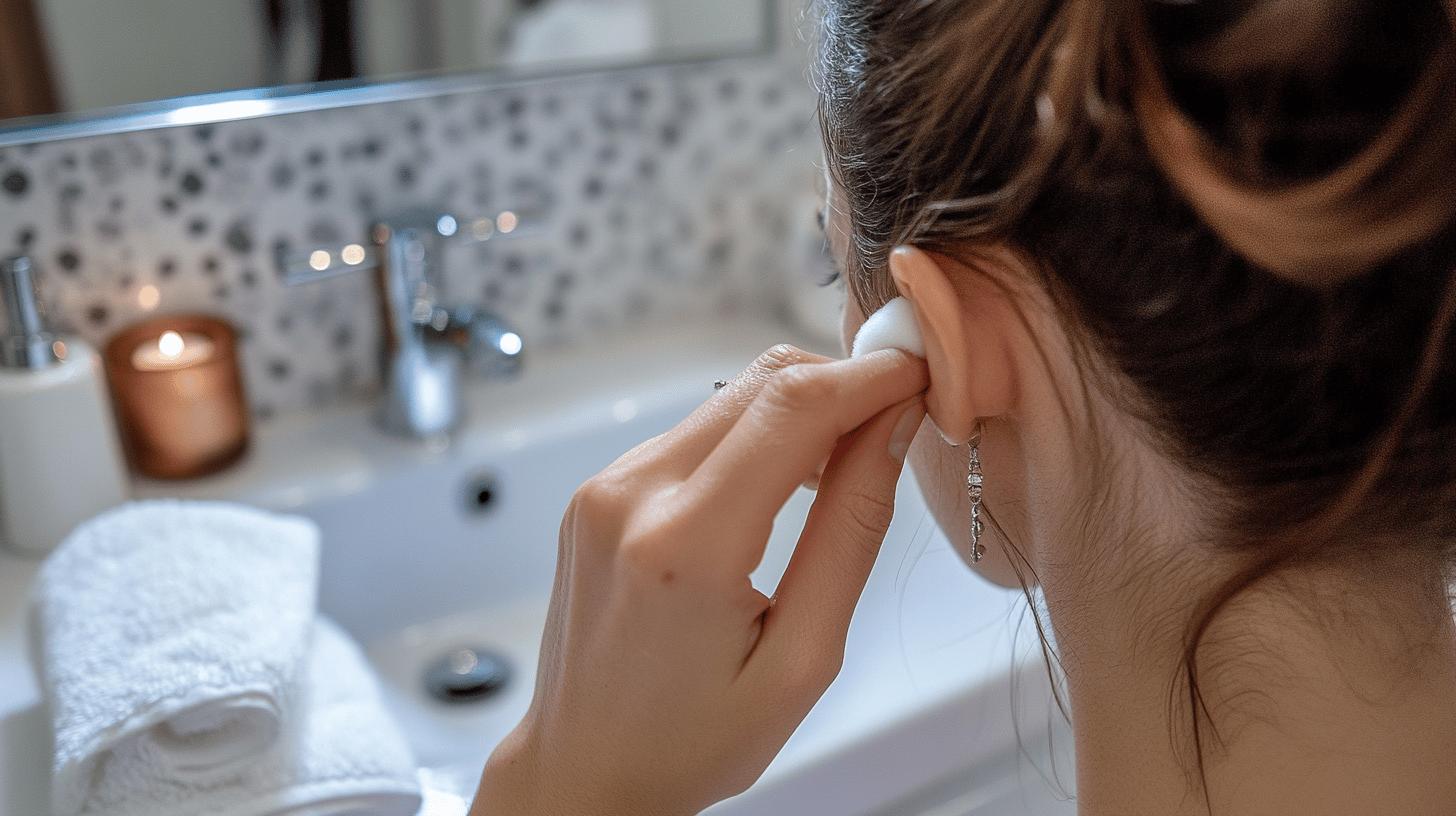
Cleaning both the earlobes and earrings after removal is crucial to prevent infection and maintain hygiene. The earlobes can be susceptible to bacteria build-up, and the earrings themselves may carry residue from prolonged wear. Addressing these factors immediately post-removal is essential for sustaining ear health and preserving the quality of the jewellery.
To effectively clean earlobes, apply rubbing alcohol or hydrogen peroxide to a cotton pad and gently wipe the area around the piercing. This not only disinfects but also helps soothe any irritation caused during removal. For the earrings, use a similar method by dipping them in a small dish of rubbing alcohol or hydrogen peroxide. Allow them to soak briefly before wiping them down with a clean cloth to remove any lingering debris or oils. This practice ensures that the earrings remain in excellent condition for future use, reducing the risk of tarnishing or damage.
- Allow earlobes to breathe by avoiding heavy products or tight accessories immediately after cleaning.
- Store earrings in a dry, clean place away from moisture and dust to maintain their quality.
- Inspect earrings regularly for any signs of wear or damage to prevent future issues.
- Consider using a dedicated jewellery cleaning solution for deeper maintenance if earrings are worn frequently.
Implementing these aftercare steps can significantly reduce the risk of infection and prolong the life of both the earrings and the piercing. By maintaining a regular cleaning routine and storing jewellery correctly, one can enjoy both comfort and durability, ensuring that the elegance of flat back earrings is preserved over time.
Choosing Quality Flat Back Earrings for Easy Removal
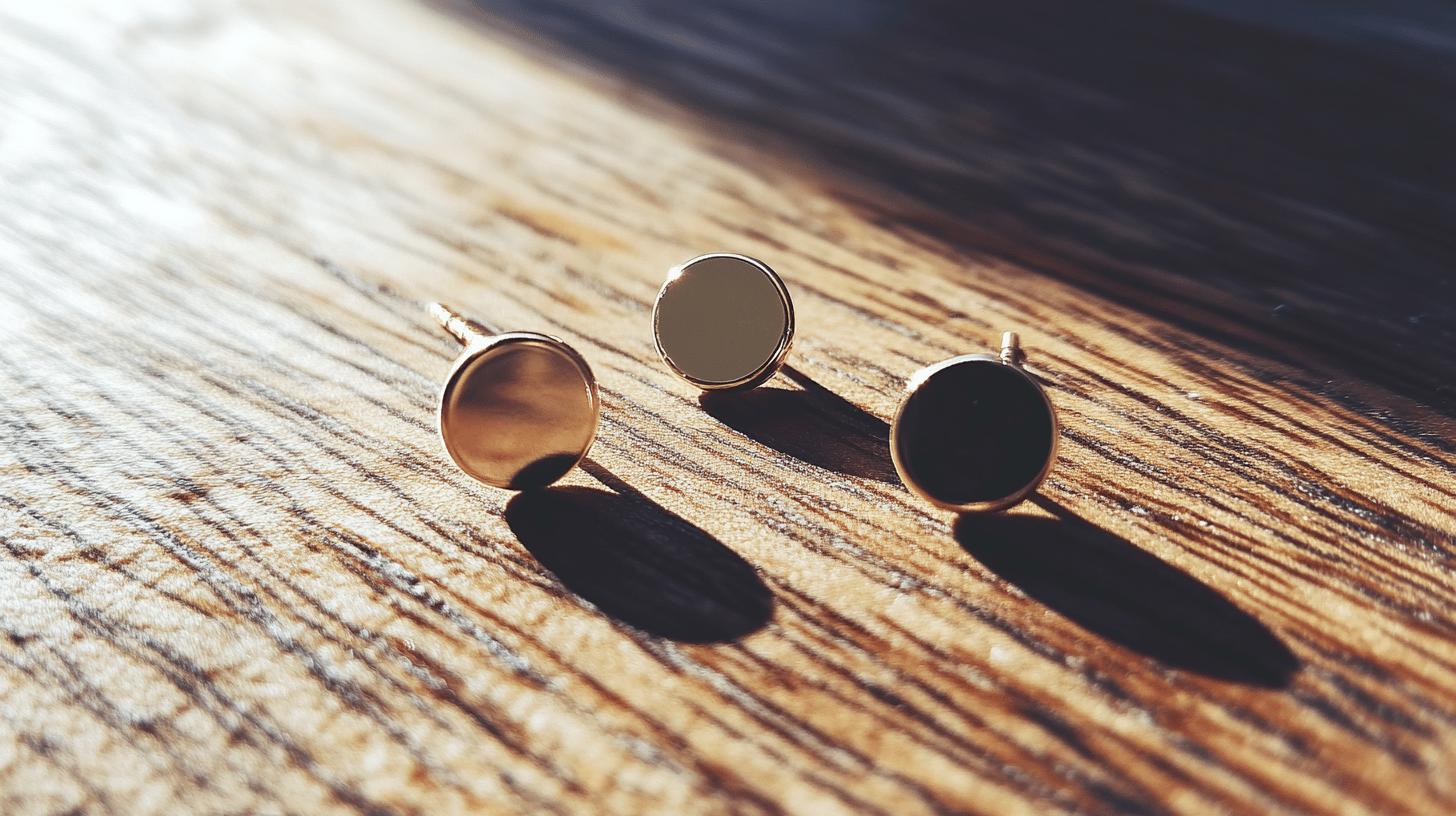
Selecting high-quality materials for flat back earrings is crucial for both ease of removal and overall comfort. Earrings made from superior materials not only minimise the risk of irritation or allergic reactions but also ensure durability, allowing for seamless removal without damaging the earlobe or the jewellery itself. This highlights the importance of investing in well-crafted earrings that prioritise both safety and style.
Amore Jewellery‘s collection exemplifies this standard with its pieces crafted from high-quality recycled 925 sterling silver and gold vermeil. These materials provide a perfect balance of affordability and luxury, ensuring that each piece is not only beautiful but also ethical. The brand supports independent and small businesses, offering a diverse range of jewellery options designed with conscientious consumers in mind. Customers can enjoy the added benefits of free express UK delivery and a 30-day return policy, underscoring the brand’s commitment to customer satisfaction and high standards.
In investing in high-quality flat back earrings, wearers experience several benefits. These include easier and safer removal due to superior craftsmanship and materials that resist wear and tear. The longevity of such pieces ensures a lasting addition to any jewellery collection, reducing the need for frequent replacements. Ultimately, choosing well-made earrings fosters both comfort and peace of mind, allowing for a stylish yet practical accessory that meets the needs of discerning jewellery enthusiasts.
Final Words
Flat back earrings offer comfort and elegance, thanks to their unique design and quality materials. Preparing for their removal ensures a smooth process, preventing discomfort and maintaining ear health. By following a careful, step-by-step technique, removing these earrings becomes manageable.
Choosing quality pieces simplifies removal and enhances durability. After removing your earrings, proper care is crucial to avoid infections. Selecting high-quality earrings from Amore Jewellery enhances safety and ease. Knowing how to get flat back earrings out effectively ensures a painless experience, allowing continuous enjoyment of these timeless adornments.
FAQ
Q: How do you take off flat back earrings?
A: To take off flat back earrings, hold the disc and gently pull the post away from the earlobe. Avoid twisting. Lubricate with oil or lotion for easier removal.
Q: Why won’t my flat back earring come out?
A: Flat back earrings may be difficult to remove due to tightness. Use lubricants to ease removal. If still stuck, consider using an earring back remover tool for assistance.
Q: How to get stubborn earring backs off?
A: Stubborn earring backs can be loosened with lubricating oil or lotion. Apply a small amount, then wiggle gently. If persistent, use an earring back remover tool for help.
Q: Do flat back earrings fall out easily?
A: Flat back earrings, designed for semi-permanent wear, generally stay secure when properly inserted. Ensure they are correctly fitted to minimise the risk of falling out.
Q: How to prepare for removing flat back earrings?
A: Prepare by cleaning hands, securing hair, and ensuring good lighting. Use a mirror to keep track of the earring’s position for a safe removal process.
Q: What are the best tools for flat back earring removal?
A: Useful tools include rubbing alcohol for sanitising, a mirror for visibility, and an earring back remover to assist with tight or stuck earrings.
Q: When should I seek professional help with flat back earrings?
A: Seek professional help if you experience pain, bleeding, or swelling during removal, or if the earring remains firmly stuck after several attempts.

