
Struggling to reinsert your favourite earrings without the pain? You’re not alone. Many individuals experience discomfort when trying to put their earrings back in after a period of not wearing them. But, with a few simple preparations and techniques, you can make this process painless. In this article, Amore Jewellery reveals essential steps and expert tips to ensure your earring insertion is smooth and stress-free. Whether you’re updating your personal style, staying trendy, or gifting jewellery to a loved one, this guide will help you avoid the common pitfalls and enjoy wearing your earrings again comfortably.
Preparing Your Ears and Earrings for Painless Reinsertion
Cleanliness is paramount when preparing to reinsert earrings. Start by washing your hands thoroughly with soap and water to remove any bacteria or dirt that could cause an infection.
This basic step is crucial to ensure that no contaminants are introduced to your piercing, which is especially vulnerable during reinsertion. Dirty hands can easily transfer harmful bacteria to the earring and earhole, increasing the risk of infection and subsequent complications.
Sterilizing both the earrings and the earlobes is the next essential step. Use rubbing alcohol or an antiseptic solution to clean the earring posts and your earlobes. This ensures that any lingering bacteria or germs are eliminated, further reducing the risk of infection. Pay special attention to any crevices in the earrings where bacteria can hide, and make sure to clean both the front and back of your earlobes.
Here are the essential steps to prepare your ears and earrings for reinsertion:
- Wash hands with soap and water: This prevents transferring bacteria to the piercing.
- Sterilize earrings: Use rubbing alcohol or antiseptic solution to clean the earring posts thoroughly.
- Clean earlobes: Apply the same sterilizing solution to the front and back of your earlobes.
- Apply lubricant: Use petroleum jelly or a specialised piercing lubricant to the earring post and earlobe to ease insertion.
- Let dry: Allow the earlobes and earrings to dry completely before attempting reinsertion to avoid any irritation.
Suggested Read: How to Get Earrings Out – Simple Tips
Step-by-Step Guide to Reinserting Earrings Without Pain
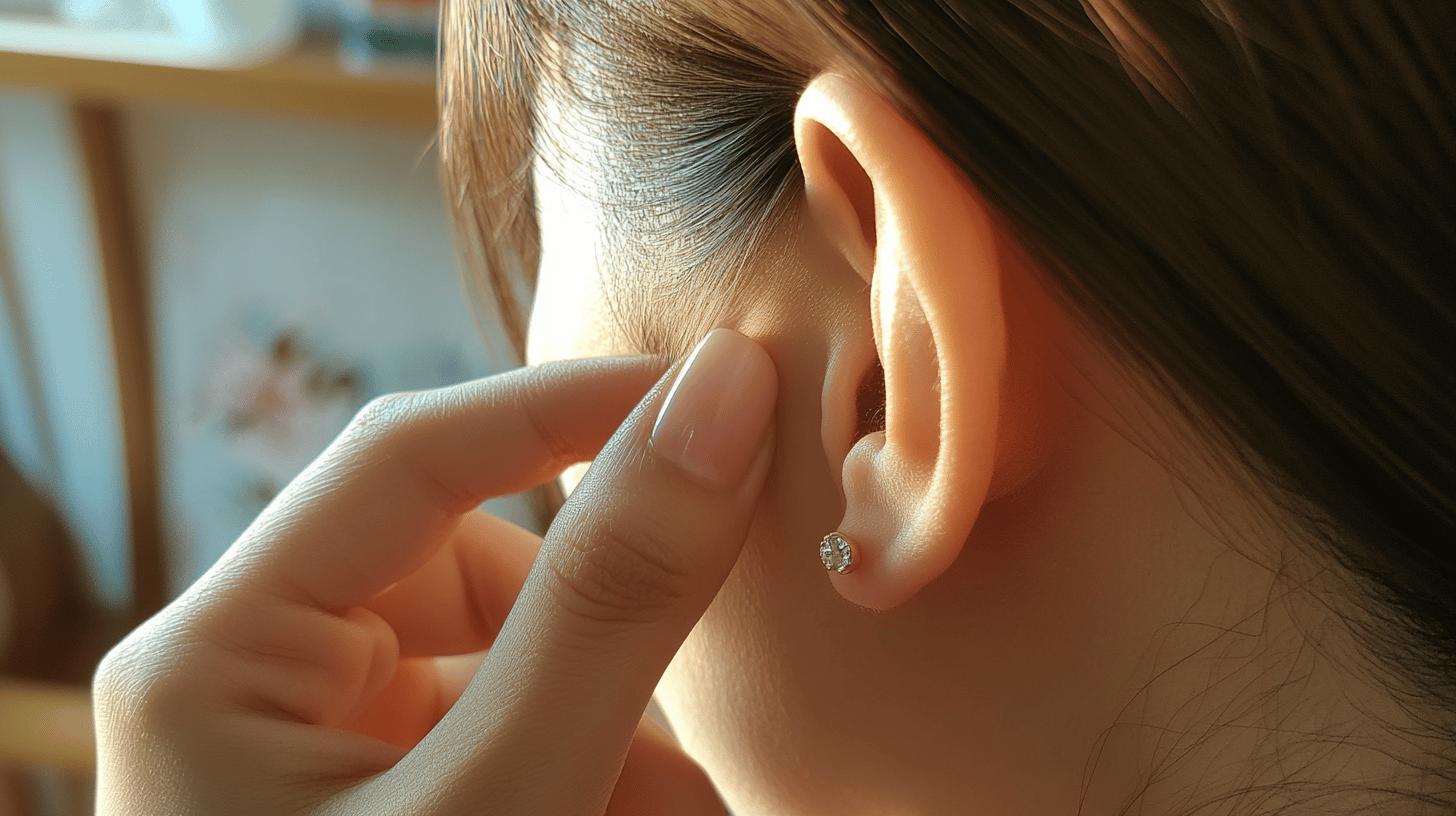
Taking a careful approach is crucial when reinserting earrings to prevent pain and potential injury. Begin by relaxing the earlobe; gently stretch or massage it to make the tissue more pliable. This can reduce discomfort and make the insertion process smoother. It’s important to ensure that both the earring and the piercing hole are clean and lubricated. A well-lubricated earring post can glide through the piercing more easily, lowering the chance of irritation or damage.
Avoid forcing the earring if you encounter resistance. Forcing can lead to tearing or irritation, complicating the healing process. If you feel resistance, remove the earring, apply more lubricant, and attempt the insertion again. This method ensures that the earring is inserted correctly and comfortably, minimising the risk of injury.
Here are the steps to reinsert earrings painlessly:
- Relax the earlobe: Gently stretch or massage the earlobe to relax the tissue.
- Clean and sterilise: Ensure both the earring post and the piercing hole are clean and sterilised.
- Apply lubricant: Use petroleum jelly or a piercing-specific lubricant on the earring post and earlobe.
- Insert slowly: Insert the earring at the correct angle, slowly and gently, to avoid damaging the piercing hole.
- Stop if resistance is felt: Do not force the earring if you encounter resistance; remove it and re-lubricate.
- Reattempt insertion: After re-lubricating, try inserting the earring again, ensuring it goes in smoothly.
Tips for Easing Earring Insertion Discomfort

Using a numbing agent can significantly reduce pain when reinserting earrings. Topical anaesthetic creams or gels can be applied to the earlobe to desensitise the area, making the process smoother and less painful. If pain persists or the earring does not go in, it is advisable to consult a professional piercer or healthcare provider. They can offer guidance and assistance to ensure the earring is inserted correctly and safely, preventing further discomfort and potential complications.
Choosing the right type of earrings is crucial to minimise discomfort. Avoid using earrings with thick posts immediately after re-piercing, as they can exacerbate pain and irritation. Opt for earrings with thinner posts initially, as they are easier to insert and cause less trauma to the piercing hole. Once the piercing has adjusted, you can gradually transition to thicker posts if desired.
Here are some tips for easing earring insertion discomfort:
- Use a numbing agent: Apply a topical anaesthetic cream or gel to the earlobe before insertion.
- Consult a professional: Seek help from a professional piercer or healthcare provider if pain persists.
- Choose thinner posts: Start with earrings that have thinner posts to ease insertion and reduce trauma.
- Lubricate the earring post: Use a piercing-specific lubricant or petroleum jelly to help the earring slide in more smoothly.
Common Mistakes to Avoid When Reinserting Earrings

Avoiding infections is crucial when reinserting earrings. If you experience redness, swelling, or prolonged pain, seek medical advice as these could be signs of infection. Ensuring the earring backs are secure but not too tight is equally important. Tight earring backs can restrict airflow, hindering the healing process and increasing the risk of infection. Proper airflow around the piercing helps keep the area dry and free from bacteria, promoting faster healing.
Improper insertion can lead to various complications. Forcing an earring through the hole can cause tearing, irritation, and even more serious injuries. Always ensure that the earring post is aligned correctly with the piercing hole before attempting to insert it. If you encounter resistance, do not push the earring through. Instead, remove it, apply lubricant, and try again. This careful approach can prevent damage to the piercing and surrounding tissue.
Common mistakes to avoid when reinserting earrings:
- Not sterilising the earrings: Always clean the earrings and your hands before reinserting.
- Forcing the earring through: If you feel resistance, stop and re-lubricate the post.
- Using tight earring backs: Secure the backs loosely to allow for proper airflow.
- Ignoring signs of infection: Redness, swelling, or prolonged pain should prompt a visit to a healthcare professional.
- Skipping lubrication: Use a lubricant to ease insertion and prevent tissue damage.
Special Considerations for Different Earring Types
Different types of earrings require specific techniques for reinsertion to minimise pain and discomfort. Understanding these techniques is crucial for a smooth and painless experience. Whether dealing with butterfly backs, cartilage earrings, or earrings for children, preparing the earring and ensuring that your hands are clean is the first step. This basic preparation helps in avoiding infections and ensures a smoother reinsertion process.
Tailored techniques for each type of earring are important to avoid pain and potential injuries. For example, using the right angle and applying appropriate pressure can prevent damage and ensure a comfortable fit. Knowing these specific considerations can make the reinsertion process significantly easier and pain-free.
Butterfly Backs
Using butterfly backs can be tricky if not done correctly. Start by ensuring that the earring and your hands are clean to prevent infections. Hold the earring by the post, not the butterfly back, to keep it steady and avoid bending the post. Insert the earring slowly, ensuring that the post is aligned with the piercing hole. Secure the butterfly back gently without pressing it too tightly to allow for proper airflow and healing.
Cartilage Earrings
Cartilage earring insertion requires extra caution due to the thicker and less flexible tissue. Clean both the earring and your hands thoroughly. Apply a lubricant to the earring post to ease insertion. Begin by gently poking the back of the ear instead of the front; this method can minimise pain and avoid bleeding or damage. Insert the earring slowly and at the correct angle to avoid tearing the cartilage.
Earrings for Children
Reinserting earrings for children or those who haven’t worn earrings recently can be challenging. Start by preparing the earring and cleaning your hands thoroughly. Use a lubricant to ease the process. Begin by poking the back of the ear, which can help minimise pain and avoid damage. This method is particularly useful for children who may be more sensitive to pain and discomfort. Ensure that the earring is inserted slowly and gently, and secure the back without pressing too tightly.
When to Seek Professional Help

Persistent pain, redness, swelling, or difficulty in reinserting the earring are clear signs that professional intervention may be required. If pain continues despite using a numbing agent or if the earring does not go in smoothly, it’s crucial to consult a professional. Such symptoms can indicate an infection or other complications that need medical attention. Ignoring these signs could exacerbate the issue, leading to more severe problems and prolonged healing time.
Professional advice is essential to ensure the piercing is healthy and not at risk of further complications. An experienced piercer or healthcare provider can offer guidance and appropriate treatment to address any underlying issues. Their expertise can help prevent further damage and ensure that the earring is reinserted safely and correctly.
Scenarios when professional help is necessary:
- Persistent pain despite using a numbing agent
- Redness, swelling, or prolonged pain, indicating a possible infection
- Difficulty in reinserting the earring even after multiple attempts
Final Words
Ensuring your ears and earrings are properly prepared is crucial for painless reinsertion. Cleanliness, sterilization, and lubrication are vital steps.
The detailed guide covers careful techniques to reinsert earrings without forcing, easing potential discomfort, and recognising when to seek professional help.
Knowing how to put earrings back in without hurting is key. Small actions like choosing the right earring type and following best practices make a difference. Keep these tips in mind for a comfortable experience every time.
Stay informed and enjoy wearing your beautiful jewellery with confidence.
FAQ
How to put earrings back in without hurting?
Clean your hands with soap and water, sterilise the earrings and earlobes with rubbing alcohol, and apply lubricant to ease insertion. Avoid forcing the earring if you feel resistance.
My earring won’t go through the back. What should I do?
Gently stretch or massage the earlobe, ensure correct insertion angle, and reapply lubricant. Do not force the earring if resistance is felt.
How to put in earrings with newly pierced ears?
Clean and sterilise the area, apply a gentle lubricant, and insert the earring carefully to avoid damaging the piercing hole. Avoid thick posts initially.
How to put earrings back in after a long time?
Massage the ear to relax the tissue, apply lubricant, and insert the earring slowly. Do not force it if resistance is felt; try re-lubricating and inserting again.
I can’t find the back of my earring hole. What can I do?
Gently probe with a sterilised needle to locate the hole. Try inserting the earring from the back to the front initially.
How to put on earrings with butterfly backs?
Prepare by cleaning and sterilising both the earrings and earlobes. Insert the earring post straight and push the butterfly back gently but securely.
Why does it hurt to put my earring back in?
Pain can occur due to swelling, improper insertion angle, or lack of lubrication. Sterilise and lubricate before trying again. Consult a professional if pain persists.
How do you put on earring backs easily?
Hold the earring steady with one hand and gently push the back onto the post with the other hand. Ensure it is secure but not too tight.
Should you force an earring back in?
No, forcing an earring can cause damage or infection. Remove the earring, reapply lubricant, and try again gently.
Will my ear piercing close up in 2 hours?
Earlobe piercings generally won’t close up in 2 hours, but newly pierced or cartilage piercings can start to close quickly. Insert earrings as soon as possible.


