Ever struggled with removing starter earrings equipped with butterfly backs? You’re not alone. These little pieces can often feel like they’ve been glued on. But no need to stress; with the right technique, you can take off these earrings effortlessly. This article will guide you through each step, ensuring a smooth and painless process. Be it understanding the butterfly backs, preparing for removal, or troubleshooting common issues, we’ve got you covered. Let’s dive into how you can master the art of removing starter earrings with ease.
Understanding Butterfly Back Earrings
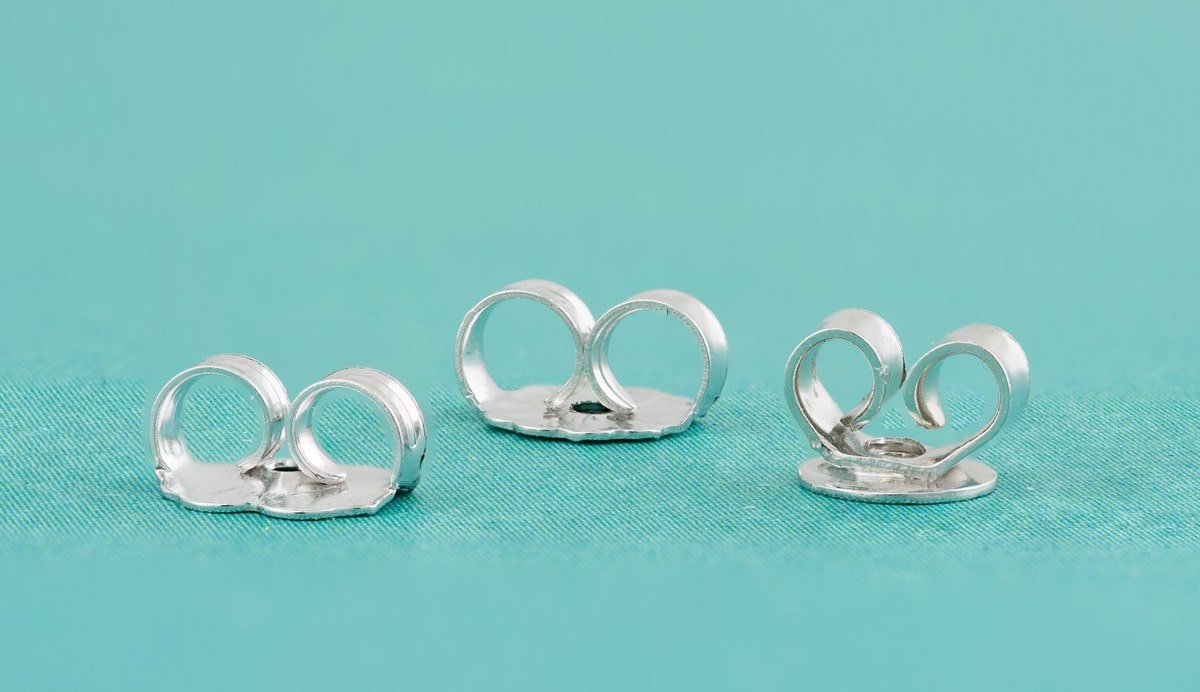
Butterfly back earrings are a popular choice due to their secure hold, making them suitable for both stud and dangle earrings. These backs feature two metal tabs that compress and expand to grip the post securely. This design ensures that the earrings stay in place, reducing the risk of losing them.
Butterfly backs are commonly used because they provide a balance of security and ease of use. They can be easily put on and taken off, making them ideal for daily wear. Additionally, their compact size and discreet appearance make them a favourite for various earring styles.
However, butterfly backs can present some common issues. The metal tabs can become either too loose or too tight, making removal difficult. A loose back may lead to the earring falling out, while a tight back can cause discomfort or even pain during removal. Regular maintenance and careful handling can help mitigate these problems.
Suggested Read: How to Remove Stud Earrings Safely and Easily
Preparation for Removing Starter Earrings
Maintaining hygiene is crucial when preparing to remove starter earrings to prevent infections and ensure a smooth process. Begin by thoroughly washing your hands with antibacterial soap to eliminate any germs. Next, disinfect the earrings and the surrounding area with rubbing alcohol applied using cotton balls. This step is essential to minimise the risk of infection and ensure that the area is clean and ready for the removal process.
Gathering the right tools is equally important for safe and efficient earring removal. A clean cloth can help you maintain a firm grip on the earring, while a mirror allows you to see what you’re doing clearly. Lubricant, such as coconut oil, can make the process easier by reducing friction. Tweezers can be helpful but are optional, depending on how tight the earring backs are.
Suggested Read: Remove Flat Back Earrings Easily: Simple Tips
Step-by-Step Guide to Removing Butterfly Back Earrings
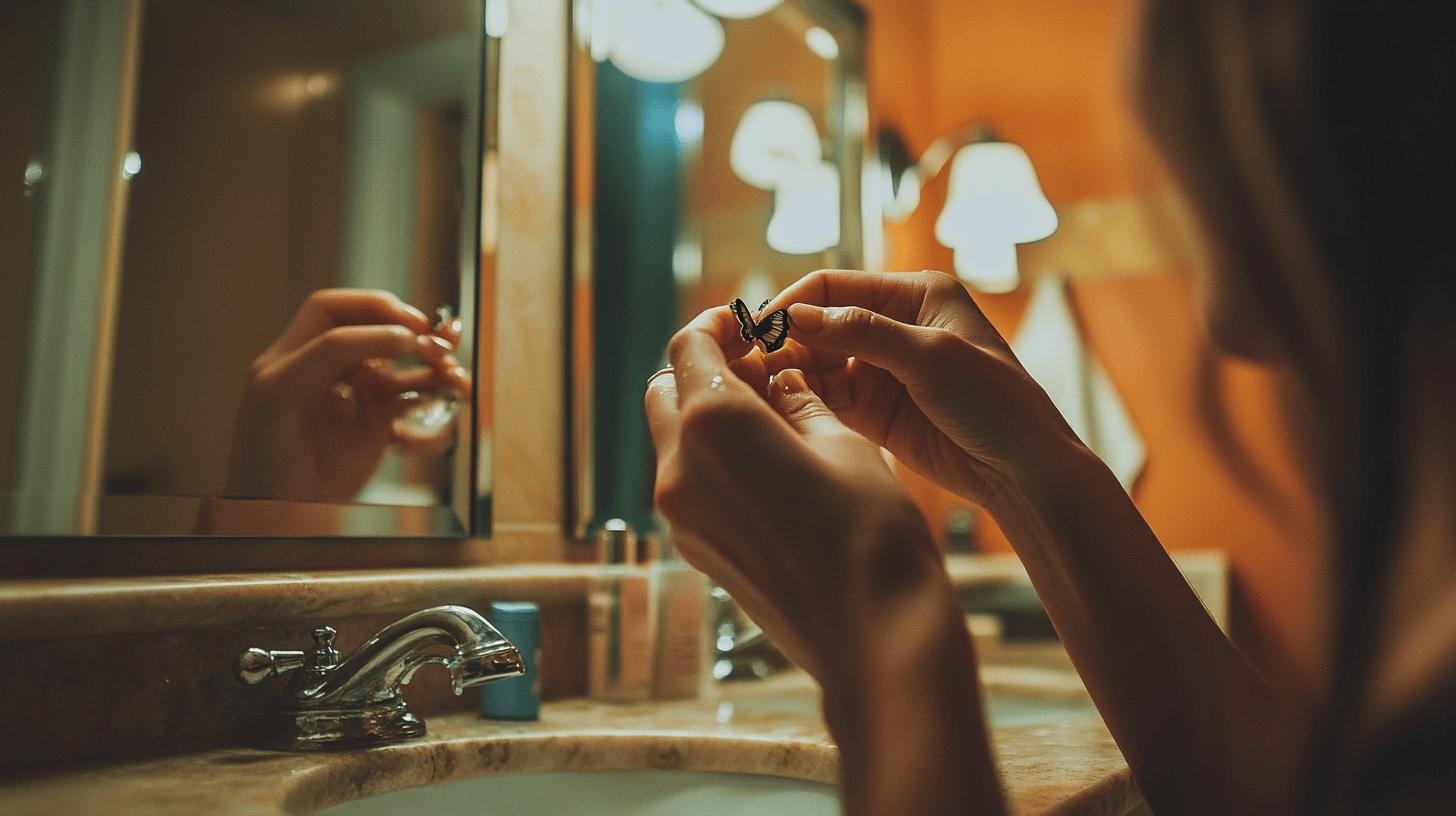
Following a step-by-step guide ensures that the process of removing butterfly back earrings is safe and efficient. Proper technique helps prevent damage to the earring and minimises discomfort.
To begin, wash your hands thoroughly with antibacterial soap. Clean hands reduce the risk of introducing bacteria to the piercing site, which can cause infections. Once your hands are clean, use a cotton ball soaked in rubbing alcohol to disinfect the earring and surrounding area. This step ensures that any bacteria present are eliminated, providing a sterile environment for the removal process.
Next, hold the front of the earring securely. This stabilises the earring and prevents it from moving around during removal. With your other hand, gently push the butterfly back towards the end of the post. Applying gentle pressure helps release the back without causing damage to the earring or discomfort to the earlobe. Avoid pulling too forcefully, as this can lead to unnecessary pain or even damage the earring.
Once the back is loosened, you may need to wiggle it slightly to help it slide off. Gently wiggle the back while continuing to push towards the end of the post. This action helps to dislodge the back if it is stuck or tight. After the back has been loosened, you can then pull it off gently. Avoid common mistakes such as pulling too hard or not disinfecting the area properly. Pulling too hard can cause pain and damage, while not disinfecting can increase the risk of infection. Always ensure the area is clean and take your time to gently remove the earring back.
Troubleshooting Common Issues
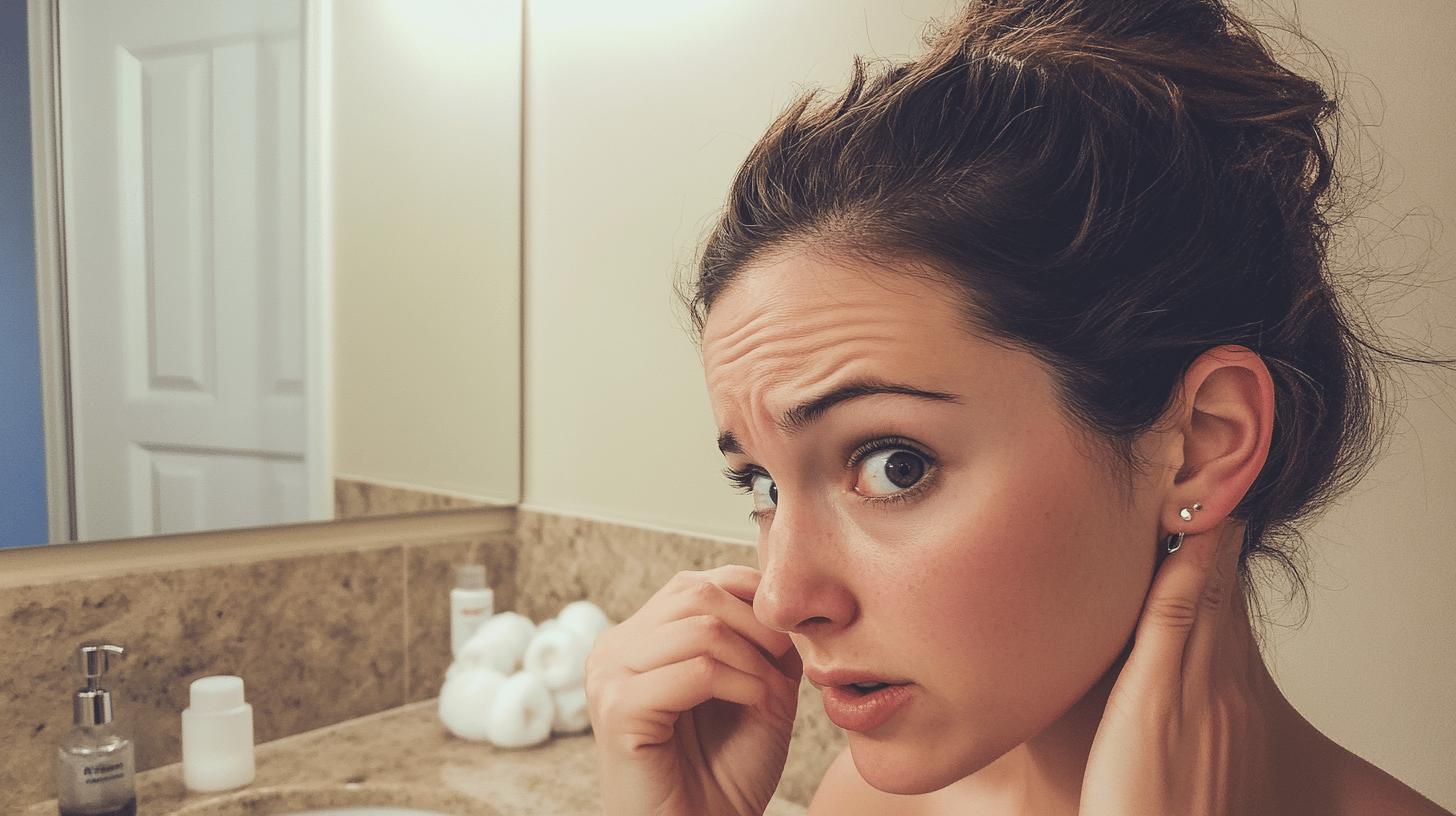
Stuck earring backs and tight fittings are common problems when removing starter earrings. These issues can cause discomfort and even pain if not handled correctly. Earrings with butterfly backs, in particular, can become challenging to remove if the metal tabs are too tight or if the earring has been in place for an extended period. Knowing how to address these problems can make the removal process smoother and less painful.
If an earring back is stuck, start by washing your hands thoroughly to prevent infection. Use a cotton ball dipped in rubbing alcohol to clean the earring and the surrounding area. This step is crucial as it sanitises the area, reducing the risk of introducing bacteria into the piercing. Next, gently twist the earring back and forth while pulling it away from the ear. This motion helps to loosen the back without causing unnecessary pain. If the back does not come off easily, be patient and continue to twist and pull gently.
In cases where there is pain or swelling, it is essential to seek professional medical help. Signs of infection, such as redness, pus, or severe pain, indicate that medical attention is needed. Do not force the earring back off if it is stuck, as this can cause further irritation or damage to the ear. A professional piercer or a healthcare provider can safely remove the earring and provide the necessary care for any complications.
Suggested Read: How to Put Earrings Back in Without Pain
Post-Removal Care for Starter Earrings
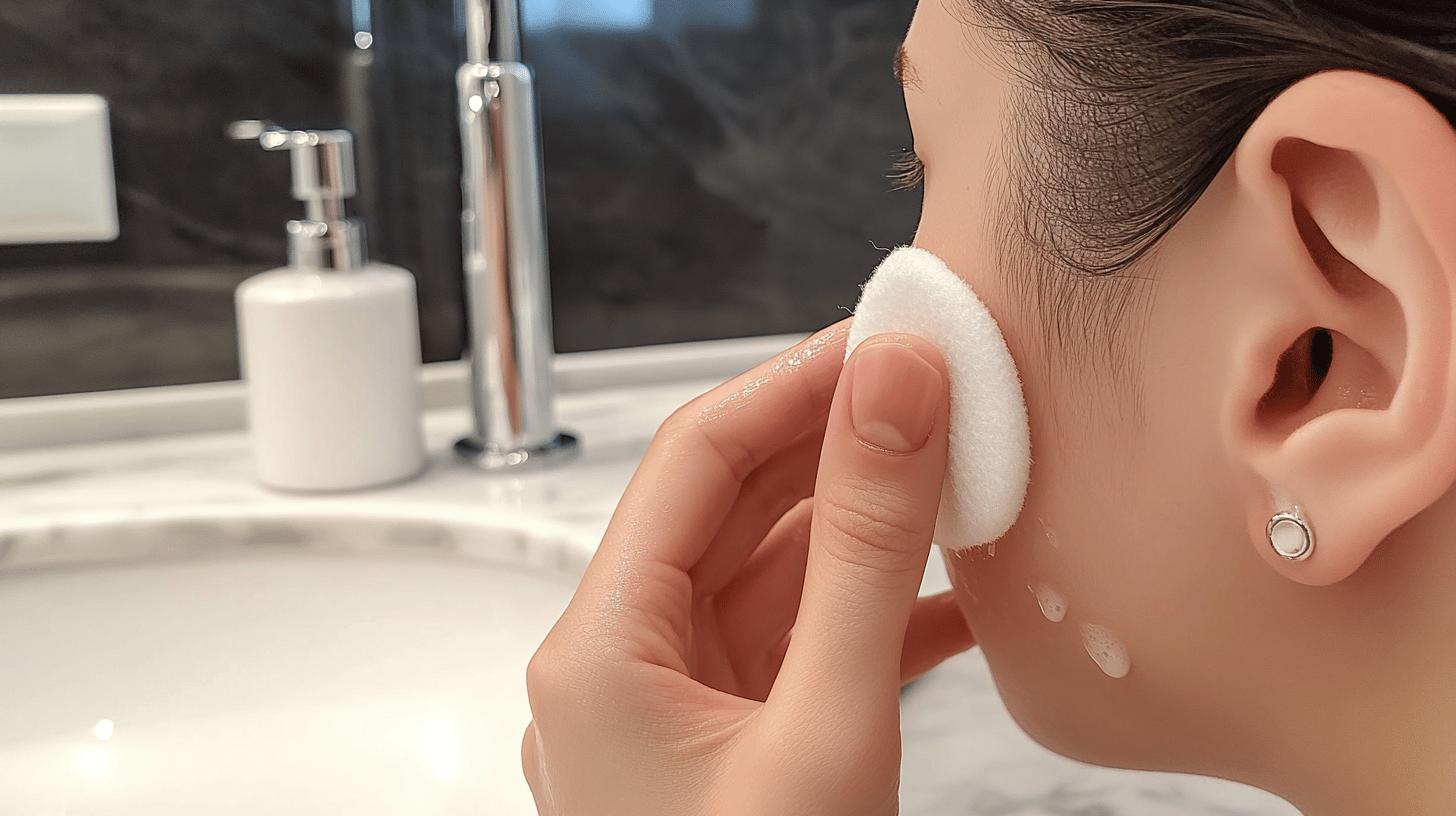
Proper post-removal care is crucial to prevent infections and ensure your ears heal correctly. After removing starter earrings, immediately clean the earlobes with a saline solution or a mild cleanser. This helps to eliminate any bacteria that may have been introduced during the removal process. Monitoring the piercing site for signs of infection, such as redness, swelling, or severe pain, is essential. Early detection allows for prompt treatment, reducing the risk of complications.
Maintaining the condition of your earrings and their backs is just as important. Regularly check and clean the earring backs to prevent rust and ensure they remain comfortable to wear. Storing your earrings in a dry place can help preserve their quality and prevent any potential damage. Avoid touching the piercing site with dirty hands, as this can introduce bacteria and cause infections. By following these steps, you can ensure both your ears and your earrings stay in excellent condition.
- Clean the earlobes with saline solution.
- Use a mild cleanser.
- Monitor for signs of infection.
- Avoid touching the site with dirty hands.
- Store earrings in a dry place.
Suggested Read: How to Get Earrings Out: Simple Tips
When to Seek Professional Help
Professional help is necessary if you encounter specific issues while removing starter earrings. Seek assistance if you notice signs of infection, such as redness, pus, or persistent pain and swelling. These symptoms indicate that the area might be infected and could worsen without proper treatment. Additionally, if the earring is stuck and you cannot remove it using standard methods, it’s best to consult a professional to avoid causing further harm to your ear.
Choosing a qualified piercer involves considering their hygiene practices and customer service. Look for a piercer who maintains a clean and sanitary environment, as this reduces the risk of infection. Good customer service is also crucial, as it ensures that the piercer will handle your concerns with care and professionalism. Reading reviews and asking for recommendations can help you find a reliable piercer.
- Persistent pain or swelling.
- Signs of infection (redness, pus).
- Inability to remove the earring.
- Severe discomfort during removal.
Frequently Asked Questions About Starter Earring Removal

Removing starter earrings can be a daunting task for first-timers. This FAQ section aims to address common concerns and provide practical tips to ensure a smooth and safe earring removal process.
How do you take out butterfly earrings for the first time?
To remove butterfly earrings for the first time, make sure your hands are thoroughly cleaned with antibacterial soap. Hold the front of the earring and gently push the butterfly back towards the end of the post. If the back is stuck, clean the area and gently wiggle the back to loosen it. Using a warm compress or a bit of lubricant, such as coconut oil, can also help ease the removal.
Why won’t the back of my earring come off?
The back of your earring may not come off if it is too tight or if it has been in place for an extended period. Clean the area with rubbing alcohol and gently twist the earring back and forth while pulling it away from the ear. This motion helps to loosen the back without causing damage or discomfort. If the back remains stuck, consider using tweezers for additional grip.
How do you remove locking back earrings?
To remove locking back earrings, press the release mechanism or squeeze the sides of the locking back gently. While doing this, hold the front of the earring to stabilise it. Slowly pull the back off, ensuring not to apply excessive force to avoid damage.
How can I ease discomfort during removal?
To ease discomfort during earring removal, use a warm compress around the earring area to reduce friction. Applying a small amount of lubricant, such as olive oil, can also help the back slide off more easily. If pain persists, pause and try again after a short break.
What is the safest way to remove earrings with safety backs?
The safest way to remove earrings with safety backs is to wash your hands and disinfect the area thoroughly. Hold the front of the earring and gently manipulate the safety back by pushing or pulling it slowly. If resistance is felt, use a warm compress or lubricant to help ease the process.
Final Words
Understanding butterfly back earrings and preparing for their removal are crucial steps for a smooth experience. With the right tools and hygiene practices, removing starter earrings becomes straightforward.
Troubleshooting tips help tackle common issues, ensuring a safe and painless process. Post-removal care is important to prevent infections and maintain the condition of earrings.
Knowing when to seek professional assistance can prevent complications. Follow these guidelines on how to take off starter earrings with butterfly backs, and you can confidently manage your jewellery. Enjoy a hassle-free removal and keep your ears healthy.
FAQ
How do you take out starter earrings for the first time?
To remove starter earrings for the first time, wash your hands, hold the front of the earring, and gently push the back towards the end of the post. Wiggle it slightly if needed and pull off gently.
Why are starter earrings hard to take out?
Starter earrings can be hard to take out because the piercing is still healing, and the earring backs are designed for a secure hold. This can make them feel tighter and more difficult to remove.
How do you take off earrings with safety backs?
To take off earrings with safety backs, hold the earring’s front and twist the back while pulling it gently. If it feels stuck, use a lubricant like coconut oil to ease it off.
How do you take off starter earrings with butterfly backs?
To remove these, hold the front of the earring and gently push the back towards the end of the post. If it’s tight, wiggle the back while applying gentle pressure to release it.
How do you take off earrings with flat backs?
Hold the front of the earring and twist the flat back while pulling it gently. If it’s stuck, clean the area and use a lubricant to ease the removal.
How do you remove starter earrings from Claire’s?
Wash your hands, hold the front of the earring, and push the back towards the end of the post. Clean the area with rubbing alcohol if needed and gently wiggle the back to remove it.
How do you remove butterfly back earrings?
Wash your hands, hold the front of the earring, and gently push the back towards the end of the post. If it doesn’t come off easily, clean the area with alcohol and wiggle the back gently.
How do you put on earrings with butterfly backs?
Hold the earring post, then slide the butterfly back onto the post until it feels snug. Ensure the wings of the butterfly are aligned for a secure fit.
How do you adjust butterfly earring backs?
To adjust butterfly earring backs, gently squeeze the two metal tabs together to tighten or pull them apart slightly to loosen. Do this carefully to avoid damaging the mechanism.

