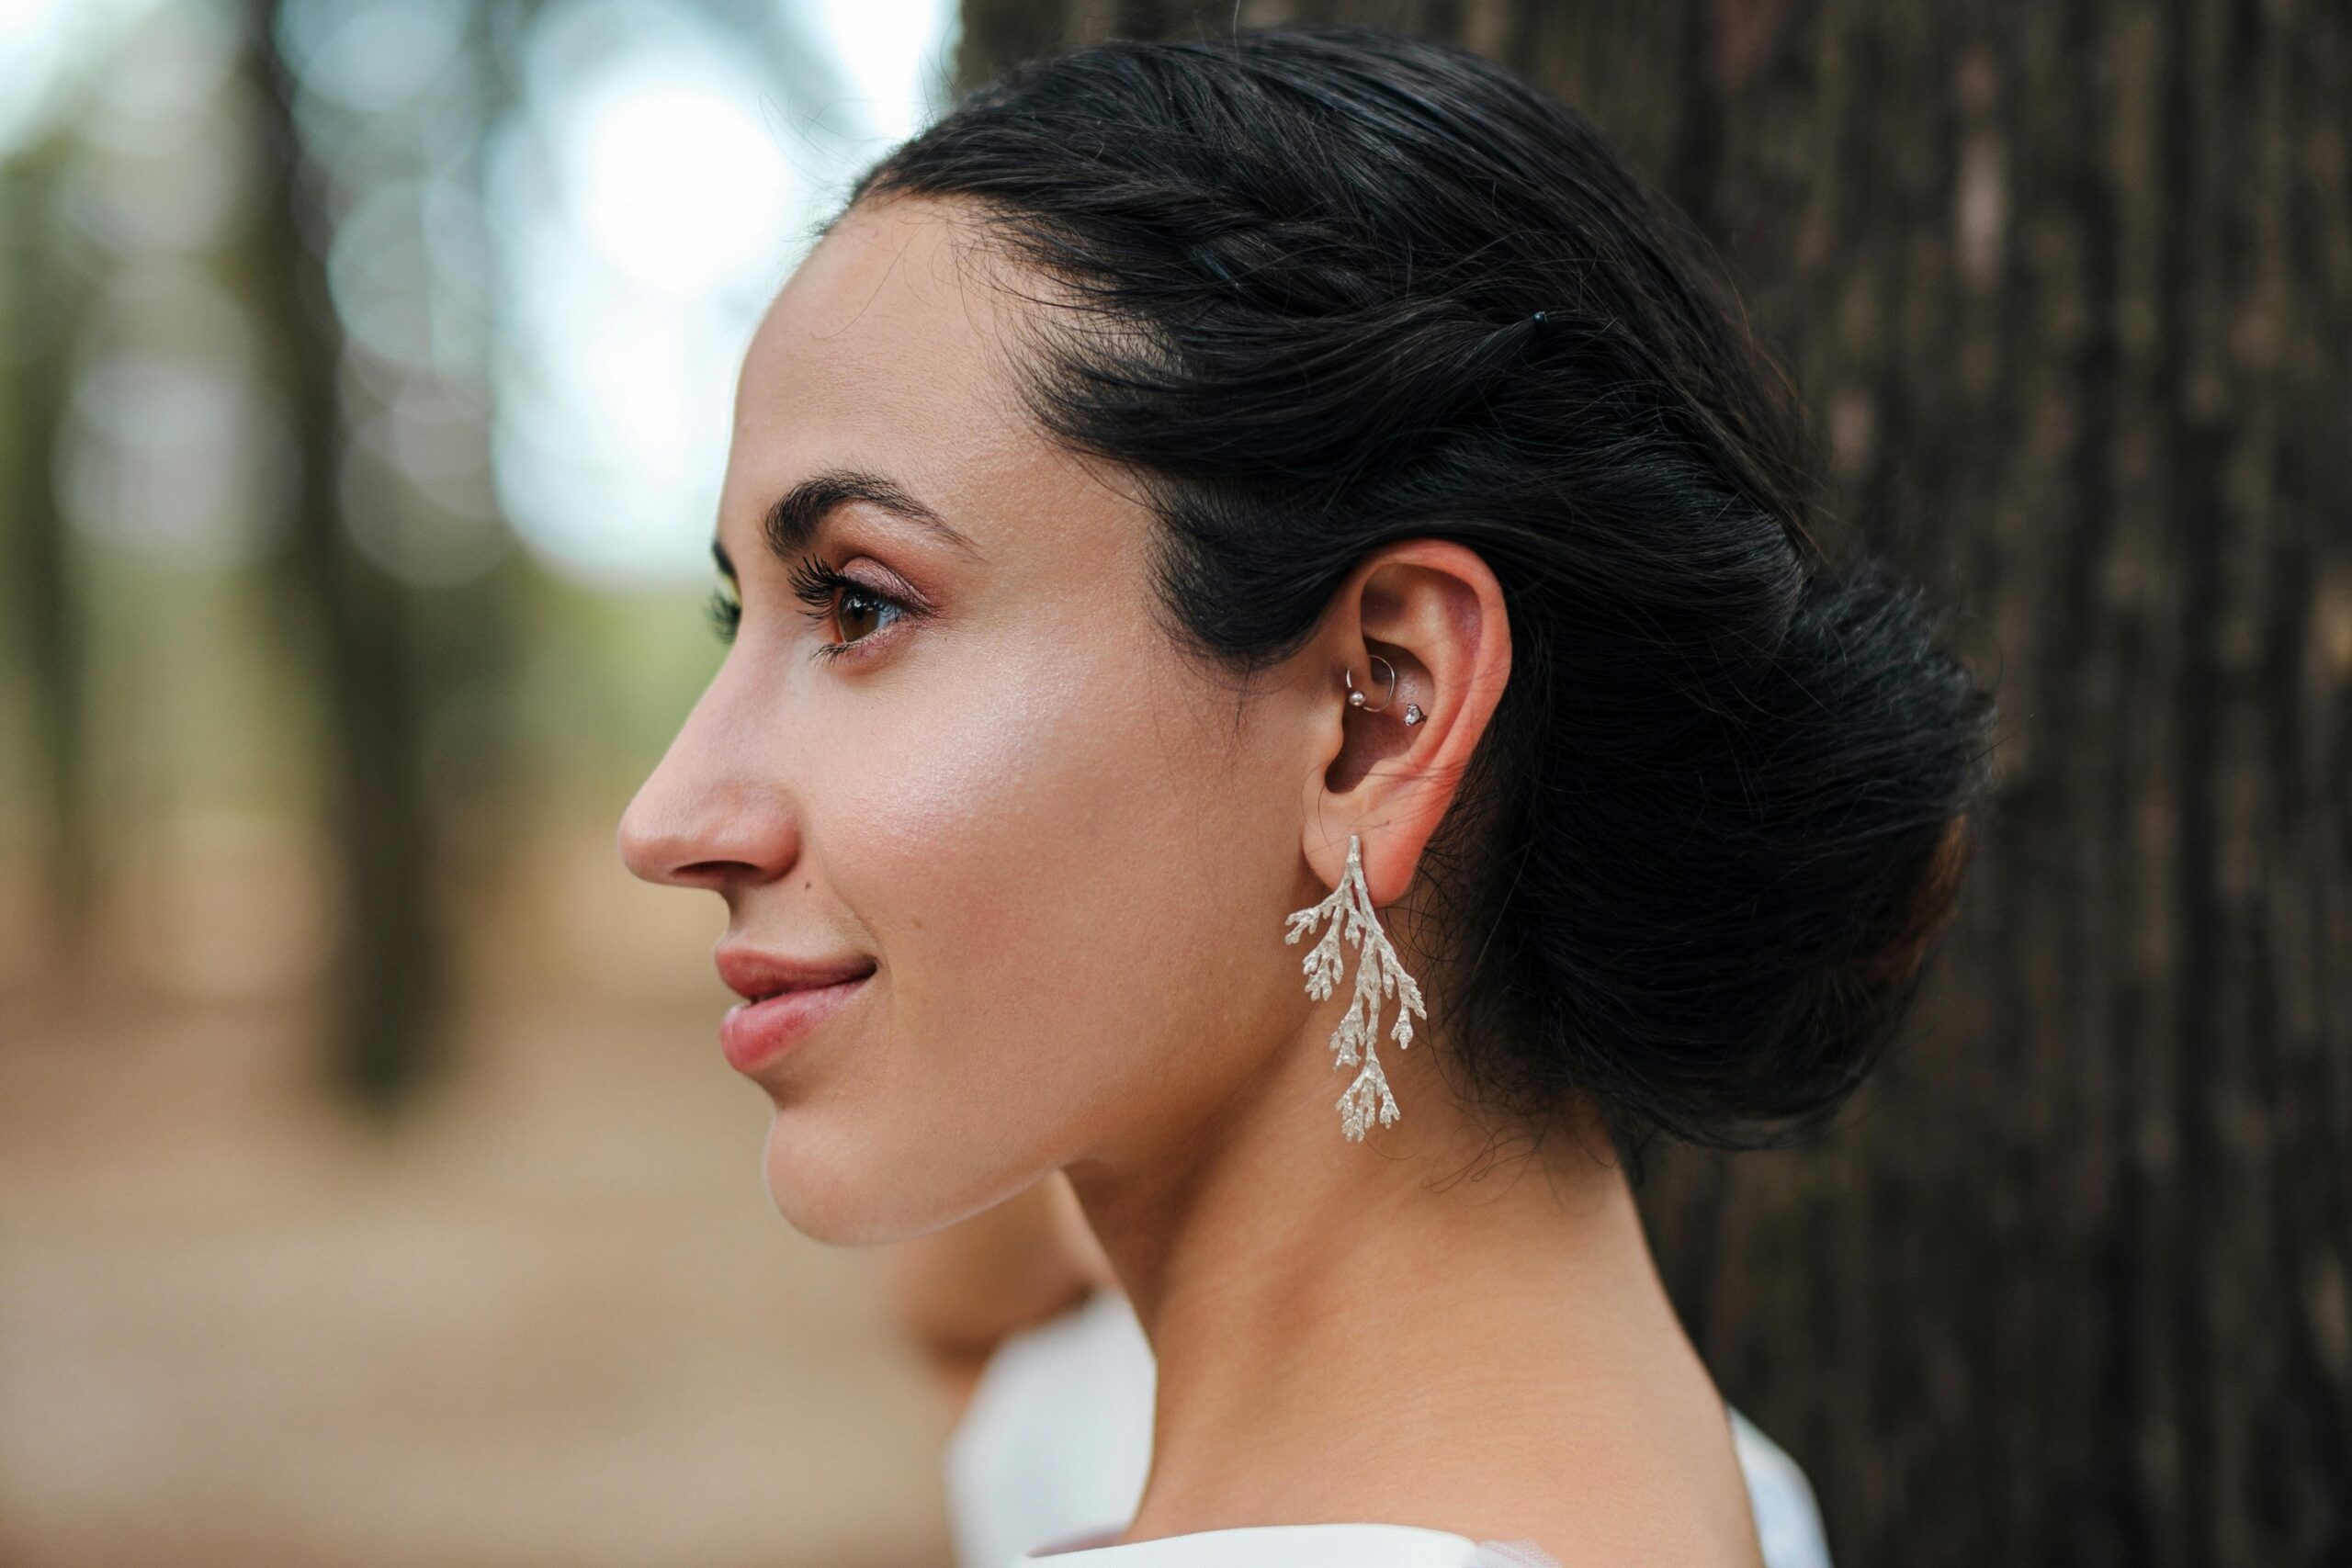
Struggling to remove a stubborn earring? It’s a frustrating experience many jewellery enthusiasts face. Earrings can get stuck due to mechanical failures or biological responses like swelling and infection. Understanding the reasons behind this and knowing the right techniques can save you pain and potential ear damage. This guide covers the common causes of stuck earrings and offers practical, step-by-step solutions to safely remove them. Whether you’re dealing with studs, hoops, or screw-back earrings, these tips will help you handle the situation with ease. Let’s explore how you can effortlessly get those earrings out!
Common Reasons for Earrings Getting Stuck

One common reason earrings become stuck is mechanical failure. This can happen when clasps break or backings become overly tight. For instance, many earrings come with friction backs, such as jumbo earring backs, which are designed to stay secure but can sometimes become too tight, making removal difficult. Additionally, poorly constructed clasps or those that have worn out over time can cause the earring to get stuck, requiring more effort and care to remove without causing damage to the ear or the earring itself.
Common biological reasons for earrings getting stuck include:
- Swelling due to allergic reactions or irritation
- Infections causing inflammation around the piercing
- The ear attempting to heal around the earring
- Improper healing after a recent piercing
- Excessive build-up of earwax or dead skin cells around the earring
Preventative measures can help avoid these issues. Regular cleaning and inspection of both earrings and the pierced area are essential. Use mild soap and water to clean earrings and ensure they are thoroughly dried before wearing them again. Keeping the piercing clean can prevent infections and swelling, reducing the risk of the earring getting stuck. Additionally, using hypoallergenic jewellery can minimise irritation and promote better healing, making the earring removal process smoother and more manageable.
Step-by-Step Guide on How to Get Earrings Out
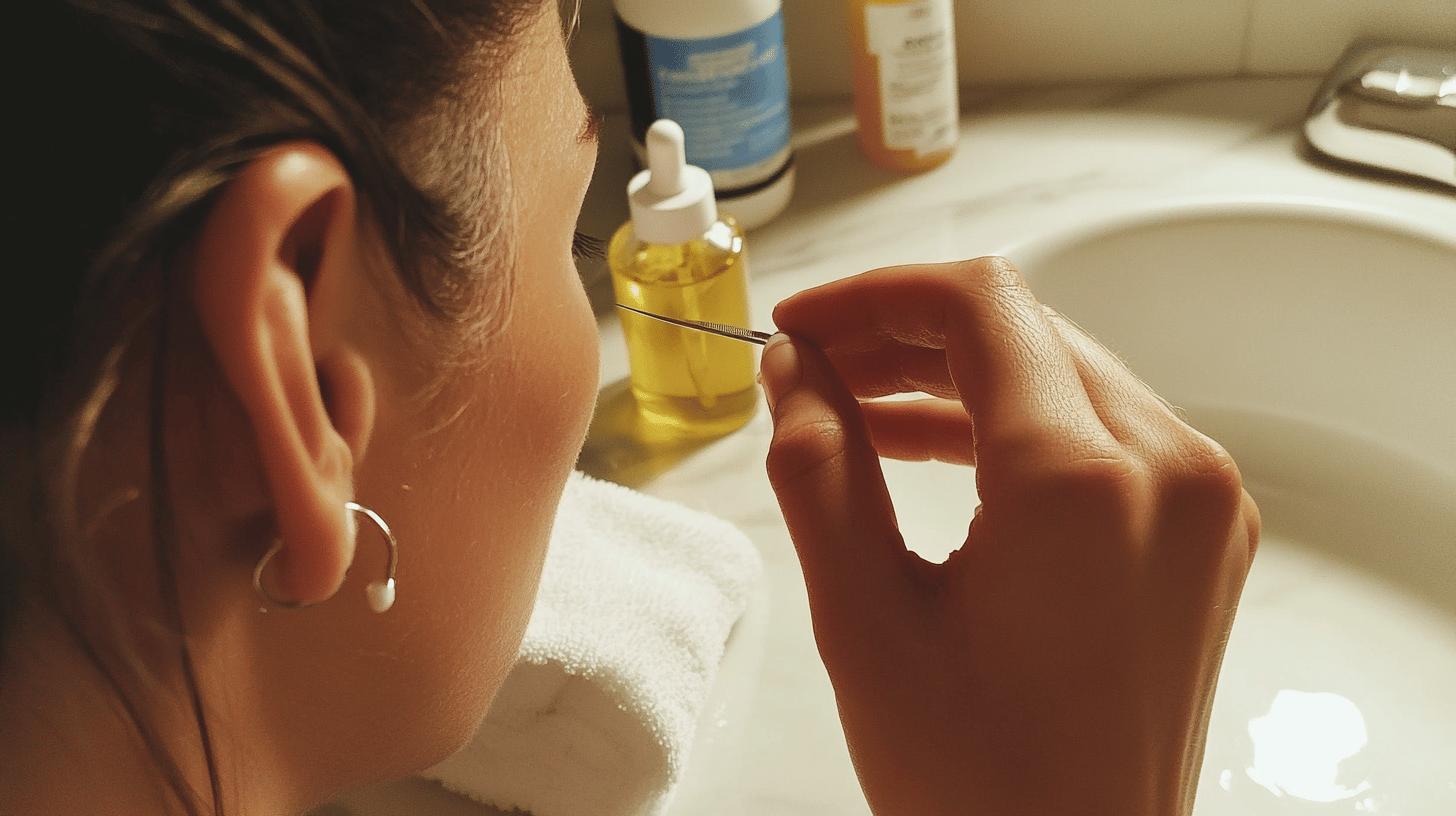
Preparation is crucial before attempting to remove any earrings. Start by washing your hands thoroughly with warm water and mild soap to prevent any potential infections. Next, clean the earring and the surrounding area with a cotton swab dipped in warm soapy water. This helps to remove any dirt or debris that could complicate the removal process. After cleaning, dry the area with a clean towel and ensure you have all necessary tools within reach, such as a pair of sterilized tweezers and a small amount of baby oil or olive oil.
Follow these steps to remove your earrings safely:
- Identify the type of earring back and material you are dealing with.
- Apply a small amount of oil (like baby oil or olive oil) around the earring back to help loosen it.
- Gently twist the earring back and forth while pulling it away from the ear.
- If the earring still won’t budge, use a pair of sterilized tweezers to carefully grip and pull the earring back.
- Continue to twist gently while applying slight pressure to avoid damaging the earring or your ear.
- Once removed, clean the earring and the pierced area with antiseptic to prevent any infections.
If the earring remains stuck despite following these steps, it is essential to avoid forcing it out, as this can cause significant damage to the ear. In such cases, apply a cold compress to reduce any swelling and try the removal process again after a few hours. If the earring is still immovable, it is advisable to seek professional medical assistance to prevent further complications and ensure safe removal.
Specific Techniques for Different Earring Types
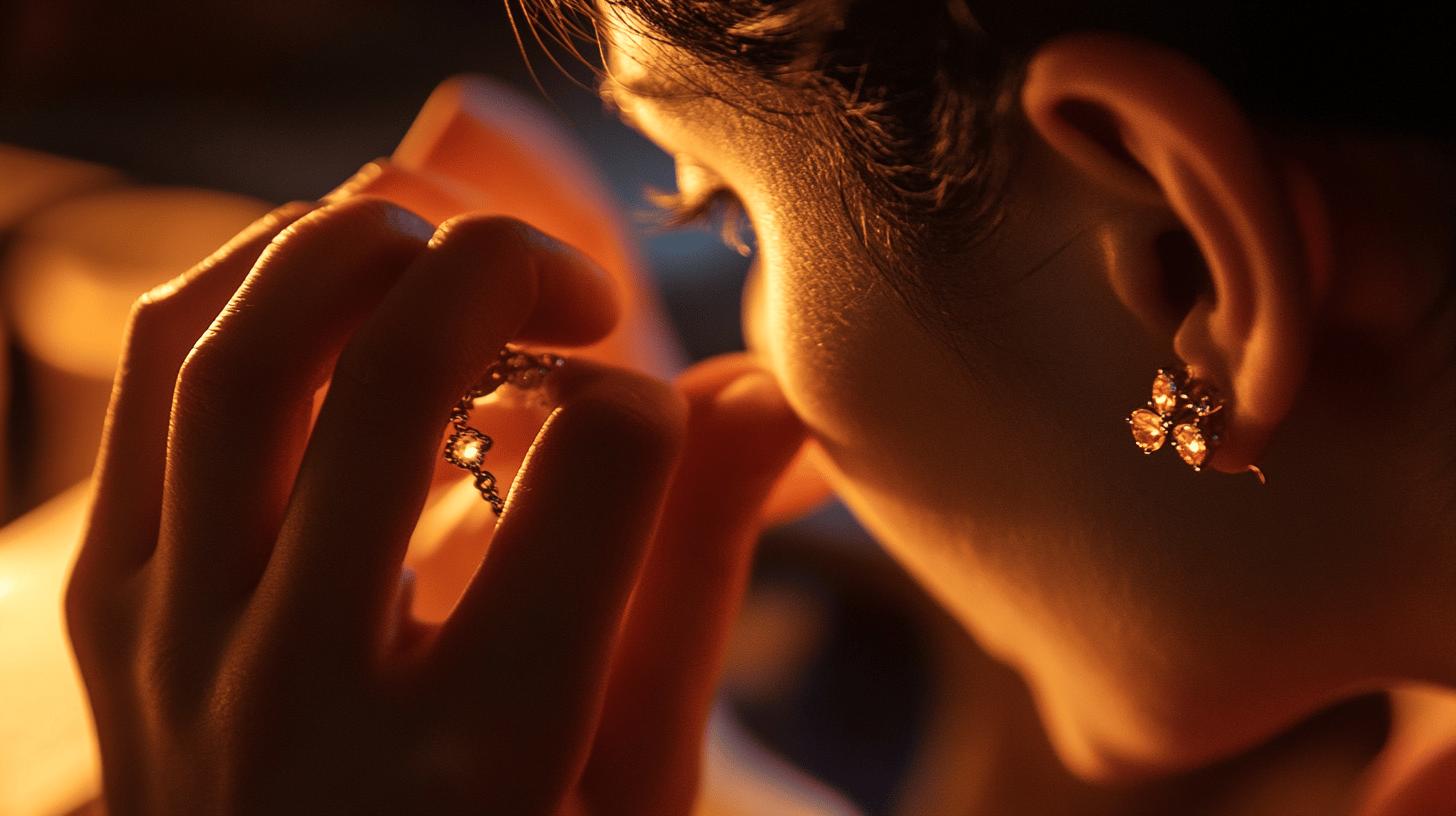
When it comes to earring removal, understanding the type of earring you are dealing with is crucial. General approaches include ensuring your hands are clean and the area around the earring is sanitised. Using a bit of oil can help loosen the backing, making it easier to remove. Always be gentle to avoid damaging your ear or the earring. Using the appropriate technique for the specific type of earring will ensure a smoother removal process.
Specific techniques for different earring types include:
- Stud Earrings: Hold the front of the earring and gently twist the backing counterclockwise to loosen it.
- Hoop Earrings: Locate the clasp or hinge mechanism. Gently open the clasp or hinge to release the earring from your ear.
- Screw-Back Earrings: Turn the back counterclockwise to unscrew it.
- Ball Earrings: Use a piercing ball removal tool or gloves to unscrew the ball.
| Earring Type | Removal Technique |
|---|---|
| Stud Earrings | Hold the front and twist the backing counterclockwise |
| Hoop Earrings | Locate and open the clasp or hinge |
| Screw-Back Earrings | Turn the back counterclockwise to unscrew |
| Ball Earrings | Use a piercing ball removal tool or gloves |
Safety Tips for Earring Removal
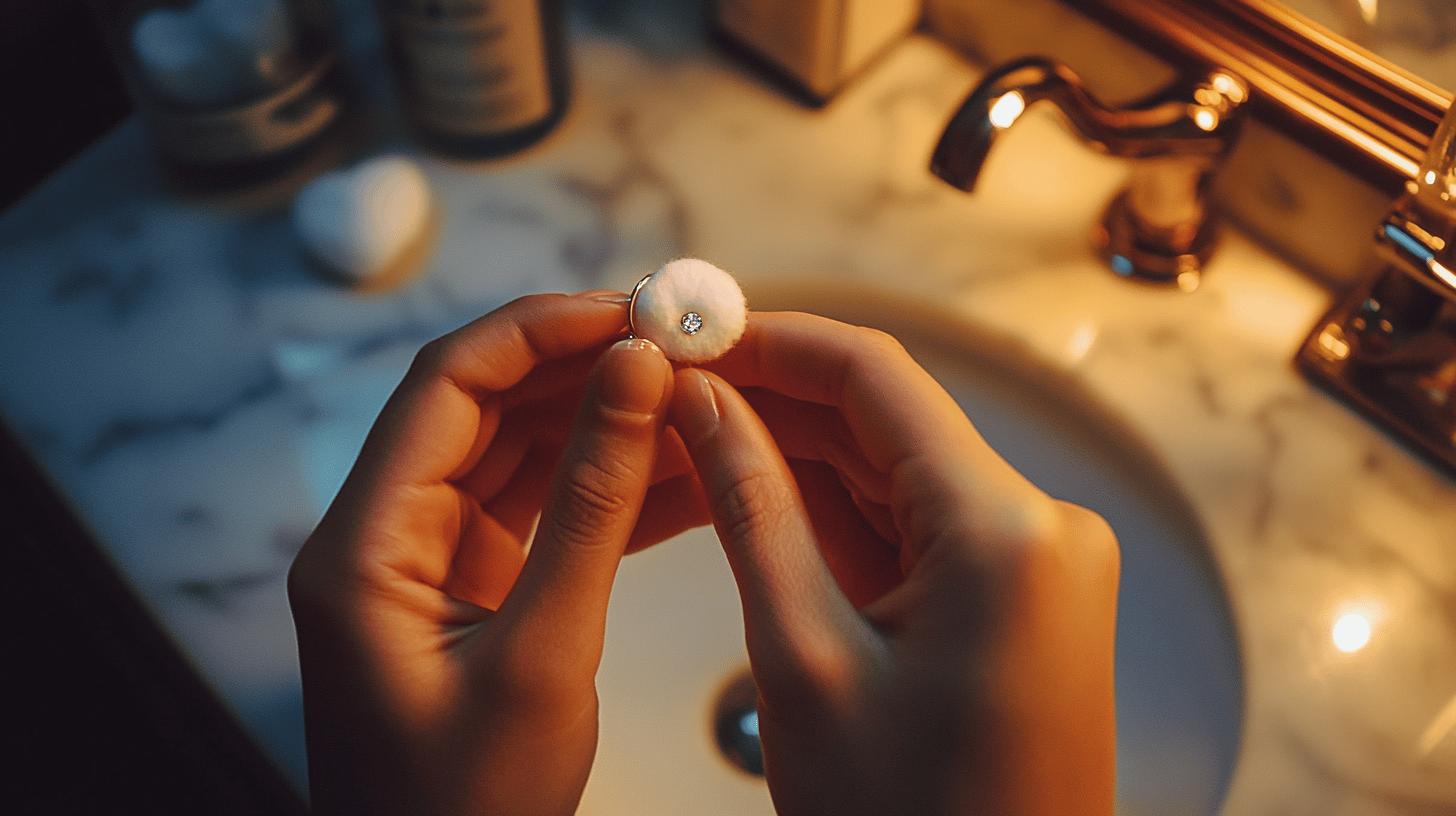
To safely remove earrings, begin by washing your hands thoroughly with warm water and mild soap to prevent any potential infections. Clean the earring and the surrounding area with a cotton swab dipped in warm soapy water. This helps to remove any dirt or debris that could cause complications. Dry the area with a clean towel and ensure you have all necessary tools within reach, such as a pair of sterilized tweezers and a small amount of baby oil or olive oil.
Specific safety tips for earring removal include:
- For stud earrings, hold the front of the earring and gently twist the backing counterclockwise to loosen it.
- If the earrings are stuck due to swelling or tightness, apply a cold compress to reduce swelling before attempting removal.
- For flat back earrings that won’t unscrew, use sterilized tweezers for additional grip and leverage.
- To remove a helix piercing with a flat back, ensure the area is completely clean and use gentle, steady pressure.
- Always clean the earrings and the pierced area with antiseptic after removal to prevent infections.
If complications arise, such as the earring backing becoming embedded in the skin, seek medical assistance immediately to avoid further injury. Avoid forcing the earring out, as this can cause significant damage to the ear. In situations where swelling or infection is present, apply a cold compress and attempt the removal again after a few hours. If the earring remains immovable, professional help is crucial to ensure safe and effective removal.
Tools and Products for Earring Removal
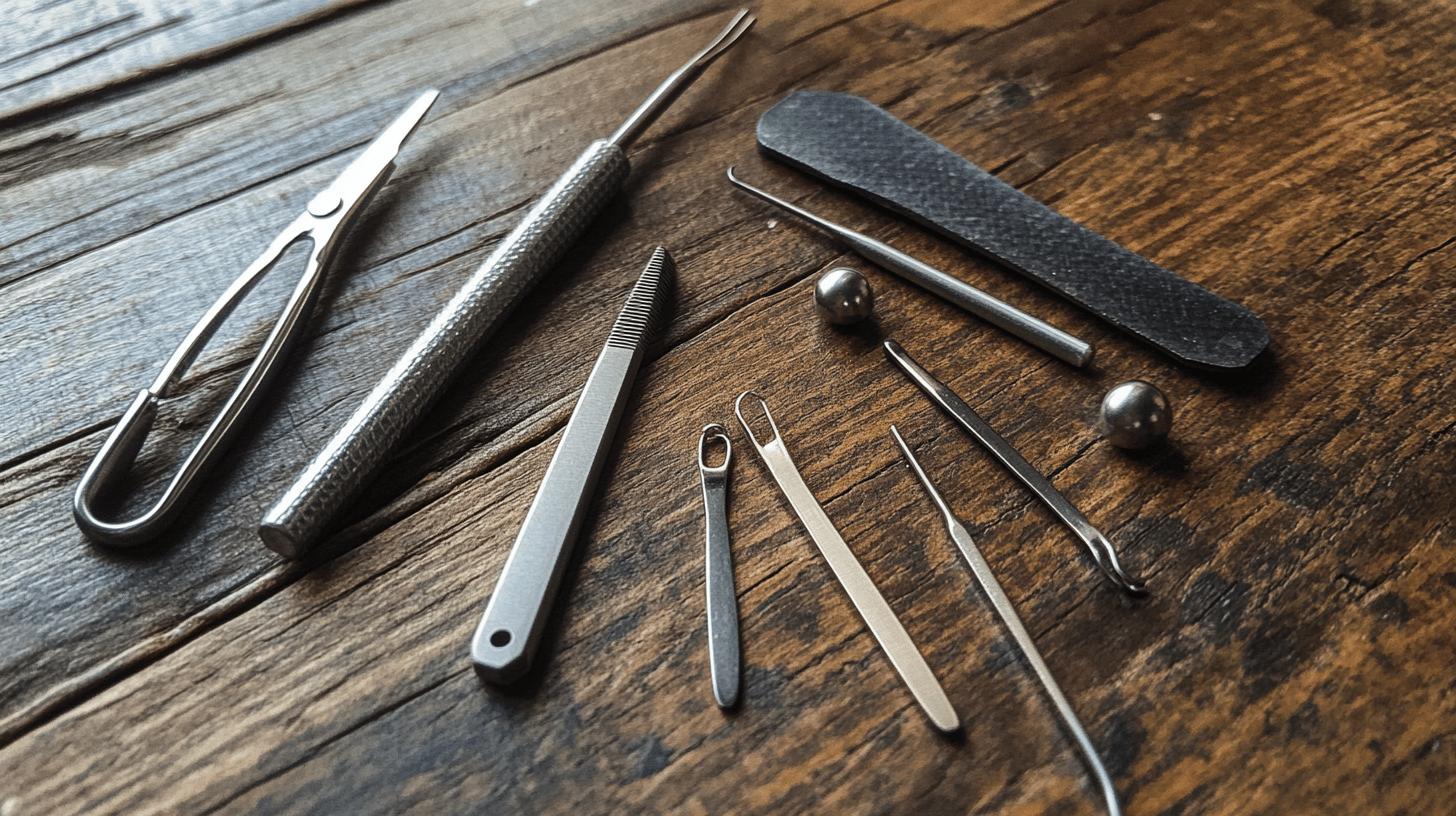
Using the right tools is crucial for efficient and safe earring removal. Improper tools can lead to unnecessary pain, injury, or even damage to the earring itself. For instance, using sterilized tweezers can offer a better grip, making it easier to remove stubborn earring backs without causing harm to the ear. Specialised tools like piercing ball removal tools and flat back earring tools are designed to handle specific types of earrings, ensuring a smoother and less stressful removal process.
Common tools for earring removal include:
- Piercing ball removal tools for unscrewing tight balls on earrings
- Flat back earring tools for gripping and unscrewing flat back earrings
- Sterilized tweezers for carefully gripping and pulling earring backs
For those looking to purchase these tools, Amore Jewellery offers a range of high-quality options. Their selection ensures you have access to the best tools available for safe and effective earring removal. Investing in the right tools from a reputable source like Amore Jewellery can make the process much simpler and help maintain the health of your piercings.
Preventing Issues with Earrings in the Future
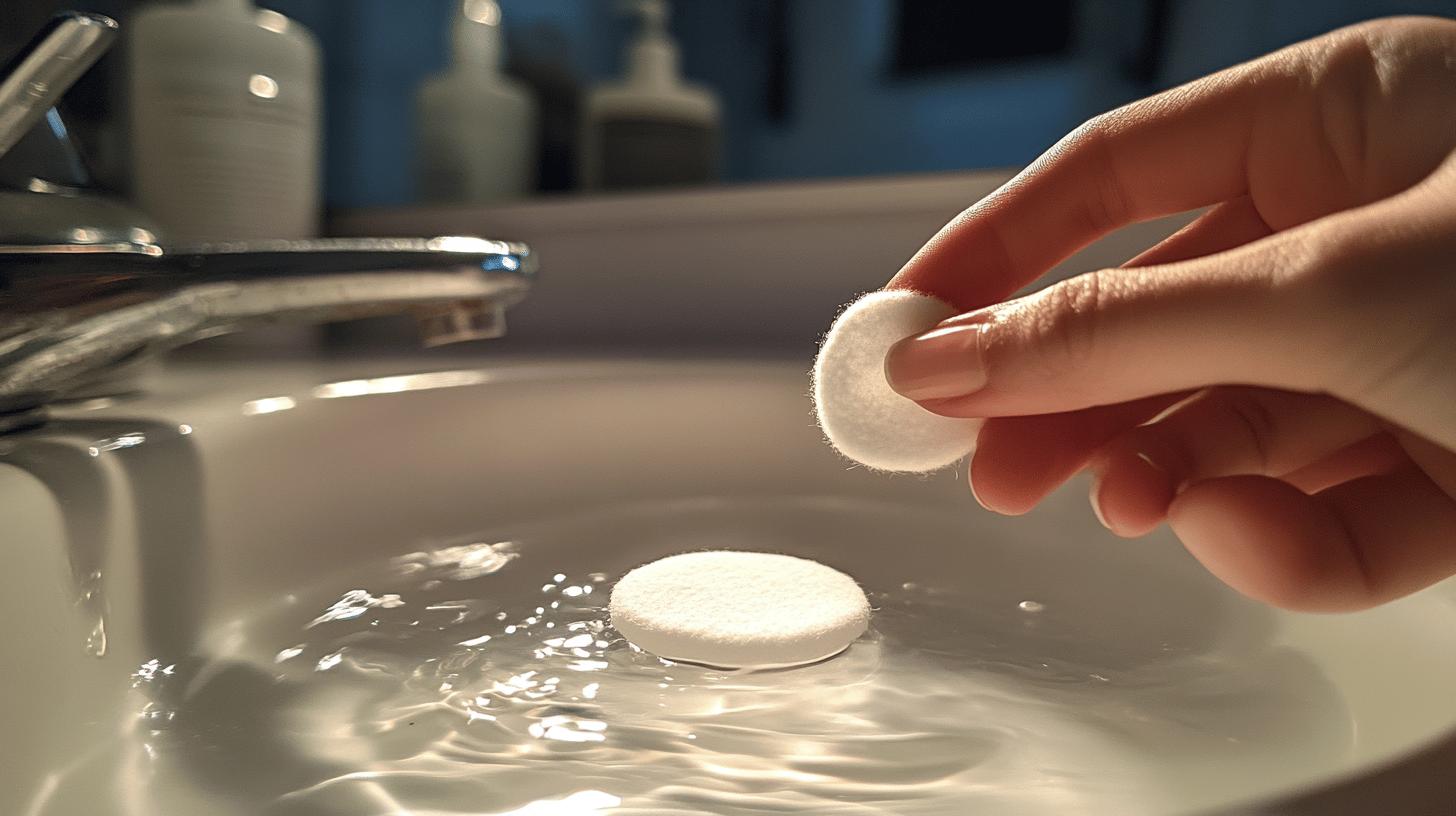
Regular cleaning and inspection are crucial to prevent earrings from getting stuck. Earrings and earring backs should be cleaned with mild soap and water, ensuring they are thoroughly dried before wearing. This routine helps remove any build-up of dirt, oils, or skin cells that might cause the earring to become lodged. Inspecting the earrings and the pierced area regularly can help identify any potential issues, such as signs of infection or mechanical problems with the earring backs, before they become serious.
Preventive measures for avoiding stuck earrings include:
- Establish a regular cleaning routine with mild soap and water.
- Dry earrings thoroughly before wearing to prevent any moisture-related issues.
- Inspect both the earrings and the pierced area frequently for signs of trouble.
- Use hypoallergenic jewellery to minimise the risk of allergic reactions and irritation.
Hypoallergenic jewellery, particularly those made from high-quality, medical-grade stainless steel, is suitable for 95% of people. For those who cannot wear stainless steel, titanium options are available. Hypoallergenic earrings are particularly beneficial for children or individuals with sensitive ears, as they help minimise irritation and complications. Amore Jewellery offers a range of hypoallergenic options, ensuring both safety and style. Regularly caring for your piercings and choosing the right jewellery can significantly reduce the risk of experiencing issues with earrings in the future.
Final Words
Getting earrings out can be challenging due to mechanical failures or biological issues like swelling and infection. Understanding the common reasons can help in preventing such problems.
Following a step-by-step guide and using specific techniques for different earring types can make removal easier and safer. Utilising the right tools and adhering to safety tips can further simplify the process. Taking preventive measures, such as regular cleaning and choosing hypoallergenic jewellery, can prevent future issues.
By adhering to these guidelines, you’ll find managing your earrings significantly less troublesome.
FAQ
How to take off starter earrings with butterfly backs
To take off starter earrings with butterfly backs, gently hold the front of the earring and pull the butterfly backing away from the ear while twisting slightly to loosen it.
How to take off earrings with a flat back
For flat back earrings, hold the earring front while unscrewing the backing counterclockwise. Clean the area first to prevent infections.
How to take off earrings with safety back
To remove safety back earrings, hold the earring front firmly and pull the safety back off gently. Twist if needed to loosen it.
How to take off screw earrings that are stuck
For stuck screw earrings, apply a small amount of oil around the backing. Hold the front and turn the backing counterclockwise to unscrew it.
How to take off earrings that are stuck
If earrings are stuck, clean the area with warm water and soap. Apply oil to the backing and gently twist while pulling. Use sterilised tweezers if needed.
How to take out earrings for the first time from Claire’s
Remove Claire’s starter earrings by holding the front and gently pulling the backing away while twisting slightly. Clean the area beforehand.
How to take off earrings with round back
To remove earrings with a round back, hold the earring front and pull the round back away gently. Twist if necessary to loosen it.
Earring stuck in earlobe how to remove at home
For a stuck earring, clean the area, apply oil, and gently twist and pull. If it remains stuck, seek medical assistance.
How do you remove starter earrings?
Remove starter earrings by holding the front and gently pulling the backing away while twisting slightly. Clean the area first.
What to do if your earrings won’t come out of your ear?
If earrings won’t come out, clean the area, apply oil, and gently twist and pull. Use tweezers if needed, or seek medical help.
Why are starter earrings hard to take out?
Starter earrings can be hard to take out due to swelling, improper healing, or tight backings. Clean the area and apply oil to help.
What to do if earrings are stuck in the ear?
Clean the area, apply oil, and twist while pulling. If the earrings are still stuck, use sterilised tweezers or seek medical help.
How to remove earrings with a flat back
Hold the flat back earring’s front and unscrew the backing counterclockwise. Clean the area to avoid infections.

